This is awesome, and I can’t believe how well this works. I can write code in all sorts of different languages. I understand YAML. I can handle Node Red. What I can’t do is remember the names of all the variables, entities, and functions available in Home Assistant. It gets especially more difficult when months go by between tweaking any of my automations.
That’s where the Home Assistant Vibecode MCP comes in. I installed the MCP using HACS, set up the MCP in my existing OpenCode configuration. I could instantly describe things that I wanted to happen in plain English, and things on my server are reconfigured in a successful way most of the time.
I’m not going to tell you how to make this work, because the documentation should be enough to get you started. I’m not qualified to give you tips and advice on how to prompt this thing, because I am only a beginner.
I am going to give you some examples of what is working for me.
My espresso machine and my macropad dashboard
I am not a fan of dashboards. I’d prefer not to have to look at the status of my home. It should do things automatically, and I shouldn’t have to check up on things.
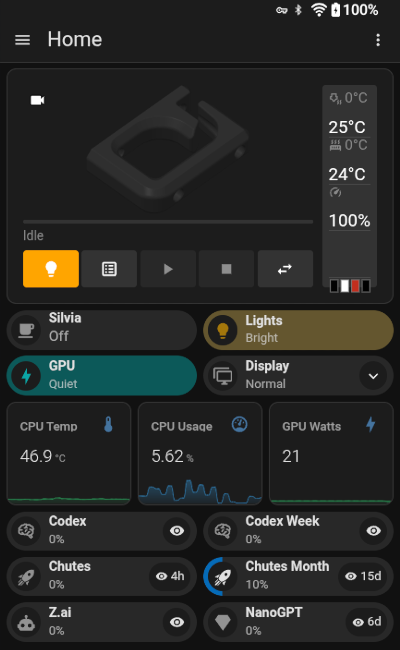
Last month, though, I replaced the mechanical macro pad at my desk with a 10” Android tablet that lives between my monitor and keyboard. The left two thirds of my screen is running the Discord app so I can keep an eye on our Discord community while I am playing Arc Raiders. The right third is now a Home Assistant dashboard.
The dashboard has a few buttons that handle tasks that my macropad used to handle, except now they work even when my computer is locked. It also has some status displays. I set everything up on this macropad dashboard using the vibe MCP.
One of those buttons controls my espresso machine. Instead of just controlling the power state, the button now shows that the machine is warming up, when it is ready to pull a shot, and when the machine is currently being used to pull a shot. The last one is important, because I am working on using my last shot of the day to predict when I might go to sleep!
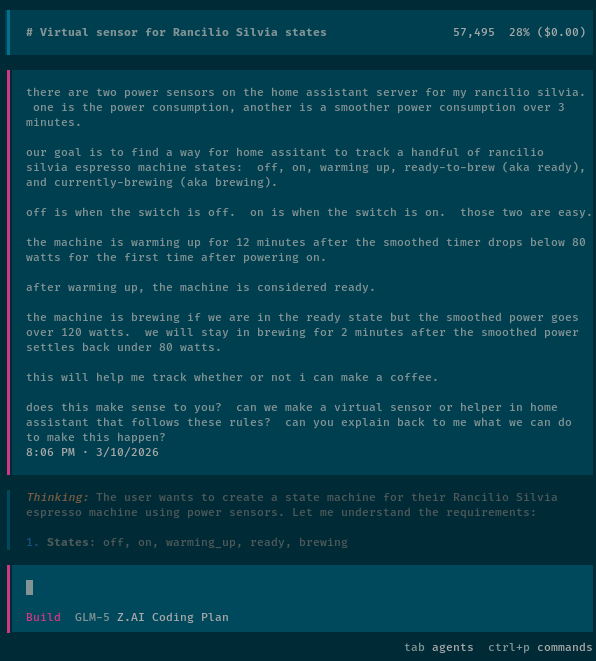
The set of rules to puzzle out the state of the espresso machine is a little convoluted, but I didn’t have to figure them out myself. I explained everything to GLM-5 in English. It explained back to me what it thought I meant, and it showed me a diagram of how it thought things should work.
We didn’t get things perfect on the first try, because I thought we could put all the logic in the button on the bubble card. That didn’t work out, so I went back and asked to move the logic into helper variables and automations. That way the button only has to check the state of the system to decide what color and label to use.
Automations like this take time to dial in correctly. To figure out if I timed the “ready” indicator well, I need to see the machine turn on from fully cold. If things didn’t go well, I can’t really test it again until the next day. I think me and OpenCode had this one dialed in after three days.
NOTE: Unlike when you manually edit a dashboard, Home Assistant needs to be restarted for card changes to take effect after a dashboard is edited using the MCP.
Tracking my sleep using available data in Home Assistant
I do not have a schedule. I don’t wake up at seven to make it into the office for nine. I go to sleep when I am tired, I wake up when I am rested, and I work on things when I want to. I tend to drift farther off course every few days, and an occasional scheduled appointment might disrupt everything.
While I do have an occupancy sensor installed in the comfy chair in my office, I have no such thing in bed. Home Assistant does have useful data that we can use, but using it is complicated. It is tracking when my phone and tablet are charging, locked, or unlocked. It knows if I am at my computer. It now knows when I have last made espresso, and it has a pretty good idea if a TV is in use.
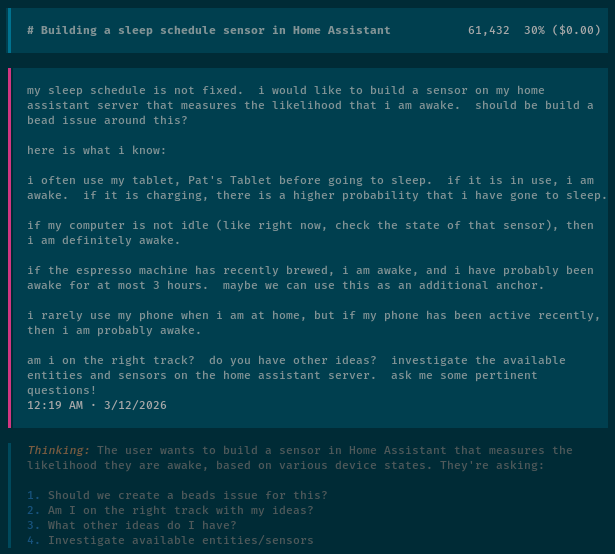
There is a screenshot here of my initial prompt, and of the last few days of the status of my sleep likelihood sensor. We definitely didn’t nail it on the first try, but the next two days line up pretty well with my actual sleeping times, so it sure looks like we are on the right track!
This will give me the sensor output that I need to automate turning my espresso machine on around the time I wake up. On my old OpenHAB server, it would turn on around eight hours after I went to sleep. These days I haven’t been drinking my daily latte as early, so I’ve set the automation to trigger 20 or 30 minutes after the sleep sensor believes I’ve woken up.
We will see how that goes. I want to see a week or two of successful sleep tracking before I try to automate the espresso machine!
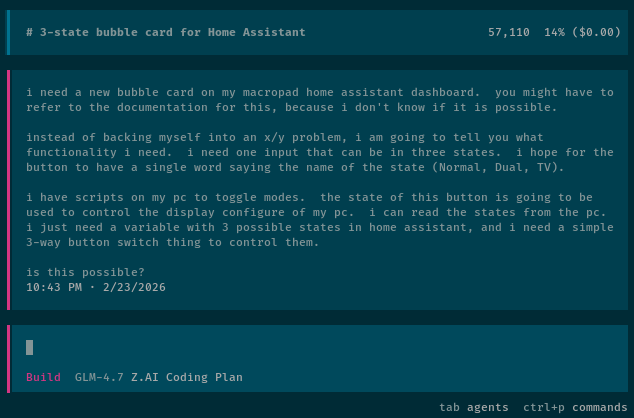
Tracking LLM service quotas on a bubble card
This was fun, but mostly unnecessary. I’ve been trying out different budget-friendly coding subscriptions to use with OpenCode. You can definitely get by with various free tiers if you’re only going to be adjusting your Home Assistant automations and dashboards, but if you’re looking for a subscription the $3 per month plan from Chutes would go a long way. It might be tight the first month when you’re hammering lots of things out. I wrote about my experiences with OpenCode on a budget using Chutes, Synthetic.new, and Z.ai. NanoGPT is also worth a look!
I wanted a way to keep track of how quickly I was eating up the limits on these plans. I’m not a heavy enough user to reach my limits often, but I wanted some idea of how generous they felt so I could impart that information to my readers. The OpenCode-Bar project would do a good job, but that’s for MacOS, and I run Linux.
I wound up downloading the source files involved in querying the various APIs from OpenCode-Bar. I asked OpenCode and GLM-5 to convert those to shell scripts, then I had OpenCode combine them into a single shell script that could run on my Home Assistant server. After that, I just had to ask OpenCode to put a bubble card on my macropad dashboard with the quotas I was interested in.
I know that I had to iterate a few times to get the look I wanted. I needed short enough names that they wouldn’t spill over to two lines on my tablet. I had to ask for some of the countdowns to be tweaked because the API is using an ambiguous time zone. I think it came out nice at the end.
- Squeezing More Value From Low-Cost Coding Plans — Models and Context
- OpenCode on a Budget — Synthetic.new, Chutes.ai, and Z.ai
- Synthetic.new Coding Plan
- NanoGPT Coding Plan
- Z.ai Coding Plan
OpenCode and I have vibed a few other simple things!
I am pushing useful data from my workstation to Home Assistant using hacompanion. The server knows when the screen is locked, which Steam game is running, and the state of various temperature sensors.
I have a bubble card button that tells me whether my GPU is set to my quiet or max profile, and touching that button will toggle the state on my PC.
I have a drop-down button on the same card that lets me select between just my monitor, just the TV, or using both displays on my computer. The automation will tune the gaming TV to the correct HDMI input or turn the TV off depending on the setting. This makes it easy to play games with a controller from my comfy chair on the opposite side of my office.
I also had OpenCode set up a trio of mini-graph-card graphs. They aren’t exactly necessary, but they show my PC’s CPU temperature, CPU utilization, and GPU watts. The power usage of the GPU is a good indicator of GPU utilization.
I think it might be fun to see if I could get MangoHud to send FPS and frame-time information to Home Assistant so I could display all the important MangoHud information on the extra display.
Conclusion
I don’t know exactly what is next for my Home Assistant setup. I do expect that I will be working with OpenCode to tweak the awake likelihood sensor, and I will definitely be using that to automate my Rancilio Silvia! I am also excited that now even when something seems way too complicated to implement by hand, I can just explain it to the machines so we can work together to iron out the details.
The barrier to entry for complex Home Assistant automations has gotten so low! Ideas that used to sit in my “someday” pile because I couldn’t justify the time investment are now getting implemented over the course of two or three 15-minute sessions. I’m not saying everything works perfectly on the first try, but the iteration loop is so much faster when you can just describe what you want in plain English and start seeing results within a few minutes.
Have you been playing with the Home Assistant MCP yourself, or do you have questions about how I set things up? I’d love to hear from you! What automations have you been putting off because they seemed too complicated? Did you manage to implement them using the vibe MCP? Join our Discord community and share your own vibecoding adventures. We’ve got a friendly group of homelabbers and tinkerers who are always happy to help brainstorm solutions!