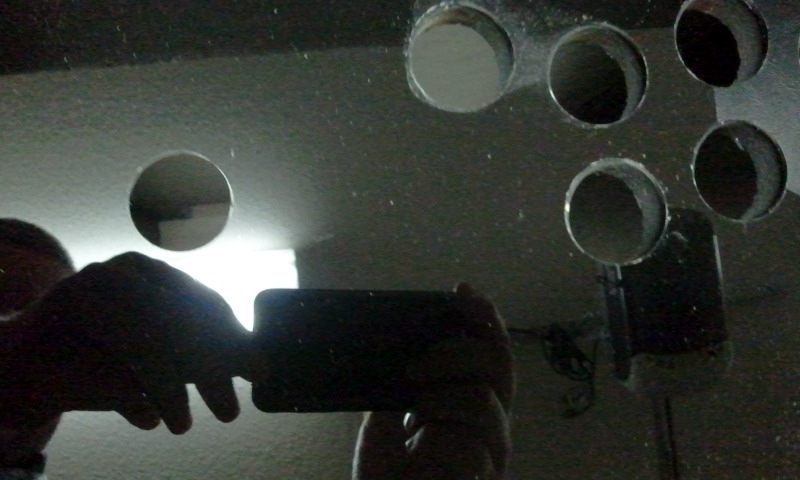

The blackened plexiglas turned out really nice. We used a can of glossy spray paint to paint the back side of each piece. They come out with a very shiny black color and have a very mirror-like reflective quality to them. Please excuse these early pictures. The panels were all still very dusty in the work-shop.
We used the blackened Plexiglas for all the control panel surfaces, for the short vertical panels that cover up the control panel wiring, and also on the back wall of the control panel areas. We originally planned to cover the back walls of the control panels with vinyl. I’m glad we ran out of vinyl, because the reflective plexiglas looks REALLY nice back there. The reflections of the buttons in the back panel look quite awesome!
The plexiglas makes for a nice, smooth surface to rest your hands on but it is very hard to keep clean. Our panels are very mirror-like, so fingerprints stand out a bit more than if we were just using clear plexiglas to cover some artwork.
The Glass Tabletop
I don’t seem to have any pictures of the glass tabletop being painted, but there is a short video walking around the table before it was completely finished. In the video you can sort of see the poor viewing angle from the bottom side of the LCD panel that I described earlier. It gets much worse than that if you actually sit down on that side.
We ended up buying a 32”x42” piece of glass to use as the surface of the table. It is ¼” thick and has, I think, 4” radius corners. We were able to get this piece custom cut at a local glass shop for $55. We aren’t having any problems with the ¼ inch glass but I think it would probably be better to go with 3/8” or ½” instead.
We painted the underside of the glass just like the Plexiglas. First we taped off a rectangle to match the display area of our monitor as precisely as we could. Then we taped off the nicely rounded view ports over each control panel.
We sprayed a few coats of glossy black paint over the exposed glass, waited until the next day, and then peeled off the masking tape.
The glass sits on four little rubber bumpers with the painted side down. The paint comes off the glass pretty easily. We’ve removed and replaced the glass at least a half dozen times so far and the paint has peeled off a bit right at the rubber bumpers. After we touch it up we might try taping off a few square inches underneath with electrical tape. We figure that should keep the paint from peeling.
T-Molding
The T-Molding was really easy to work with. Most of it we were able to just muscle into place with our thumbs and palms. Some spots didn’t want to fit as easily, those we tapped in with a rubber mallet. Once it was in place, we trimmed the end smooth with a razor blade—it cuts quite easily.
There are 90-degree bends on both sides of each control panel. I’m not terribly happy with those sharp bends. We cut out a big V from the back of the molding so it would bend that far, but the bend is still a bit rounder than I would prefer. We also only have barely more than an inch of groove there for the end of the molding to grab on to. Two of them wouldn’t stick on their own so we had to glue them.
One of my favorite parts of the entire cabinet is the piece of t-molding around the control panels that wraps all the way around the table. It really ties the cabinet together.
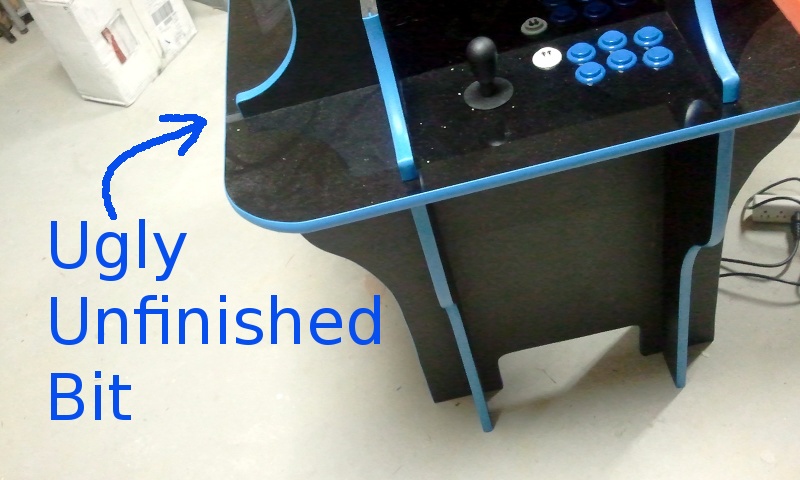
The Ugly Unfinished Bits
I shouldn’t even be pointing this spot out. I doubt anyone would ever notice it in any pictures or videos of the completed cabinet. I sure notice them, though.
There’s a 5/8” gap in the plexiglas between each control panel. We could have worked a bit harder and got the plexiglas to touch there but there would still be a seam to cover. We aren’t entirely certain how we are going to cover it up.
One idea is to cover them up with tokens from meaningful arcades. We would need four of them, which might be difficult, and we’d still need to put something underneath them.
This article at blog.makezine.com got the gears turning in my head. I’m not so sure I would want to emboss anything, but I bet I could bend some aluminum into some sort of clip to slide around the two pieces of plexiglas.
I’m sure we’ll come up with something to cover that gap. It really hasn’t been a priority so far. We really just want to get the cabinet up and playing games!