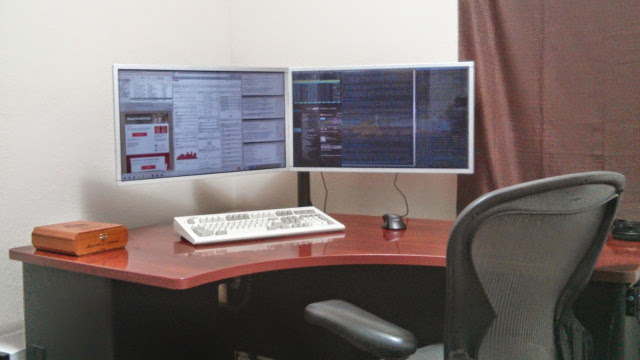
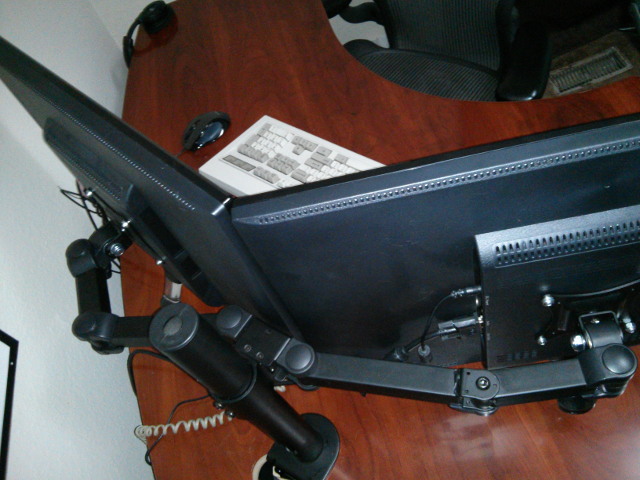
Update: Replacing the do-it-yourself stand
I upgraded to a pair of 27” QNIX 2560x1440 LCD panels, and they were just too big for my custom stand. I wanted to build another one, but I just have too many fun projects going on right now, and I didn’t think I’d find time to do it.
I ended up buying an inexpensive, heavy-duty monitor stand instead. Most of the options that were available when I built my own monitor stand quite a bit more expensive than the stand I ended up buying for my QNIX monitors.
This time I was able to buy a heavy-duty, fully articulated dual monitor arm for about as much as I spent on parts to build the last one. There’s not much point in going the DIY route anymore!
The Back Story
I started running my first dual head desktop at home with a pair of 19” CRT monitors sometime around 1999-2000. In 2001 I “upgraded” to a pair of 14” LCD panels. Ever since that upgrade, for almost 10 years now, I have been wanting to buy or build some sort of dual monitor stand.
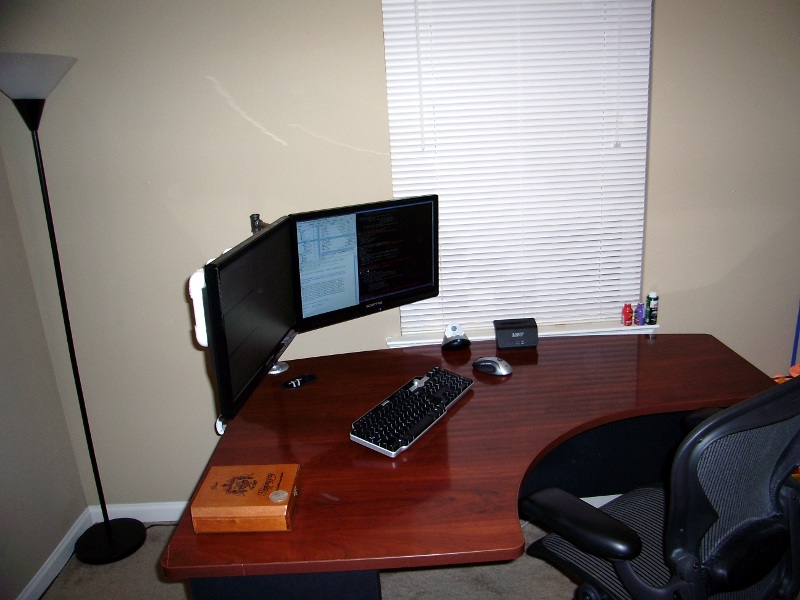
I ran those 14” panels for quite a few years. Probably for a lot longer than I should have. Sometime in 2005 or 2006 I ditched my separate desktop and laptop and started using a laptop as my primary workstation. The laptop didn’t have dual video outputs, so I traded my dual head for the convenience of having my primary computer with me no matter where I went. It was a very worthwhile trade-off; I plan to never have a separate laptop and desktop again.
Update: Never say never. I ended up building a new desktop computer in July of 2013!
When I upgraded earlier this year, one of my requirements was that the new laptop needed to support a pair of external displays. The laptop I chose has an HDMI and VGA port. This laptop can only drive two ports at the same time, so I can’t cheat and use the internal display as a third head.
I don’t really consider the current monitor stand to be a finished product. It is in its second iteration now and could definitely be improved upon. I am going to describe where we started, how we got to the point we are at now, and probably talk about some of the things I might do differently next time.
Some of the Design Goals
There were a handful of features we thought were necessary:
- Adjust the angle of the monitors
- Move the monitors left and right, so we could get them to meet up nicely at the center
- The whole thing needed to be sturdy
- Less expensive than a monitor stand we could order
The Early Ideas and Failure
The original idea was to build almost the whole thing out of steel pipe from Lowes.
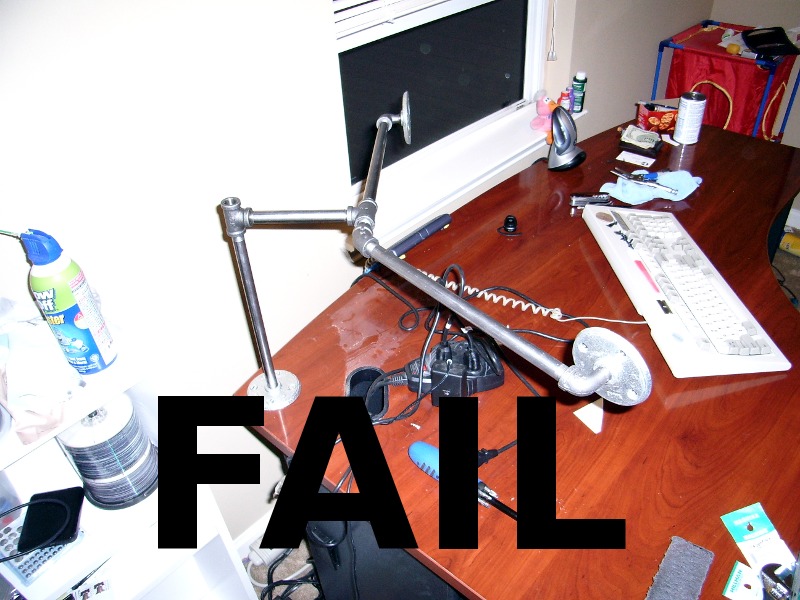
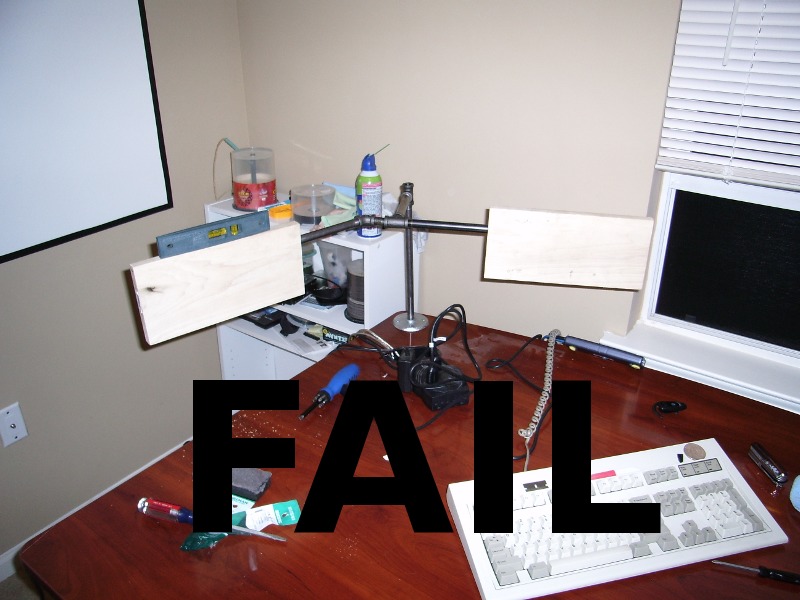
The two “FAIL” pictures show everything we had in our original design. We used pipe flanges, which are ridiculously expensive compared to the rest of the parts, to bolt the whole rig to the desk. Then we put a pipe flange at the end of each arm. Then we bolted a small 1”x6” piece of lumber to the flange at the end of each arm.
At this point we needed a way to mount the monitors on the lumber. We ended up bending some metal strips into J-shaped brackets so we could literally hang the monitors on the lumber.
We did a horrible job fabricating those brackets. The idea isn’t terrible. It allows for rotating the angle of the monitors on two different axes, and it allows for moving the monitors left and right. There were a few things we didn’t like, though:
- Our brackets were awful, they looked terrible, and we couldn’t manage to quite get the monitors to line up
- The two extra flanges probably cost more than all the pipe we bought
PVC to the Rescue!
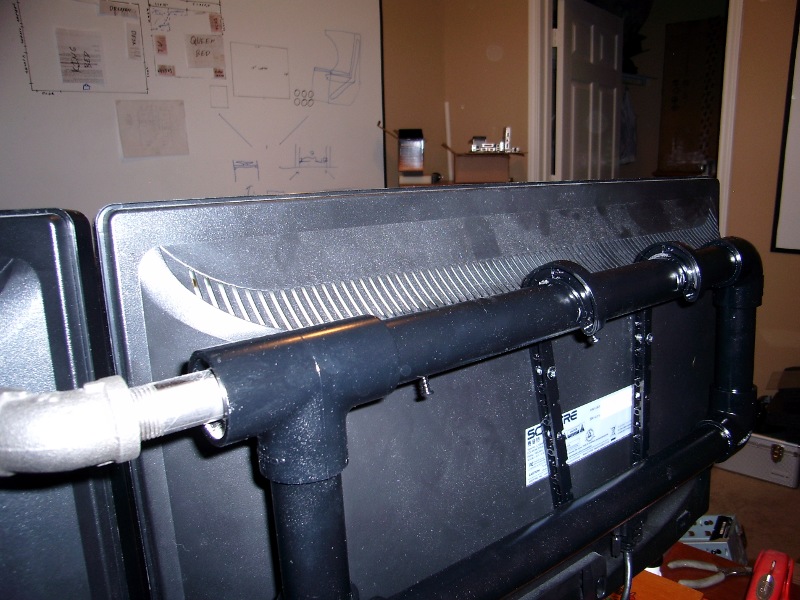
We weren’t sure PVC would work out but it ended up having quite a few advantages. We ended up buying a 10’ stick of the higher pressure-rated ¾” pipe for just a few dollars. The tee and elbow fittings are also only 20-30 cents or so each.
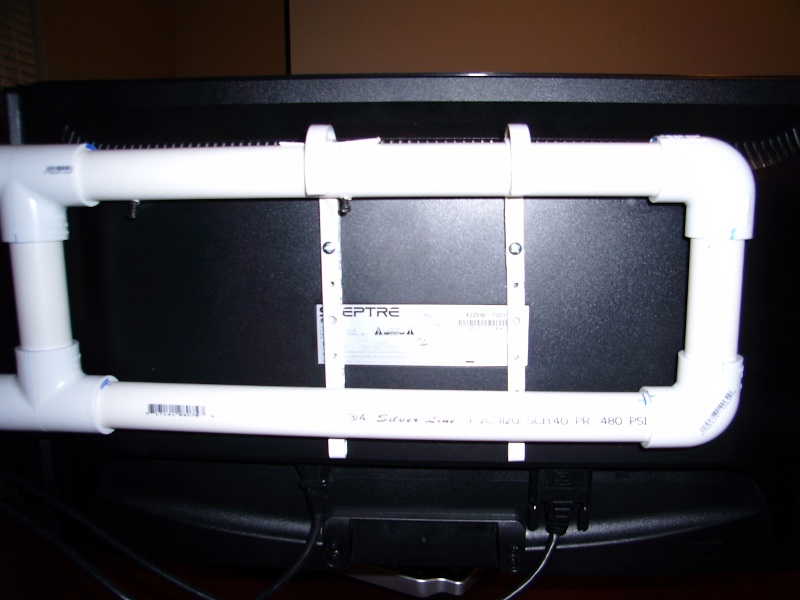
They also sell really handy hooks that fit each size of PVC pipe. We screwed a pair of ¾” PVC hooks to each monitor using the VESA mounting holes; we just had to drill the holes out a bit bigger to fit the M4 screws. I only ended up using the top screw for each hook. I ran out of long M4 screws. They have been hanging for over six months without any issue, so I’m not going to worry about it now.
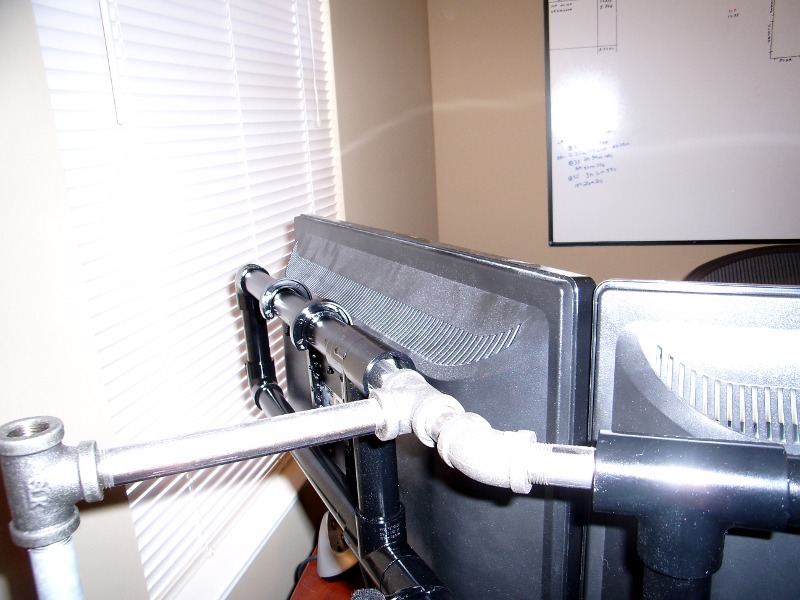
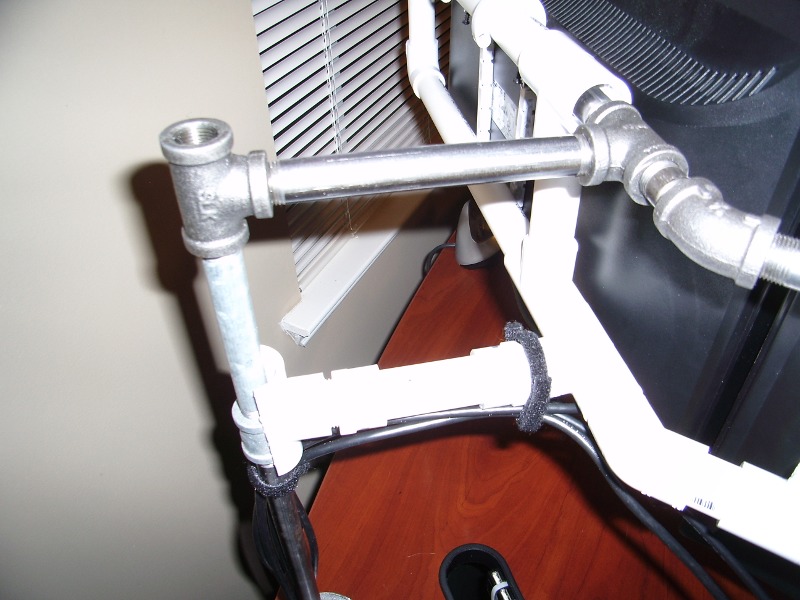
Each monitor has its own PVC rectangle with tee fittings on both inside corners instead of elbows. The top tube on each PVC rectangle is slid over existing steel pipe (where the upper flanges used to be). Then we connected the bottoms of the rectangles to each other with various PVC fittings and very short lengths of pipe.
The bottom of the rectangle is “connected” back to the vertical steel pipe with a short section of PVC pipe. It isn’t really connected; it just rests up against it to keep the bottom of the monitors from sagging. There is a pair of PVC screw caps in there so I can adjust the angle, but they weren’t at all necessary. If I did it again I would just put a single pipe in there without the fancy fittings.
Putting Some Lipstick on that Pig
I’ve been wanting to post pictures of this rig for months but it looked pretty bad in white. The problem was that to paint it I would have to take it down. If I took it down I wouldn’t have my monitor stand.
I finally took it all down this week to “paint” it. I bought a can of “vinyl dye” from the auto parts store. It worked very well, covers very easily, and looks infinitely better than the white PVC that announces what pressure it is rated for.
I didn’t paint any of the steel pipe. I like the way it looks just the way it is.
The Cost
I probably bought a total of about $60 or $70 worth of parts, but I’m pretty sure I really only used about $30 or $40 worth of them. The cost would go down a bit more if I used less steel.
I would prefer to use less steel. I’m not terribly happy with the way the steel joins up with the PVC. It works and looks alright. I just don’t like it.
What I Would Like to Do Differently
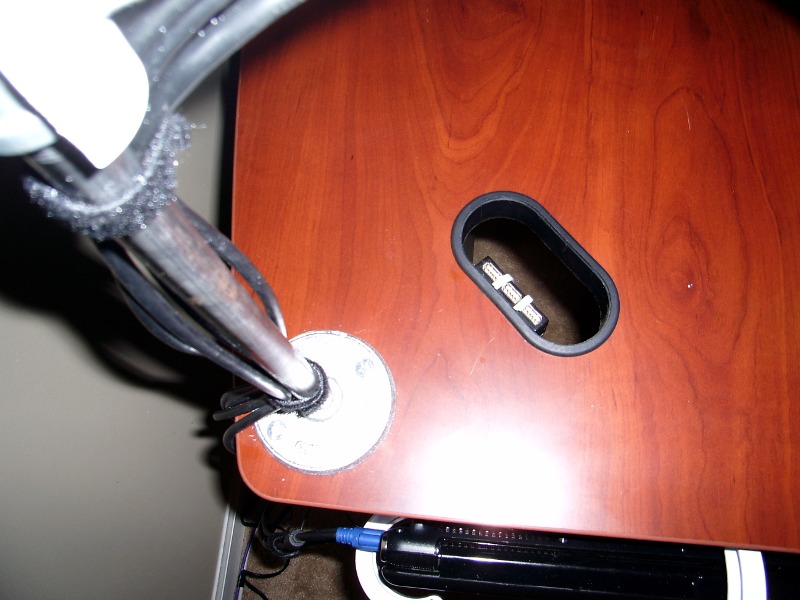
Right now the PVC is mostly a two-dimensional structure. I have some ideas for a sort of triangular PVC cage that would support the monitors both vertically and horizontally. Then that cage could just drop down over the top of a single steel pipe coming out of the desk.
What I have already does its job quite well. I wish I built something like this 10 years ago!