The Guts of the Table
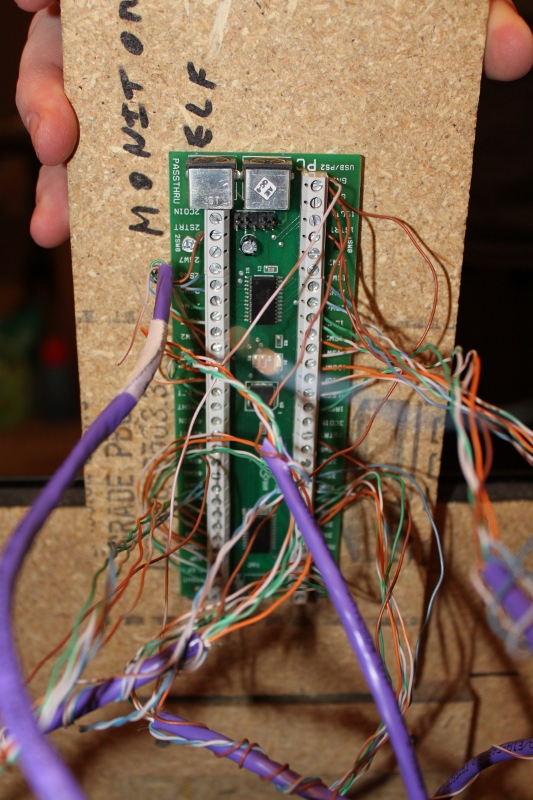
The only new electronics I bought for the table were the I-PAC4, the buttons and joysticks, and the 24” LCD monitor. All the guts were transplanted from my home file server, whose job used to be playing movies on my DLP projector.
Arcade-Related Hardware
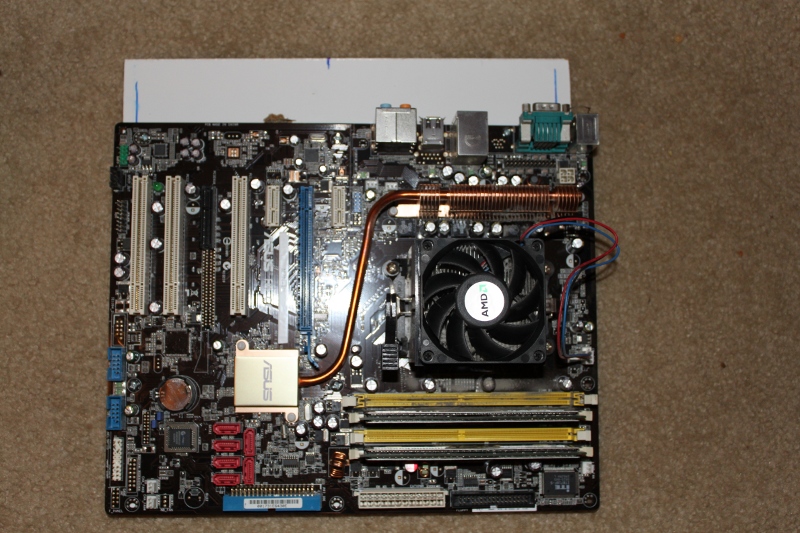
The computer hardware is mostly faster than it would need to be for an upright cabinet. It is an Athlon X2 3800+ with 1 GB of RAM and it has a 64MB NVIDIA 6200 LE PCIe video card.
NAS-Related Hardware
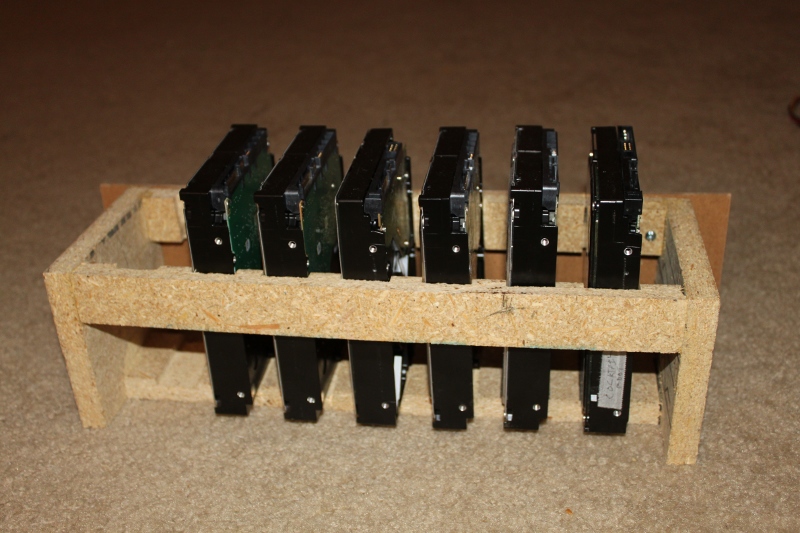
The motherboard also has 6 SATA ports, and I’m using every one of them. The arcade table is now the home of my file server. We built a little cage to hold seven 3.5” hard drives out of some of the left-over building materials. Six would have been enough, but the wood we cut ended up being long enough for seven, so that’s what we have.
The boot drive is an old 320 GB SATA disk I had lying around. It holds all the data needed to play games on the cabinet. Then there are five 1 TB disks in a RAID 6 array, giving me about 3 TB of usable space. The RAID drives are set up to spin down shortly after the cabinet boots up.
I’m very happy that I’m able to use my cocktail cabinet as my home file server. The table is fairly bulky but it has a ton of room for computer hardware on the inside.
How the Hardware is Mounted
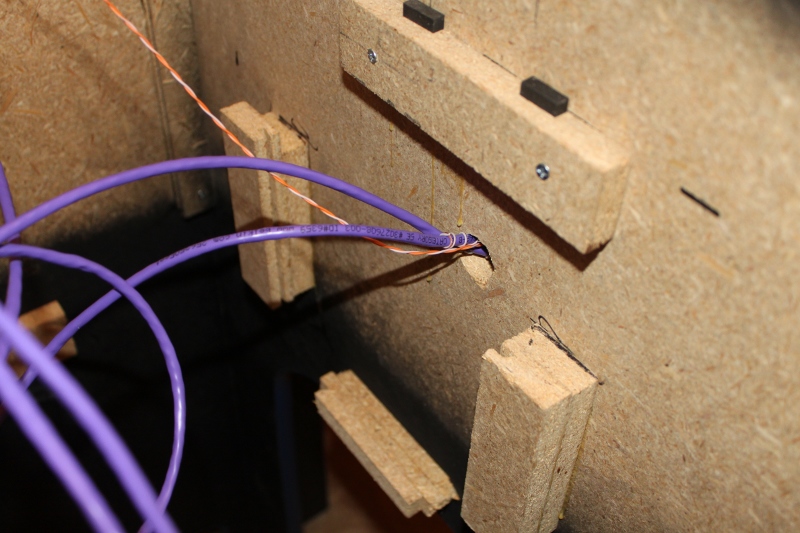
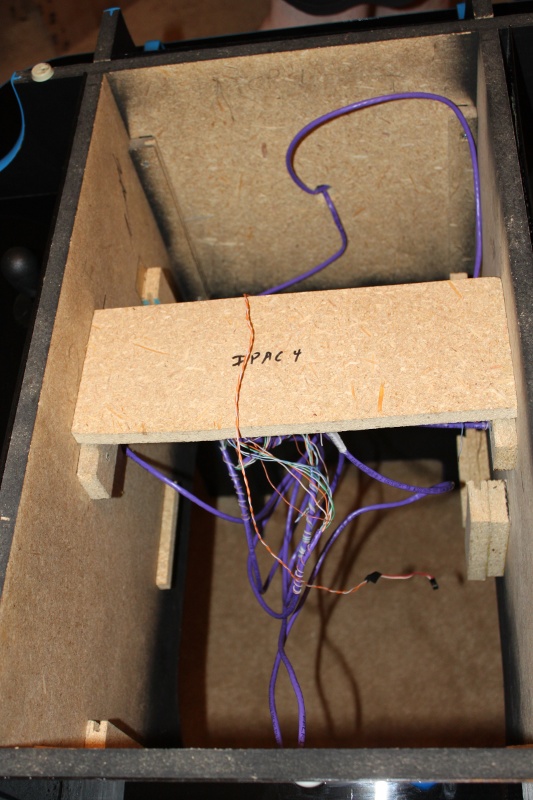
We had a whole bunch of leftover melamine panel from my DIY white boards. We cut one panel each to mount the motherboard, power supply, and the hard drive cage to. We cut slots in the sides of some 6” x 2” inch pieces of our 5/8” particleboard and we glued/screwed those to sides of the interior of the table to use as rails.
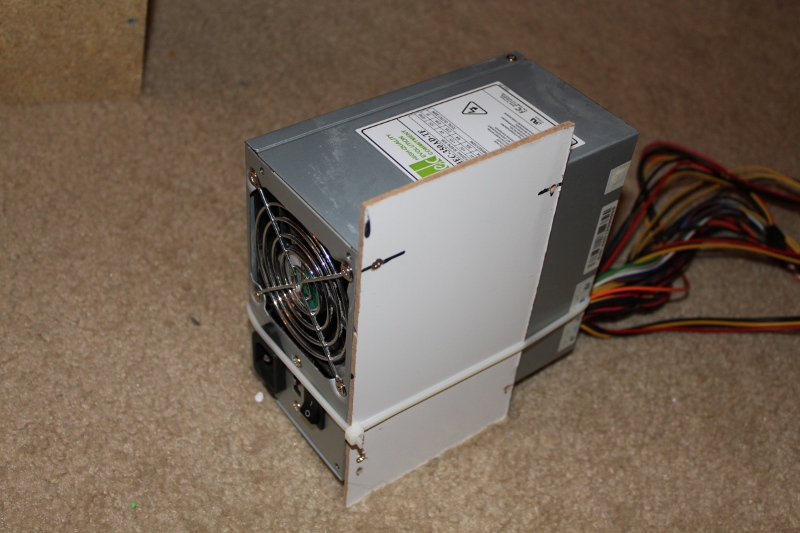
The motherboard is attached to a melamine panel square with wood screws and some plastic spacers. The power supply is screwed and zip tied to a small panel. The original power supply we were going to use had four screw holes we could use; the power supply we ended up using only had two. The two screws are probably enough; the zip tie is really mostly there for my own piece of mind.
The melamine panels slide right down from the top into the rails. We glued/screwed small wood blocks onto the walls underneath the panels to use as bump stops so the components would drop right through to the floor.
There is a six-inch wide shelf in the center of the table that the monitor sits on. We didn’t end up having to measure that perfectly, we just used some rubber feet as spacers to push the shelf up just a bit so that the monitor is nearly pressed right up against the glass.
The Software
We’re running 32-bit Ubuntu 10.10 for the operating system. We’re using the Wah!Cade front end and SDLMAME and SDLMESS for all the emulated games.
Wah!Cade
I don’t have much to say about Wah!Cade. I didn’t try many other front ends, so I can’t really say if it is much better or worse than anything else. I’m happy with it so far. It looks fine and the config files are easy to work with.
In the future I would like a front end that would auto rotate the controls and display for me so that the controller that selects a game becomes player one. I can see this being pretty complicated to do properly, though. I have some games set to the forced faux cocktail mode and others are set to native cocktail mode. None of those settings will work very well if the game is rotated from portrait to landscape.
SDLMAME
SDLMAME is excellent. I wouldn’t have built a cocktail cabinet if it weren’t for the “new” cocktail video mode that splits the screen and shows a full display to player one and player two. This is a killer feature of SDLMAME and SDLMESS for me.
Every game I would ever want to play from up until at least the middle of the 1990s plays in cocktail mode without dropped frames at 720p on my hardware.
SDLMESS Saves the Day!
Using a computer LCD monitor almost ruined my cocktail cabinet. I was using Mednafen and Snes9x for NES and SNES emulation. I’m a big fan of Mednafen, and both emulators are wonderful pieces of software.
My plan was to use the player 3 position, which is one of the long sides, as the seat to play NES and SNES and other games. With the poor visibility from the bottom of the display, I was forced to rotate the video output using XRANDR. This really made my video card too slow to play and scale NES and SNES games. Mednafen and Snes9x don’t have facilities to rotate the game output.
SDLMESS can not only rotate the display, but it even supports SDLMAME’s cocktail mode! SDLMESS isn’t nearly as capable of an emulator as Mednafen or Snes9x, and it is very picky about which game images you feed it. When a game works, though, it works very well.
Once I finished shoe-horning SDLMESS into place it was pretty trivial to add TI 99/4a and Coleco Vision emulation to the cabinet. I’m very happy to know that my memory is correct. Munchman is a much better game than Pac-Man, and TI Invaders is far superior to the original Space Invaders! I also had the theme song from “The Attack!” stuck in my head for days…
I ended up wrapping all the emulators in little shell scripts that set the correct screen orientation and/or resolution. My front end is running rotated 180 degrees at 800x600 and SDLMAME and SDLMESS are running at normal orientation at 720p. I’m experimenting with running some native games; they tend to need to run with the screen rotated as well.
Cocktail Cabinets are More Expensive than Upright
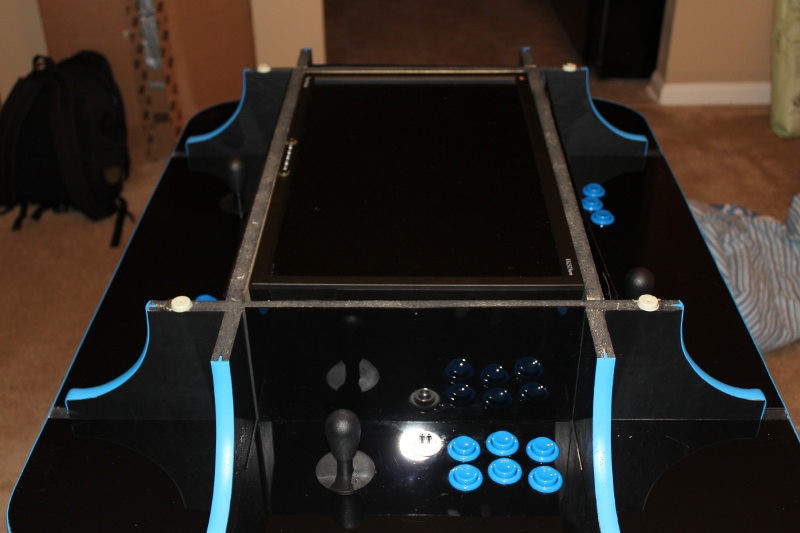
Especially when they’re four-player… I wanted six buttons at each of the four control panels. I don’t think there are any four-player arcade games that use more than three buttons but I wanted the option to be able to play two-player six-button games in either portrait or landscape. Just about the only control interface that supports enough inputs for that is the I-PAC4, which costs more than twice as much as something like a GPWiz 40.
To run in the split-screen cocktail mode requires more CPU. Scaling the larger output of the split-screen cocktail mode requires more GPU. In general you’ll need more CPU and GPU horsepower to drive a cocktail cabinet.