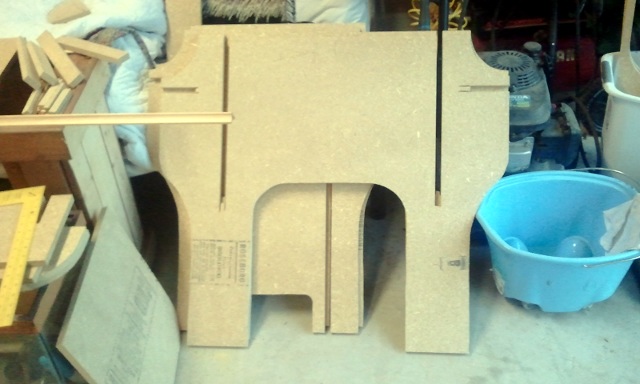
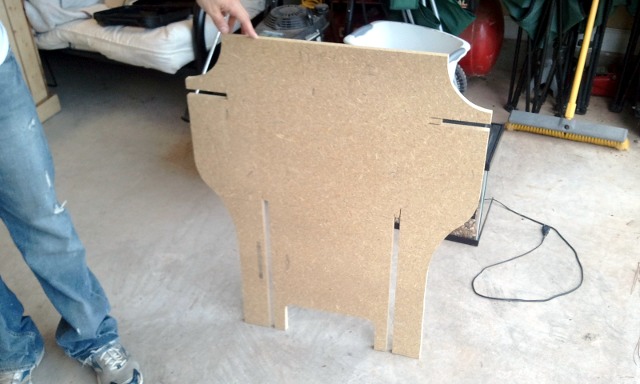
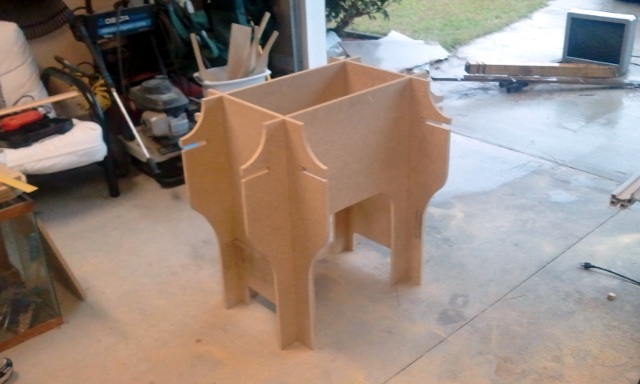
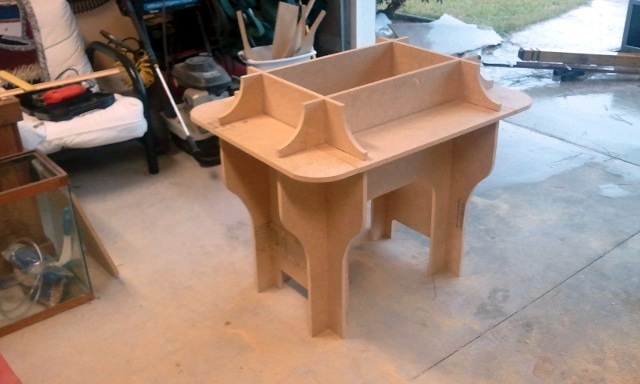
I feel like we made huge progress in the couple hours we spent with the jigsaw on our second day working on the cabinet. It is really starting to take the shape of the finished product now!
Things are Starting to Take Shape
I may be biased but I think it is starting to look quite awesome. It actually looks quite a bit smaller than I expected. We have a full size top-down mock up drawn on the whiteboard and it looks ginormous up there.
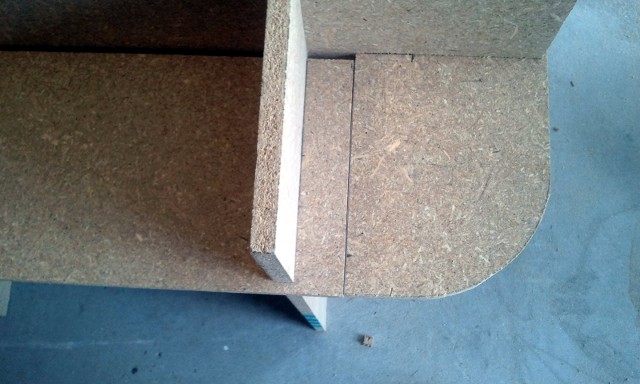
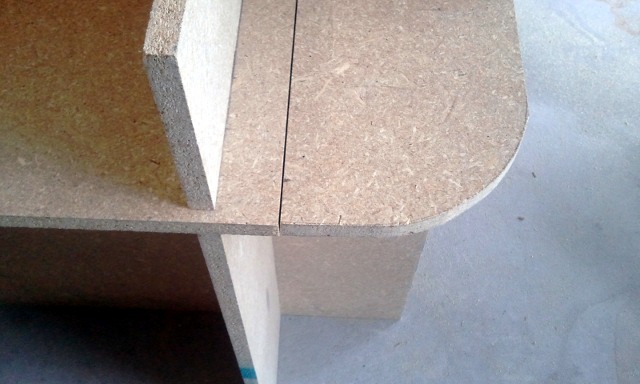
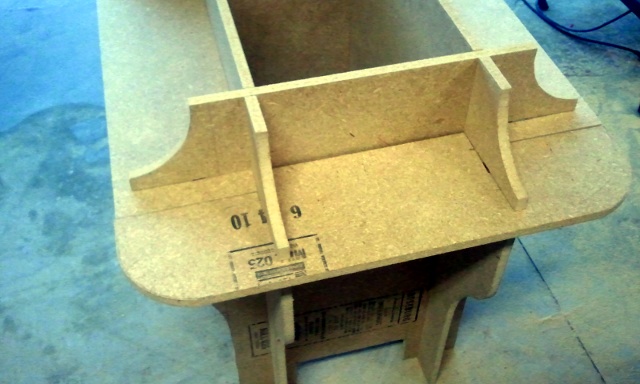
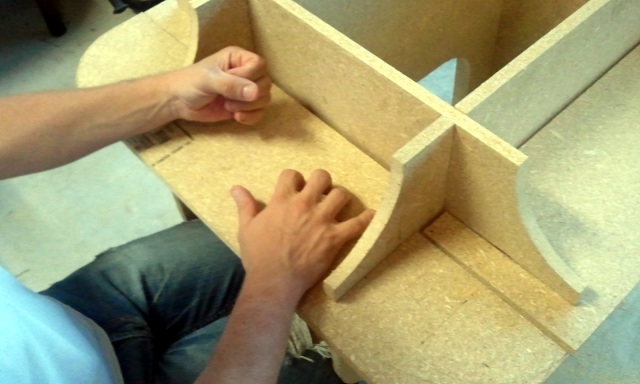
All the material we removed with a jigsaw dropped the weight of the cabinet significantly. I wouldn’t be surprised if we removed more than one third of the material. The particleboard is pretty flexible and we’re getting a bit of wiggle up top where the controller boards slot in. We’re pretty sure it will all tighten up quite a bit once we drop the “floor” in and use some fasteners to tie the control panel boards together.
More Leg Room!
We cut nice big arches in the two long sides so that players three and four can stretch their legs. We were originally going to do the same for players one and two but the space between the sides of the cabinet just didn’t seem wide enough to fit two legs between.
We decided it would be better to just cut a smaller four-inch-high space so you can at least put one of your feet in a little closer. We think players one and two will likely end up sitting with one foot under the table and the other foot off to the side.
What’s Next?
The next step will be to drill holes for the buttons and cut holes for the joysticks. Our plan so far is to cover the control panels and the “cup holder” surfaces with a thin sheet of plexiglas (or some similar clear plastic). I figure we can paint and decorate the underside of the clear plastic and it should look like a nice clean, shiny, mostly black surface from the top.
If we do it right the blackened plexiglas should cover up all the seams where each of the four control panel boards meet up with each other.