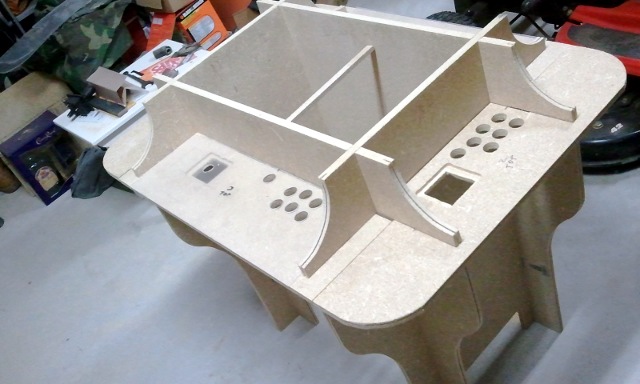
We were thinking that routing the holes for the joysticks was going to be one of the hardest steps. It actually ended up being easier and faster than we ever expected.
We are using HAPP Competition Arcade Joystick. It looks like there are two common ways to mount these joysticks.
You can use a metal plate as your control panel and bolt them straight to it. We didn’t like this because we don’t want to see the bolts.
You can also use a thin wood control panel and screw it in from underneath. The joystick comes with a longer plastic spacer to help make up for the thickness of the wood. We wanted the joystick to be as tall as possible, and we didn’t think this seemed very sturdy.
How Did We Do it?
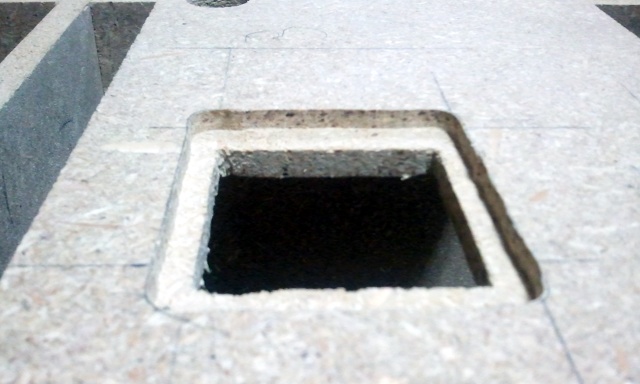
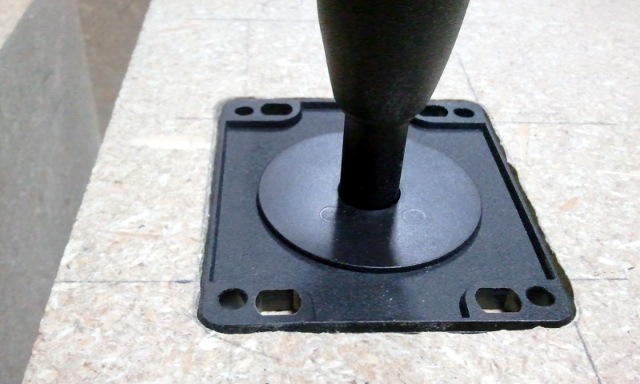
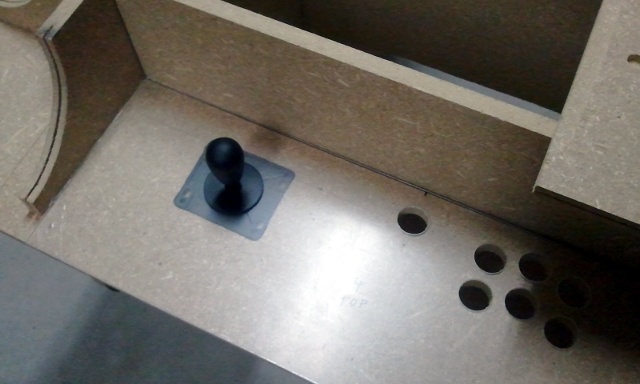
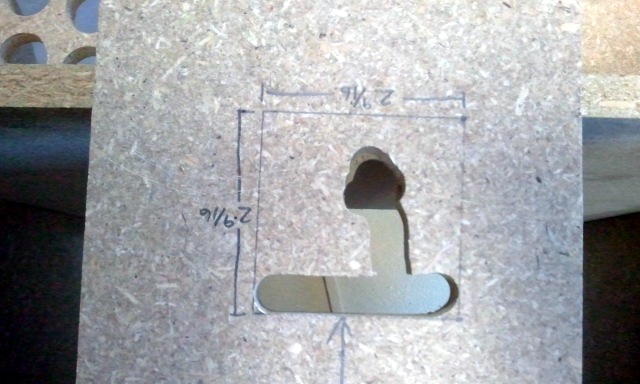
We routed a 2 9/16” square hole through our 5/8” thick particleboard control panels. Then we set the depth on the router so we could countersink the top lip on the joystick so it would be flush with top the of the particleboard. We got a nice snug fit on all four joysticks. Once they are pushed in, they are pretty tough to get back out. I am very happy with the results, since they might not even have to be screwed in.
Drilling the Hole in the Plexiglas
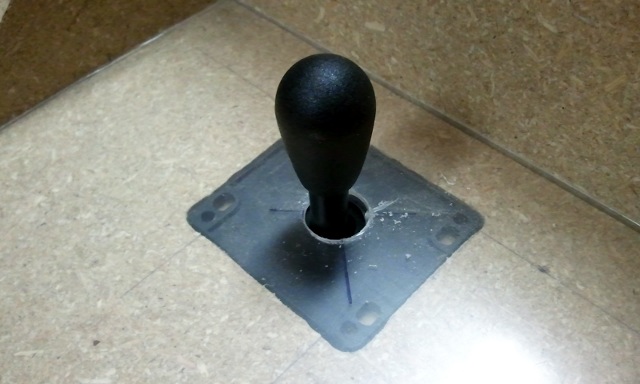
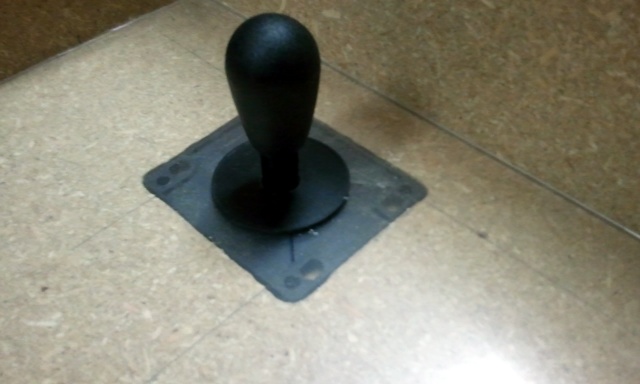
The hole for the joystick doesn’t have to be very big. The first hole we drilled, we used a 7/8” spade bit. We didn’t quite find center, and the joystick was rubbing in one direction. It was easy enough to clean that up, but we learned that it was better to just us a 1” bit instead. As long as the hole is completely covered by the joystick’s little plastic disk, it will be just fine.
What’s the Next Step?
Things are winding down fast now. Most of what we have left is just painting and decorating before we get to the wiring. The next step will likely be painting and applying the textured vinyl.
