I think I’ve had the arcade cabinet up and running for a couple of years now, and that has given me plenty of time to kick the tires. I’m very, very happy with how the project turned out. Everyone who sees it seems to be genuinely impressed with it, and I most definitely agree with them. We did a lot of things right, we did a lot of things wrong, and we made a lot of things harder than they needed to be.
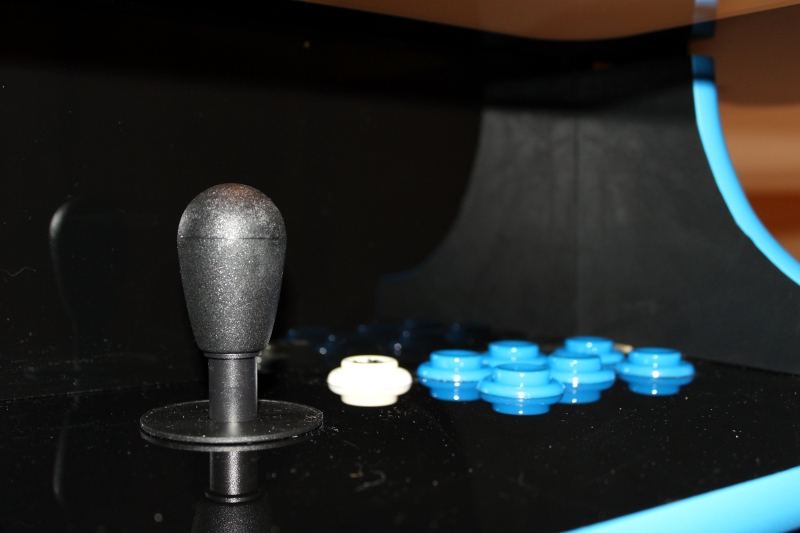
The blackened plexiglas and glass
This is easily one of my favorite things about the cabinet. It looks great. You can paint the underside of acrylic or glass any color and it will look awesome—smooth and shiny.
We planned on blackening the surface glass and the acrylic control panel covers. We liked the way it looked so much that we also used it in two more places. We used it to cover the rear “wall” of each control panel and we also used it to put a shiny face underneath the control panels to hide the wiring.
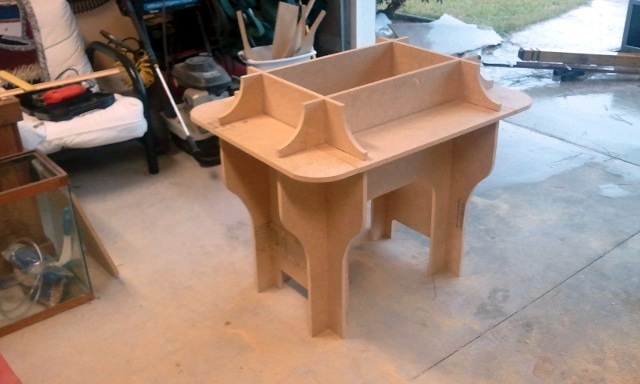
Giving the cabinet legs
Most cocktail cabinets are boxes with a screen on top. They don’t allow much room for your feet. This wasn’t a problem at the Pac-Man table when I was seven years old. These days I’m around six feet tall, and standard cocktail cabinets don’t leave me much room for my size twelve Rockports…
The small cut-outs on the player-one and player-two sides are just high enough to fit your foot under. It probably would have worked out just fine if we made shorter cut outs like that on all four sides.
I’m also very happy that we planned correctly and had just enough legroom under the control panel wiring. Twenty-four inches is just enough clearance to fit my knees under there while sitting in a standard-size dining room chair; we haul those chairs in here pretty frequently.
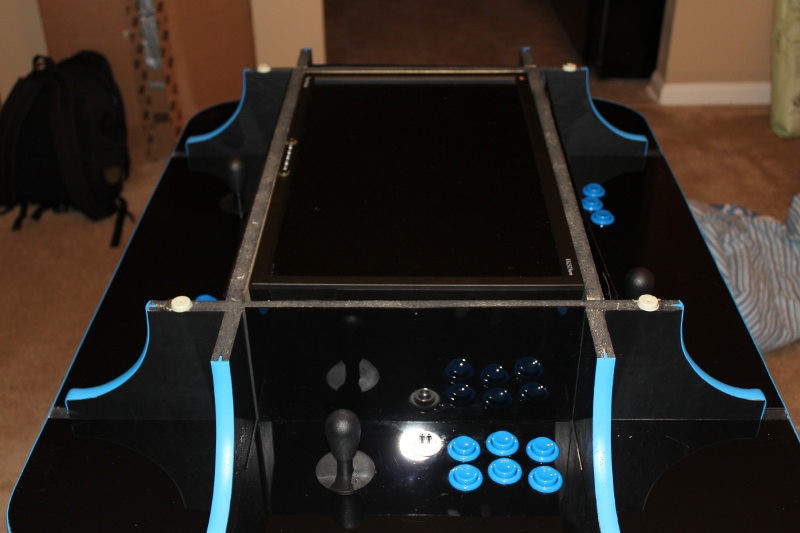
Over sized control panels
We made sure to leave plenty of room in front of the buttons to rest your palms. We’re not kids anymore, and we have adult-sized hands. I didn’t want to end up having to rest my hands on the edge where the panel meets the t-molding!
The button layout
I’m pretty happy with the compromise we came up with for our button layout. We have two rows of three buttons. The center column of buttons is set about a half-button width higher than its neighbors.
They’re about straight enough to comfortably play Street Fighter-style games while putting the bottom-center button in an almost natural position for blocking in Mortal Kombat games.
We also tried to get the buttons about as close together as we could. That makes them a little more comfortable than most real arcade layouts.
The color scheme and the shape
I am really happy with the light blue molding on a black cabinet. I felt that the table would look out of place in my office if we added a bunch of arcade-style artwork to it, but I still think it would look right at home in an eighties arcade.
The LCD panel
I’ve already talked about the problems we had with our choice of LCD panel, which make the player-three seat basically unusable. That is a problem that wouldn’t affect every cabinet, and even in a cocktail cabinet it can be fixed by using an LCD television instead of an LCD computer monitor.
The LCD is lightweight, and it left us with a ton of room in the cabinet for computer hardware. Having a 1080p display is great for playing more modern games, and a widescreen display is perfect for split screen two-player console gaming.
Surprisingly, the speakers in the monitor are adequate. I doubt an audiophile would agree with that statement, but they are reasonably loud, and they definitely sound good enough for pre-1995 gaming.
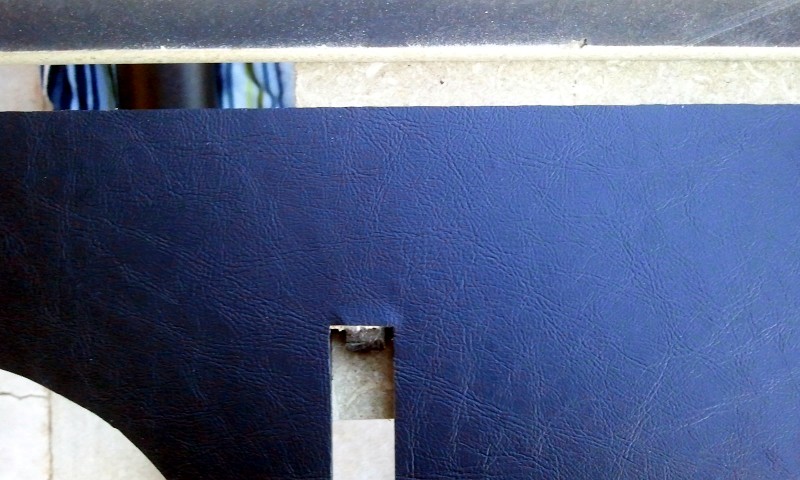
Sticky-back vinyl!
I also included sticky-back vinyl in my list of things we got wrong, but I’m still very impressed with how the vinyl turned out, even if it was a time and money sink. It is holding up pretty well, except that bumping the table around has caused the carpet to slowly peel the vinyl away from the bottom in some spots. I’m sure we can fix that with some adhesive, but you wouldn’t even know it was happening unless you were down there on the floor with it.
The vinyl looks very nice and it has a nice texture. It makes things feel a little more real.
Home office upgrades
This table takes up 42” by 32” of floor space in my home office. If it only played arcade games I might find it a bit harder to justify its use of the space.
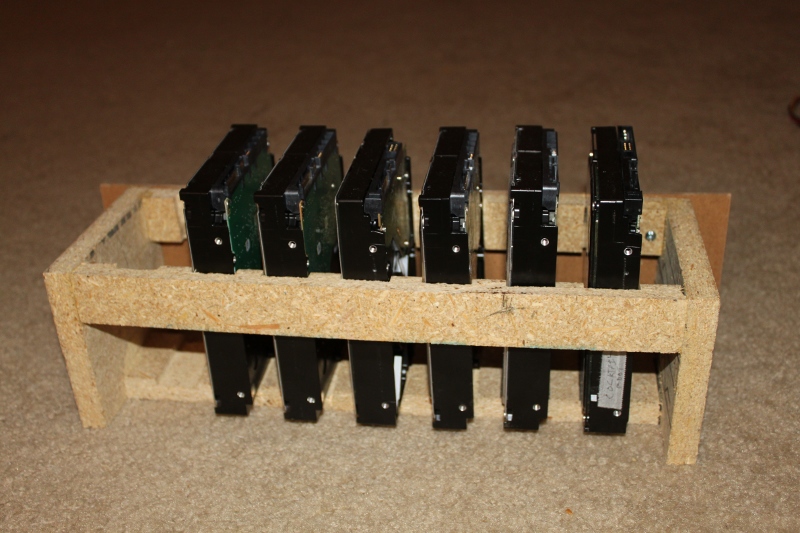
I ended up using all the guts from my old home file server to drive the cabinet. Along with those guts came a RAID 6 array made up of five 1 TB hard drives. That gives me about 3 TB of usable space. That isn’t a ton of space by today’s standards, but it was when I originally bought the drives. I have room in the drive cage that we built to hold one more drive.
Connecting a wall-mounted LCD TV to the arcade table has also greatly increased its usefulness.