I have been using OpenCode since November. I am a light user of coding harnesses, but I do use OpenCode almost every single day. I have tried out Pi in the past, but only to take advantage of its tiny system prompt when using Qwen3.5 9B or Qwen 3.6 27B on my local GPUs. It never seemed like a tool that would replace my use of OpenCode.
My problem with Pi is also its biggest advantage. It is extremely barebones, so you have to add or build a lot of extensions to reach feature parity with OpenCode. Pi has no subagents, no undo command that tracks file changes, no web access, no interface to MCPs, and no permission system. You have to add these things yourself.

Some of these features are hard to live without, but there are also sometimes half a dozen similar extensions to choose from. If you are an OpenCode user who wants to try Pi, I am going to walk you through two suggestions: the set of plugins that I use, and the lazy way!
Why bloat Pi to match OpenCode’s feature set?
Out of the box, Pi uses around 1,500 tokens of context. My OpenCode setup uses 13,800 tokens just to say hello. This is awesome when I try to use Qwen3.5 9B on my homelab’s 8 GB RX 580 GPU, or when I use Qwen3.6 27B on my gaming PC’s 16 GB 9070 XT GPU, but you give up a lot of features and comfort when running Pi without any extensions.
Many of the handy extensions that I am running don’t even add any context to the system prompt, but some do. The pi-subagents extension alone adds 3,000 tokens of context!
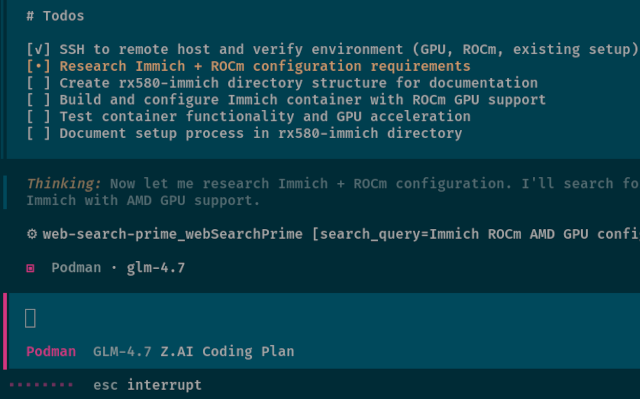
I could probably do better, but I am pleased with where I am sitting. My Pi sessions start at 9,551 tokens of context. I believe that I have every single feature of OpenCode, and some of those features go way beyond OpenCode’s capabilities.
Saving 4,200 tokens of context isn’t a ton. This does quickly add up to millions of tokens when your sessions have a lot of turns, but those tokens will be cached, so it barely matters. These tokens might have been a big deal a year ago, but even the less advanced of the models we use today are easily reaching past 120,000 tokens of context without losing track of things. Being able to push 4,000 tokens farther isn’t a big concern for me.
I think the important thing is that I am squeezing more capability out of Pi with a smaller system-prompt budget. Getting more for less feels like a good deal to me.
- OpenCode with Local LLMs — Can a 16 GB GPU Compete With The Cloud?
- Pi Coding Agent
- Pi’s Design Philosophy
I started with LazyPi, and so should you!
If you’re coming from OpenCode or Claude Code, you’re going to feel underwhelmed using Pi out of the box. So many features you take for granted aren’t there. I almost attempted to properly try out Pi on at least three separate occasions, but I quickly got bogged down while trying to find extensions to handle the things that feel like they should be table stakes.
I saw LazyPi mentioned somewhere a few weeks ago. I installed it, and I have been using almost nothing but Pi since then.
I think you’ll be fine if you just install the whole thing, but I quickly saw that there were a lot of extensions that I would never use, and some of them were eating up a lot of system-prompt context. I didn’t want skills I would never use, dozens of themes, Ralph Wiggum, an autoresearch loop, a memory extension, or an extension that lets Pi manipulate an interactive terminal application.
It won’t hurt to install everything, but I expect you’ll want to pare down at some point.
LazyPi helped so much. I didn’t have to choose which subagent extension was right for me. I didn’t have to set up a status bar. I didn’t need to choose an ask or todo module. LazyPi picked for me, and nothing was stopping me from replacing any pieces that I wound up not liking.
What extensions am I running?!
I am going to go into more detail about which LazyPi extensions I replaced, why I replaced them, and which additional extensions I added or created. Here’s the tl;dr.
LazyPi’s pi-ask-user ate up a lot of context, and it was way too tall. This is an important extension, because it allows the LLM to ask you multiple choice questions, but I just couldn’t interact with pi-ask-user in an 80x25 terminal. I swapped it out for pi-ask.
I added pi-rewind. I can’t live without OpenCode’s undo system, and this is implemented in a similar way. We’ll talk more about this soon.
| Extension | Description |
|---|---|
| pi-subagents | Delegate work to builtin/custom agents |
| pi-mcp-adapter | connect to MCP tool servers |
| pi-web-access | Web search & fetch |
| @juanibiapina/pi-powerbar | Status bar with model, tokens, TPS info |
| @juanibiapina/pi-extension-settings | Required by pi-powerbar |
| @tmustier/pi-usage-extension | Monitor token consumption |
| pi-manage-todo-list | Todo list for your planning agent |
| pi-sqz-auto.ts | Transparent Bash output compression via sqz |
| pi-rewind | Equivalent of OpenCode Undo |
| @gotgenes/pi-permission-system | allow/deny/ask rules for tool execution |
| pi-token-burden | Examine your context window utilization |
| @eko24ive/pi-ask | Structured questions and clarification flows |
Most of the extensions on this list did indeed come from LazyPi. There are a few that aren’t important enough to dedicate a heading to, but they are handy.
I use pi-token-burden to understand how much context each extension is adding to my system context window. It even lets you view each slice in your text editor.
I don’t know that my extension is ready for prime time, but I asked Pi to make an extension to automatically apply sqz to all Bash calls. This eliminates a lot of unnecessary output on successful podman build commands, and it condenses identical repeated tool calls down to a hash. This is sometimes a massive context saver.
You shouldn’t sit down and install all my extensions. You probably shouldn’t keep all the extensions that LazyPi automatically installs for you. I am giving you my list as a starting point, or maybe a second jumping-off point after LazyPi. When you find yourself missing a feature that you need, or you dislike something about the extension shipped with LazyPi, maybe I’ve already found a good package to start with.
The Pi subagents extension is more powerful than OpenCode agents!
Whenever I see subagents mentioned on r/PiCodingAgent, I see so many comments from people who have never used a subagent. They aren’t just for running tasks in parallel to eat tokens faster.
I have a line in my AGENTS.md that says that when the agent has to hunt down the correct Bead to work on, it should spawn a Scout subagent. This keeps thousands of useless tokens from clogging up context near the beginning of a session.
I have something similar in my SYSTEM_APPEND.md that coaxes the agent to use a Scout subagent when it wants to run find or grep. So many of my sessions start with a dozen find and grep commands. My Scout agent uses a model that is cheap and fast, and it only needs to send up the location what it was actually looking for. No reason to fart up my context with files and directories that were irrelevant.
This is 95% of what I use subagents for. It is entirely automatic, and it saves me thousands to tens of thousands of tokens per session.
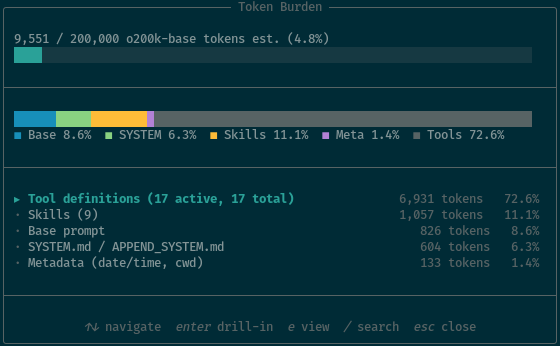
Around 4,000 of the 6,931 tokens of tool definitions are taken up by the pi-subagents tools
That is just scratching the surface, though. This is roughly enough to have parity with OpenCode, but the pi-subagents package has so much more functionality. Subagents can be forked with the parent’s context, or they can be started with no context. The Scout agent starts with a blank slate, but the Oracle and Worker subagents start with the parent’s context. There is even an optional package to allow active subagents to send each other messages.
The pi-subagents extension ships with a bunch of commands that call pre-made prompts. It has a planning, to implementation, and to review workflow command available that is similar to Superpowers.
You don’t have to know how any of this works. You can just include English phrases in your prompts like, “Split this up between three worker agents,” or “When this is complete, have the Oracle agent review the work.”
Having an undo command isn’t optional!
I always hear people say that they don’t need an undo command. Pi’s fantastic /tree command lets you roll back to any previous point in the conversation, and Git already has the previous state of all the files anyway.
In my opinion, Git is best used to track your changes at the end of each session. OpenCode’s /undo command is there to revert a change in the middle of a session. You see the robot make a mistake, you undo that mistake on disk, and you rewrite the previous prompt to keep that mistake from happening again.
OpenCode’s /undo command and pi-rewind both rely on Git to help them snapshot changes between tool calls. They both need something to diff against.
This means that neither work in an untracked directory. Be careful!
I am dropping OpenCode for Pi
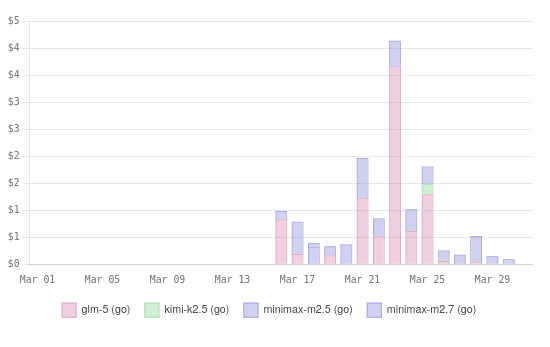
I have a confession to make. I have used way more of my CrofAI requests this month on tweaking and improving my Pi setup than I have on actual, real projects. Pi is a lot like Emacs, because dialing things in to make the tool work for you and stay out of your way is part of the fun.
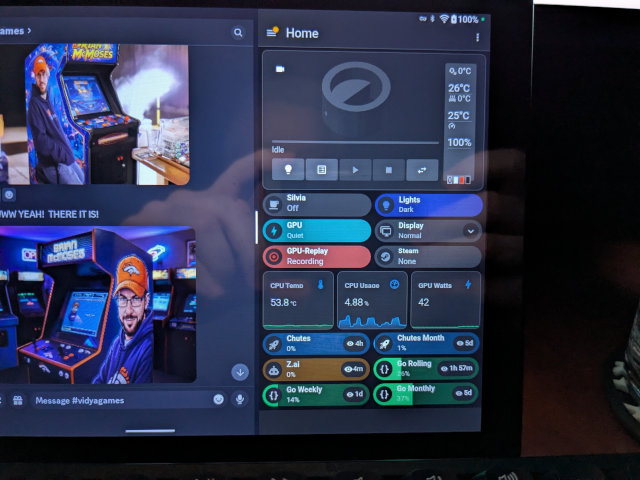
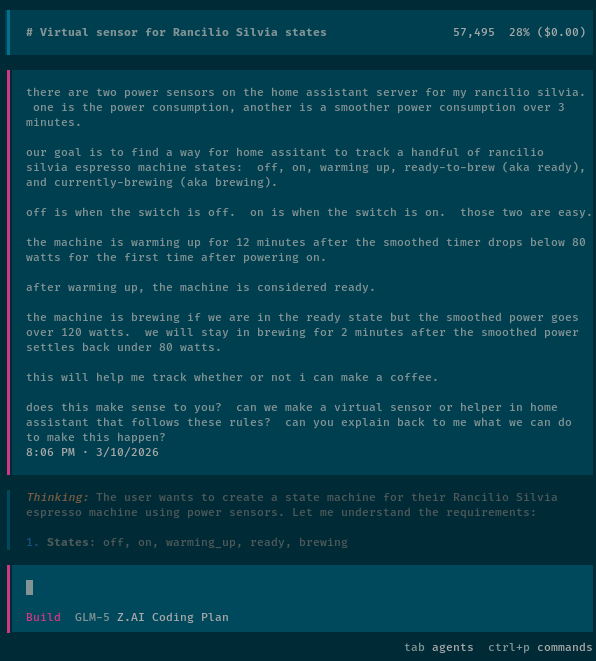
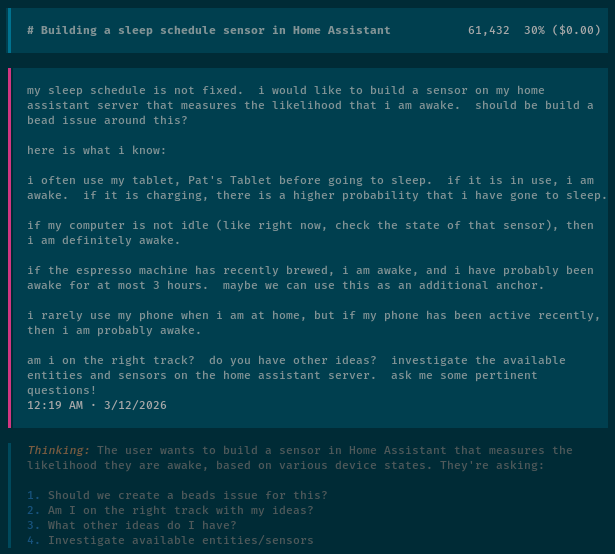
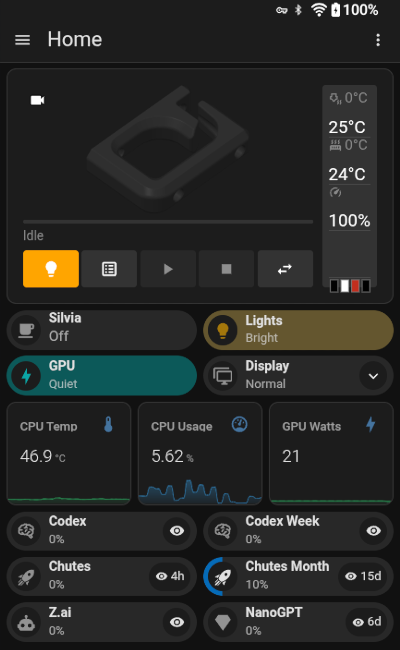
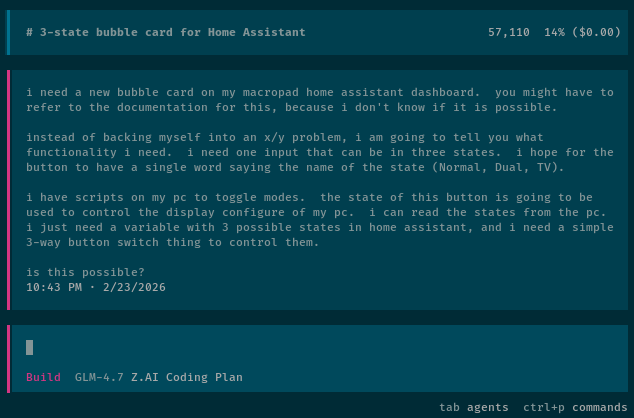
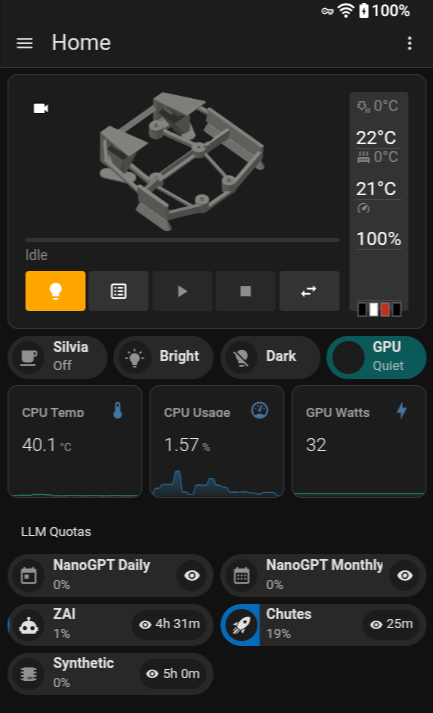
What have I used Pi for so far aside from configuring Pi? I have been tweaking and troubleshooting my Home Assistant Voice Assist setup using the Home Assistant Vibe MCP. I had Pi create a Home Assistant integration to connect my Home Assistant Voice to my NanoBot server, and Pi has written some NanoBot skills for me. I also had Pi and GLM-5-Turbo create a simple Breakout game using my spinning-head animated GIF.
OpenCode is fine, but my Pi setup meets or exceeds OpenCode by every measure I can think of. I don’t have a lot of reason to go back.
Don’t confuse the OpenCode harness with the OpenCode Go coding plan. OpenCode Go is still a delight. It is cheap, fast, and gives you a lot of tokens for your dollar. My $5 CrofAI plan gives me way more GLM-5.1 requests than I could get on a $10 OpenCode Go plan, but at the same time, OpenCode Go is a really good value for DeepSeek V4 Flash tokens. A $10 plan from CrofAI does give you more DeepSeek V4 Flash requests, but I prefer splitting my usage between two different plans.
The two plans combined are an excellent combination for Pi!
Conclusion
Pi isn’t for everyone, and I don’t think anyone would blame you for sticking with OpenCode or Claude Code. OpenCode works great out of the box, and you don’t have to spend a week tinkering with extensions before you can match your usual productivity. Pi asks more of you up front, but it gives more back in return.
I’ve been having a blast. I spent way too much of my CrofAI quota this month tweaking my Pi setup, but I regret nothing. I went from rolling my eyes at Pi’s barebones defaults to genuinely preferring it over OpenCode, and I didn’t even have to try that hard. LazyPi did the heavy lifting, and I just swapped in the pieces that fit me better.
Have you tried Pi yet, or are you still on the fence? Are you running LazyPi, or did you build your own setup from scratch? What extensions can’t you live without? Come hang out with us in our Discord community and share your Pi or OpenCode adventures with us. We’re a friendly bunch of homelabbers, 3D printing enthusiasts, and coding agent enthusiasts who love comparing setups and helping each other out!
- OpenCode Go Coding Plan From a Light User’s Perspective
- OpenAI Codex with OpenCode — My Experience After a Month
- Vibe Coding My Home Assistant Setup — I Can’t Believe How Well This Works!
- Home Assistant Voice Control With a $56 GPU and Local Machine Learning
- OpenCode with Local LLMs — Can a 16 GB GPU Compete With The Cloud?
- Fast Machine Learning in Your Homelab on a Budget
- LazyPi
- Pi Coding Agent