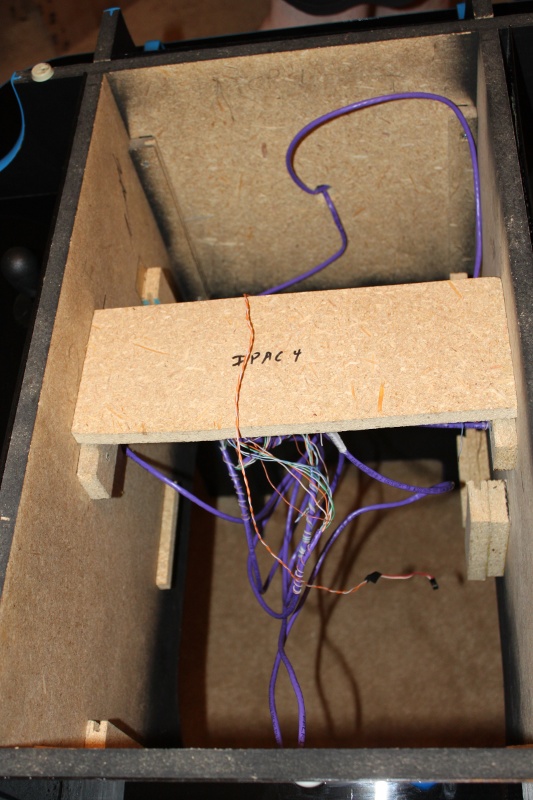
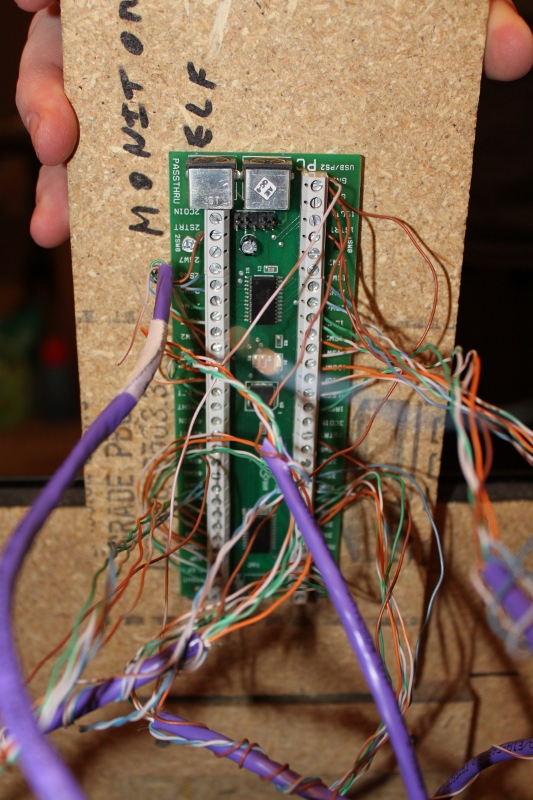
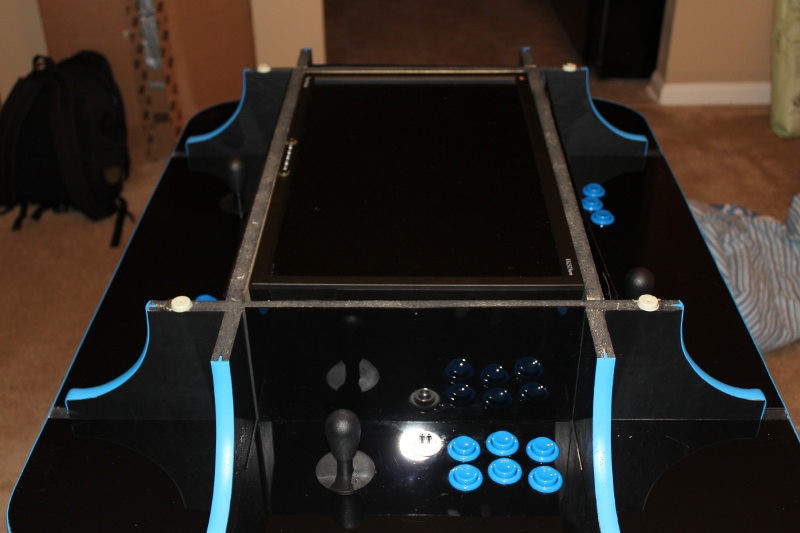
Cocktail Arcade Cabinet Build: Part 4 - I Love/Hate Plexiglas

We finished up our fourth, and longest, day of arcade cabinet construction. We also made significantly less progress than on any of our previous days. Plexiglas is a bit harder to work with than we expected…

We started with a single 36”x30” sheet of 0.080” plexiglas that had just a bit more material than we were going to need. It is the thinnest we could find at Lowes. If we could have found thinner it would have been easier to work with, even cheaper, and would have been just fine for our purposes.

Unfortunately, we cracked the first piece we tried to cut…

Cutting Out The Large Rectangles

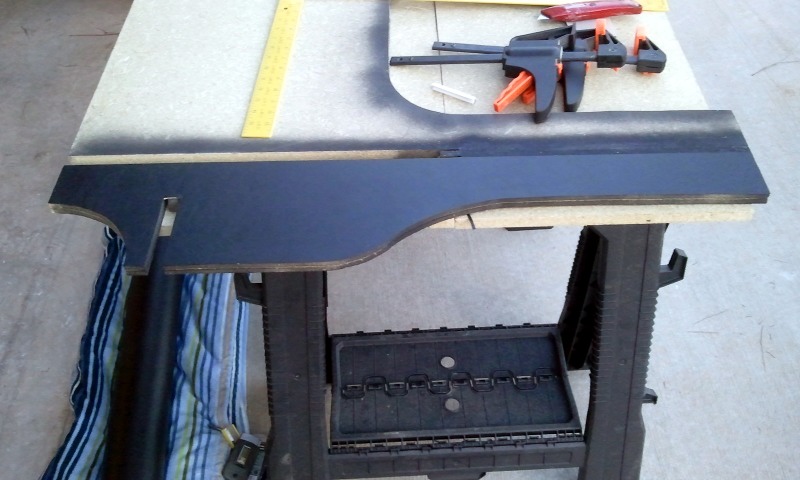
I don’t think we’re going to crack any more pieces when we’re making the long straight cuts. We’re clamping the sheet of plexiglas between our workbench and a straight edge. Then we’re repeatedly scoring the plexiglas along the straight edge with a blade. It seems that the deeper we cut with the blade, the less likely we are to cause cracking. This seems very obvious in retrospect.

Rounding the Corners

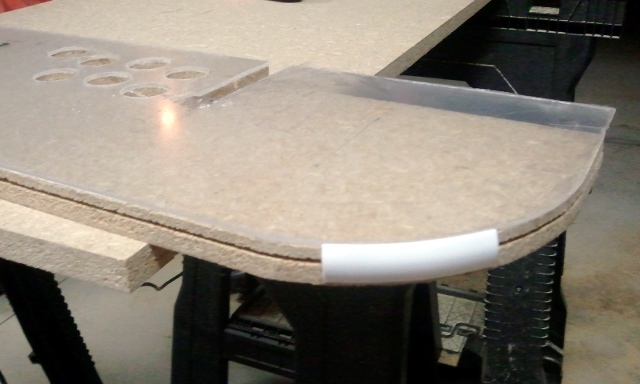
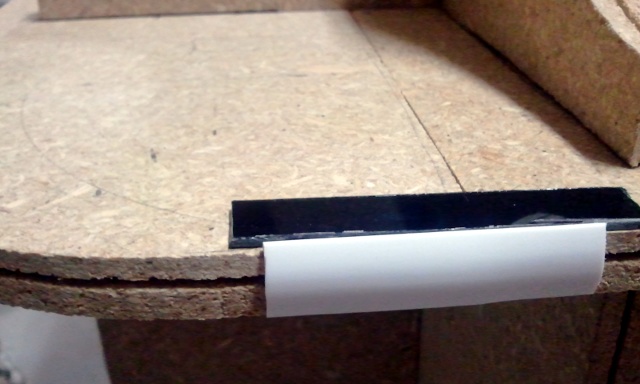
We were able to rough-cut the curves on the corners by scoring the curve very deeply with a blade. We lined up the plexiglas to the control panel board and clamped them together. Then we just flipped it over so the plexiglas was on the bottom, and followed the curve with the blade.

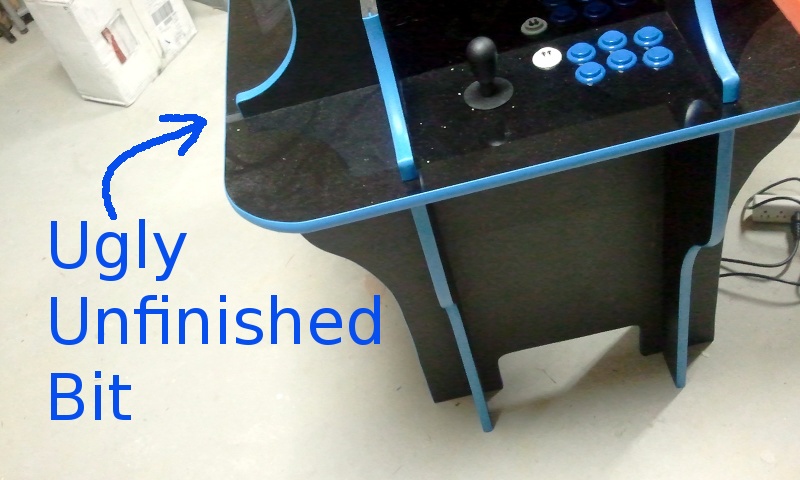
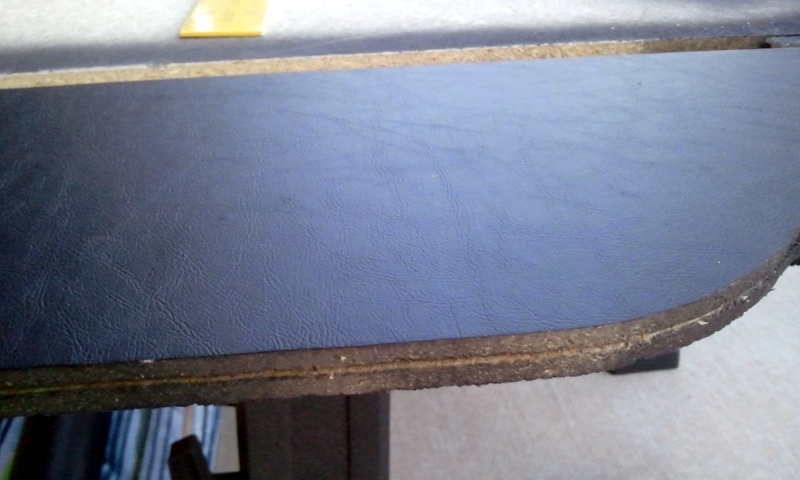
Once the excess fell off we went around the edge with a belt sander. That made the edge nice and smooth and forced the plexiglas and particleboard into a matching curve. We learned that you have to keep moving the sander. If you stay in one place for too long, the plastic starts to melt.

We probably won’t sand like that again until all four pieces are cut and fixed into place. Then we’ll just go around the whole table and make everything smooth and flush.

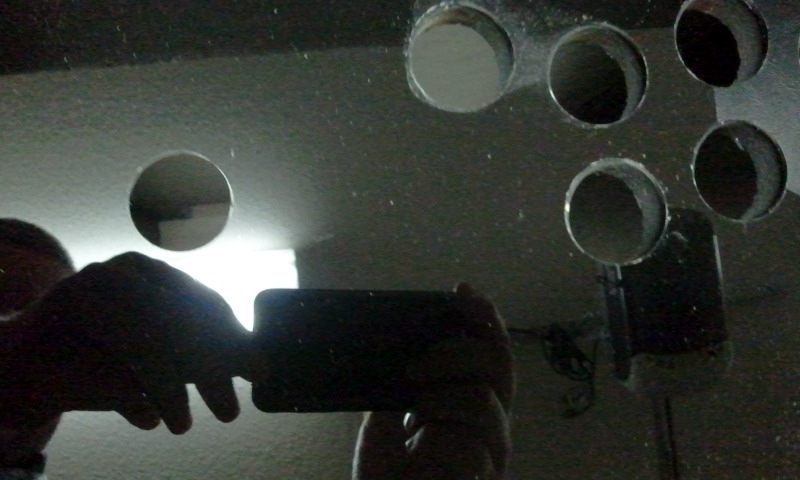
Drilling the Holes for the Buttons

This part was pretty scary. Every time we drilled a hole we were worried we’d make a small hairline crack and ruin the whole control panel. We did some testing on our broken piece, so we did learn a bit before we drilled the real panel.

I made up a button template out of a thin piece of cardboard. It has a small hole at the center of each button. We used that to mark the button centers with a marker and we drilled small pilot holes at each point. Without the pilot holes it was difficult for us to keep the larger spade bit centered.

We used a 1 1/8” spade bit to drill the holes. I don’t know if this is the preferred method of putting holes in plexiglas, but it worked quite well as long as we were careful.

We kept the plexiglas clamped to the particleboard control panel but we did not drill all the way through the particleboard with the plexiglas still attached. It is important to clamp the pieces together pretty close to each hole that is drilled. Our test piece was clamped at both ends and it did a pretty good job of vibrating and flexing.

We also learned not to try to drill all the way through the plexiglas and particleboard at the same time. It was easier and safet for the plexiglas to finish the holes after the plexiglas was removed.

The trick seems to be going slow and straight. We only just barely drilled through the plexiglas. We didn’t even drill all the way through. Some of the little disks had to be popped out, and a few stuck to the drill bit.

A Small Change to the Design

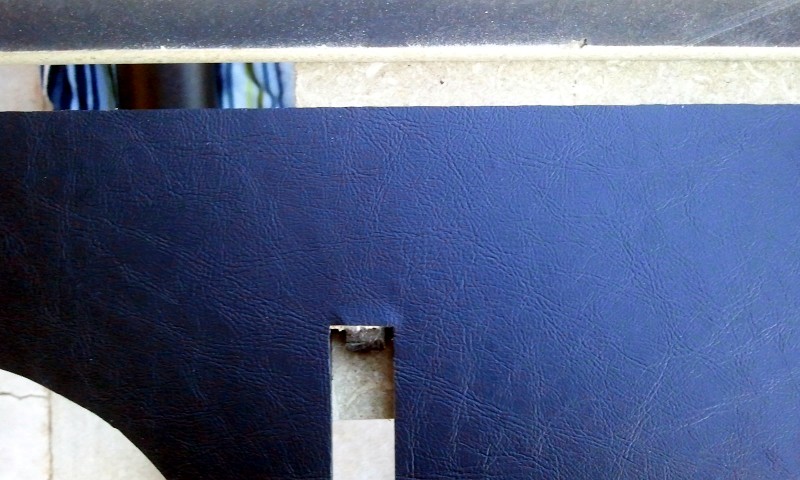
We originally planned to have the plexiglas slot around the vertical pieces of particleboard that make up the legs. I don’t think we can cut quite that precisely…

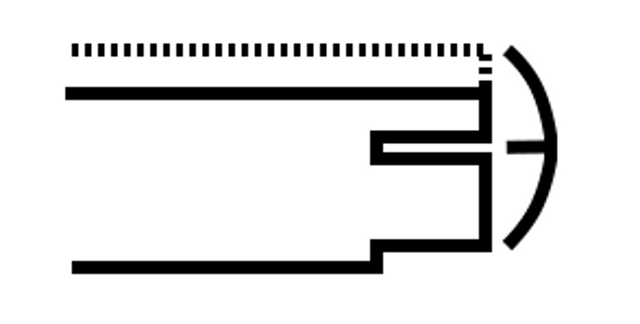
We’re going to widen the slots the control panels fit into by 0.080 inches so we can fit the plexiglas underneath. It is much easier to cut particleboard and it should also do a good job of holding down the plexiglas.

Why Are We Still Using Plexiglas?

We test-painted a small piece of scrap and it looks VERY nice. The plan is to paint the underside of the plexiglas black. When you do this, the top side of the control panels will be very shiny and fairly mirror like. I think it is going to look good enough to be worth the effort.

Making sure the holes will line up Test fitting the buttons

What Comes Next

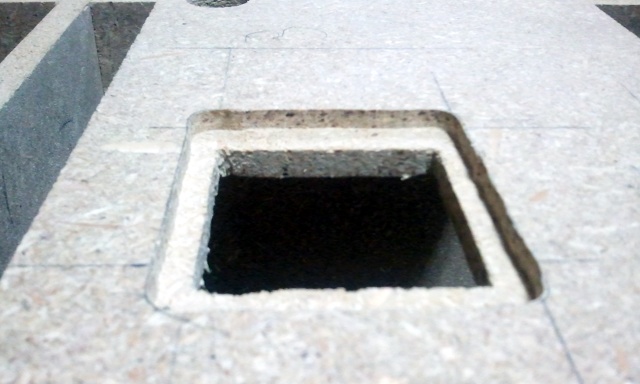
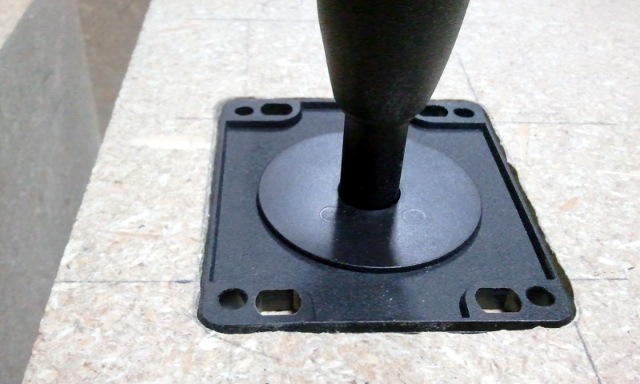
I’m a bit sad to say that we aren’t ready for the next step. We’re still in the middle of cutting the plexiglas for the control panels. There’s still three more panels to be cut and we still need to cut holes to mount the joysticks.

Update 2010-10-20:

We were able to cut and drill the plexiglas for the other three control panels in less than two hours. Applying a little more patience and using the correct tool helped a lot.

Linux Kernel 2.6.36 on the HP Pavilion DV8T

I’ve been running Ubuntu 10.04 on my Pavilion DV8T since it landed on my desk earlier this year. All the important things work, but there were two minor bits of missing functionality and one annoying bug:

  • No working temperature sensors (the hard drive doesn’t count!)
  • ACPI won’t report battery charge/discharge rate
  • ALSA randomly stops making noise after a while

I’ve been running a 2.6.35 kernel ever since I started using btrfs as my root file system but it didn’t help with any of these three problems.

Some Improvements Since Upgrading to 2.6.36

I built myself a 2.6.36-rc5-git6 kernel a few days ago. I can now get a temperature readout from ACPI, but I think it is very inaccurate. I am seeing 134°F when the fan is off, and I’ve seen it read as high as 185°F under moderate load. The laptop never feels hot enough for me to believe either number.

I hope I’m not speaking too soon here, but my sound has been working perfectly for at least four days so far. I’m hoping that I will never have to run my ALSA unload/reload script again.

ACPI still doesn’t report the charge/discharge rate. This makes powertop a little less useful.

I’ve also noticed that powertop is showing that my wake-ups per second during idle are a bit lower. My usual “idle” workload when I’m on battery includes Chromium (with a few tabs open), claws-mail, emacs, and Pidgin sitting around doing nothing while I’m connected to Wi-Fi. With 2.6.35 it was rare to see anything less than 70 wake-ups per second. The last few days I’ve been seeing lots of mid 50s to low 60s with 2.6.36.

I haven’t been on battery enough to determine if there is any improvement in off-power runtime. So far, it looks like I’ll be getting the same 2.5 hours on battery as I always do.

Cocktail Arcade Cabinet Build: Part 3 - Rounding Off the Edges

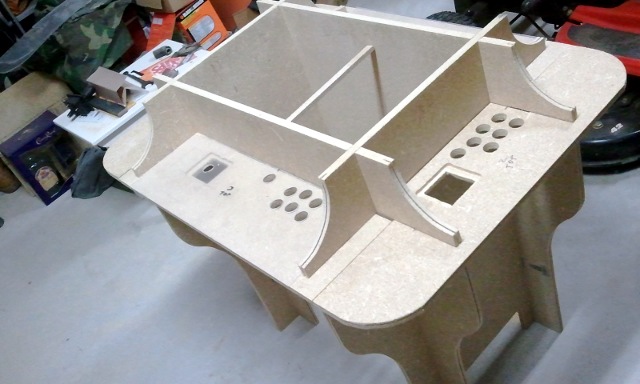
I feel like we made huge progress in the couple hours we spent with the jigsaw on our second day working on the cabinet. It is really starting to take the shape of the finished product now!

Shaped, space-invader-like panels ready to be assembled The Player One side panel Test fitting the control panels Dry fitting the four sides Dry fitting the control panels Dry fitting the control panels More control panels John sitting in the soon-to-be Player One seat

Things are Starting to Take Shape

I may be biased but I think it is starting to look quite awesome. It actually looks quite a bit smaller than I expected. We have a full size top-down mock up drawn on the whiteboard and it looks ginormous up there.

All the material we removed with a jigsaw dropped the weight of the cabinet significantly. I wouldn’t be surprised if we removed more than one third of the material. The particleboard is pretty flexible and we’re getting a bit of wiggle up top where the controller boards slot in. We’re pretty sure it will all tighten up quite a bit once we drop the “floor” in and use some fasteners to tie the control panel boards together.

More Leg Room!

We cut nice big arches in the two long sides so that players three and four can stretch their legs. We were originally going to do the same for players one and two but the space between the sides of the cabinet just didn’t seem wide enough to fit two legs between.

We decided it would be better to just cut a smaller four-inch-high space so you can at least put one of your feet in a little closer. We think players one and two will likely end up sitting with one foot under the table and the other foot off to the side.

What’s Next?

The next step will be to drill holes for the buttons and cut holes for the joysticks. Our plan so far is to cover the control panels and the “cup holder” surfaces with a thin sheet of plexiglas (or some similar clear plastic). I figure we can paint and decorate the underside of the clear plastic and it should look like a nice clean, shiny, mostly black surface from the top.

If we do it right the blackened plexiglas should cover up all the seams where each of the four control panel boards meet up with each other.

How to Stow a Laptop Out of Sight for Less than $4

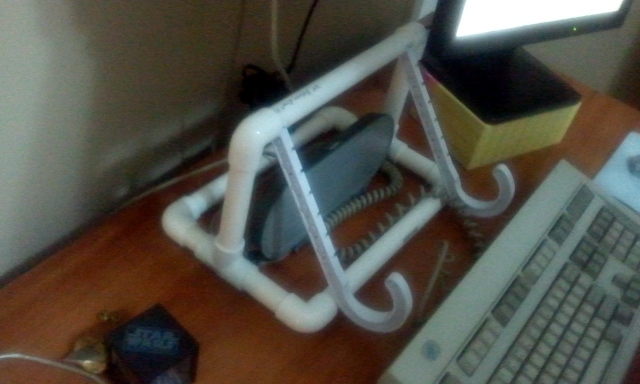
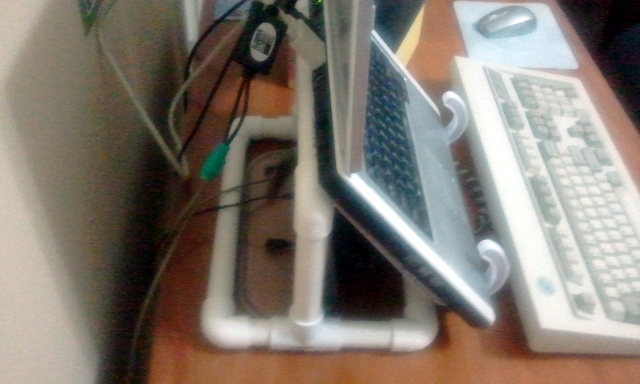
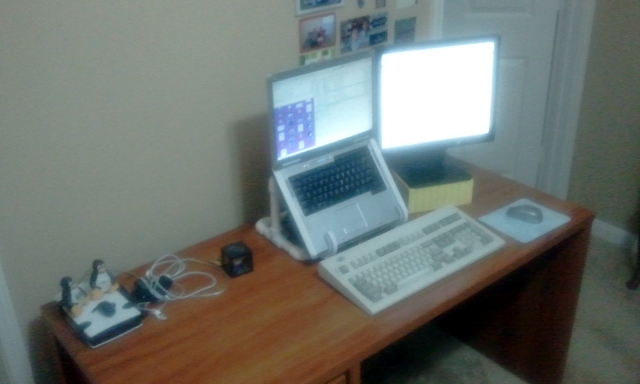
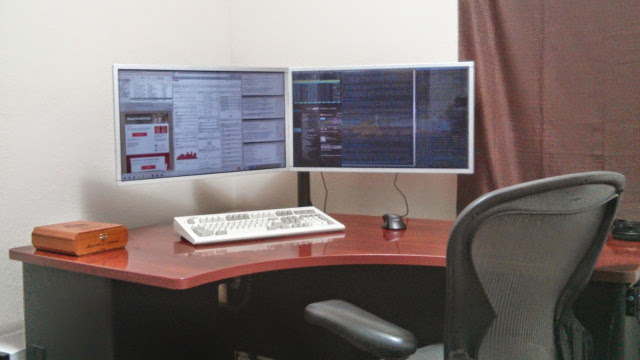
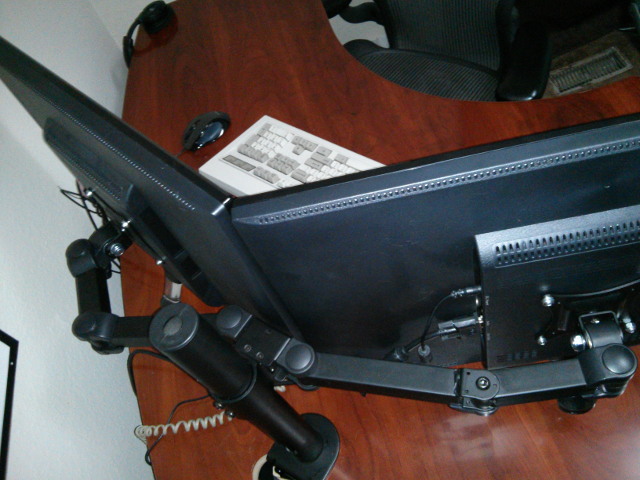
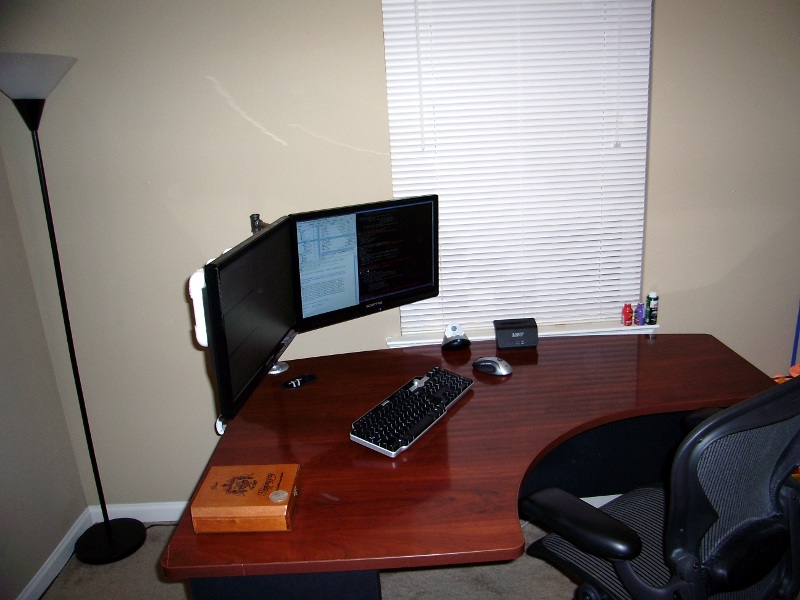
When I upgraded to a new laptop, I also upgraded back to a dual head setup with a pair of external monitors. I don’t need the laptop to be sitting in the middle of my desk anymore, so I wanted to find somewhere I could park the laptop, preferably out of sight.

I picked up four larger PVC J hooks from Lowes for less than a dollar each. I’m pretty sure I used the hooks meant for 1.5-inch PVC pipe.

I screwed two of them to the desk with the J side facing down. This makes the floor the laptop sits on. I screwed one more into the desk with the J side facing up. This one keeps the laptop from tipping out of its little cradle.

I cut the third one down to about one third of its original length. I screwed that one into the desk perpendicular to his other three friends, being careful to position it so that it didn’t block any of the ports on that side. His job is to make sure I don’t just slide the laptop straight through, out the back, and onto the floor.

After it was already in place, I realized that it is probably a good idea to have the front hook mounted a tiny bit higher than the rear hook. That way, gravity would hold the laptop up against the smaller hook.

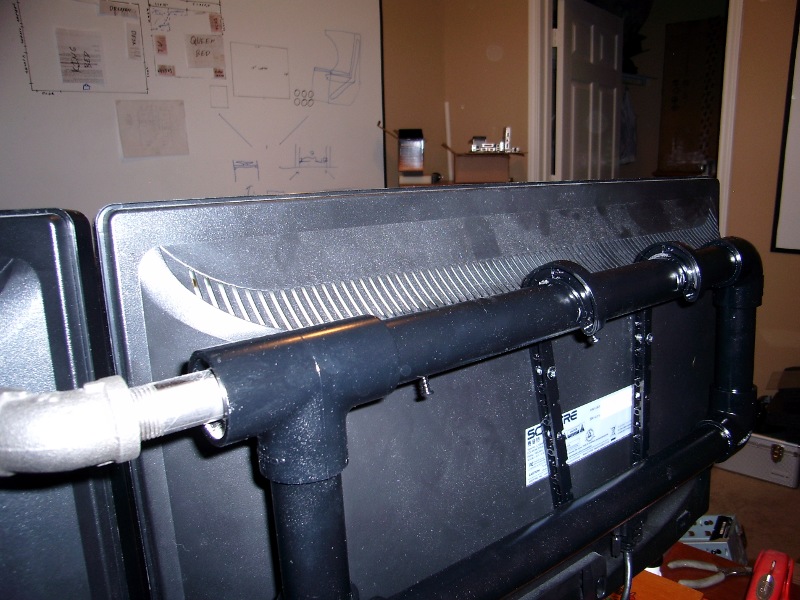
I have a can of black vinyl dye here. My plan is to spray the hooks and my DIY monitor stand black. I’ve been putting it off because I’ll have to take down the monitors and the laptop for a day or two. One problem is that I don’t want to be without my monitor and laptop stands for a few days. The other problem is that I can’t see any of the PVC from where I’m sitting. I barely realize it isn’t painted.

Laptop hiding in the completed rack Unpainted J hooks attached to the desk Laptop hanging from the unpainted J hooks

Update 2010-11-06:

I finally got around to spraying the laptop rack with vinyl dye and I added a picture of the finished product. It looks much better now and it doesn’t stand out nearly as much as it did when it was bright white.

Cocktail Arcade Cabinet Build: Part 2 - Cutting the Boards and Building the Box

After quite a few months we are finally past the planning stage and starting to build something. I am very happy with the progress we are making so far.

We bought two 4’ x 8’ sheets of 5/8” particleboard and had Lowes cut them in half for us to make it easier to transport them home with us. Our quick whiteboard sketches told us we wouldn’t be gaining any useful pieces of board by keeping them whole. We will definitely have no problem at all making the entire cabinet out of these two 4’ x 8’ sheets of particleboard.

Quick sketch of necessary particle board cuts drawn on the whiteboard Slots cut in the rectangular boards Test fitting the rectangular boards Test fitting the (still rectangular) control panel boards

Cutting the Slots

Cutting the slots in the boards with the table saw was easier than either of us expected. The first set of slots we cut were extremely snug and it was VERY solid when we assembled it most of the way. We were worried that it would be too hard to disassemble later on if we ever have to move the table, so we cut the slots a bit wider. We took off about half of a saw blade’s worth of material off the outside of each slot.

It slides together much more freely now but it still does a very good job of keeping itself square.

We cut shorter slots in the sides to mount the control panel boards. We probably made two minor mistakes here. We should have cut these slots to be very snug and we didn’t really leave enough room for the slots on the skinnier sides to get much bite. We’ll just end up having to use some screws to keep the control panels in place.

I’m very happy with the progress so far. We have about four hours invested so far. I certainly didn’t expect to get the rough control panel boards cut and fitted so quickly.

The Next Steps

The next time we get a chance to work on it, we will probably be mostly making cuts with a jigsaw, and sanding.

We are going to cut the corners on the control panels round. We also want to cut some curves into the outsides of the “legs.” We think it will look better if it isn’t just a square pound-sign-shaped box.

We are also going to cut out some of the bottom of the box to make a bit of extra room for feet and legs. We aren’t three-and-a half-foot-tall eight-year-old kids eating pizza and playing games in an arcade anymore. Now we’re six-foot-tall adults eating pizza and playing games at home, and we need to be comfortable!

Hopefully we will be able to make time to work on it for another few hours within the next week or two.

Simple Automated btrfs Snapshots with btrfs-snap

I was running btrfs for almost a month before I got around to setting up some automated snapshotting. I was expecting to have to write some scripts of my own, but I luckily I found btrfs-snap. All you have to do is pass btrfs-snap the path of the volume to snapshot, a tag for the snapshot (daily, weekly, etc), and the number of snaphots to keep. It stores the snapshots in a .snapshot directory at the root of the volume and names the snapshots using the tag and a time stamp.

I have mine set up to keep 4 weekly snapshots, 7 daily snapshots, and 24 hourly snapshots. I also tried keeping a dozen five-minute snapshots (fivers). Things got gummed up when I tried that and I had dozens of snapshots processes sitting around idling. I could probably get around that issue by making sure only one snapshot job is running at any given time.

Here’s my cron scripts:

/etc/cron.hourly/btrfs-snap
1
2
3
4
5
#! /bin/bash

/usr/local/bin/btrfs-snap / hourly 24
/usr/local/bin/btrfs-snap /home hourly 24
/usr/local/bin/btrfs-snap /home/wonko/wip hourly 24

/etc/cron.daily/btrfs-snap
1
2
3
4
5
#! /bin/bash

/usr/local/bin/btrfs-snap / daily 7
/usr/local/bin/btrfs-snap /home daily 7
/usr/local/bin/btrfs-snap /home/wonko/wip daily 7
/etc/cron.weekly/btrfs-snap
1
2
3
4
5
#! /bin/bash

/usr/local/bin/btrfs-snap / weekly 4
/usr/local/bin/btrfs-snap /home weekly 4
/usr/local/bin/btrfs-snap /home/wonko/wip weekly 4

And here is a set of snapshots:

Some snapshots
1
2
3
4
5
6
7
8
9
10
11
12
13
14
15
16
17
18
wonko@zaphod:~$ ls /home/.snapshot
daily_2010-09-04_07:43:13   hourly_2010-09-12_00:17:01
daily_2010-09-05_07:28:22   hourly_2010-09-12_01:17:02
daily_2010-09-06_08:05:00   hourly_2010-09-12_02:17:01
daily_2010-09-09_06:44:39   hourly_2010-09-12_03:17:02
daily_2010-09-10_08:00:54   hourly_2010-09-12_04:17:01
daily_2010-09-11_07:59:08   hourly_2010-09-12_05:17:03
daily_2010-09-12_07:51:40   hourly_2010-09-12_06:17:01
hourly_2010-09-11_13:17:01  hourly_2010-09-12_07:17:01
hourly_2010-09-11_14:17:02  hourly_2010-09-12_08:17:02
hourly_2010-09-11_15:17:02  hourly_2010-09-12_09:17:02
hourly_2010-09-11_17:17:02  hourly_2010-09-12_10:17:01
hourly_2010-09-11_18:17:01  hourly_2010-09-12_11:17:01
hourly_2010-09-11_19:17:01  hourly_2010-09-12_12:17:02
hourly_2010-09-11_20:17:01  hourly_2010-09-12_13:17:01
hourly_2010-09-11_21:17:02  weekly_2010-09-02_07:51:13
hourly_2010-09-11_22:17:01  weekly_2010-09-09_16:00:25
hourly_2010-09-11_23:17:02  weekly_2010-09-12_07:52:39

Everything has been running fine for about a month. I haven’t filled up my disk with junk snapshots yet. One of the nice things about these writeable snapshots is that I can always prune big files that I don’t need right out of them.

Thoughts After Running btrfs for a Month

It feels like it was a million years ago that I was just playing around with btrfs. I am not playing around any longer—my primary workstation (also known as my laptop) has been running btrfs as its root file system for a little over a month now.

I haven’t run any benchmarks, because I don’t want to know if it tests any slower than ext4. The machine feels pretty much exactly like it did before the switch, and that is good enough for me. The only thing btrfs has been absolutely terrible at is storing QEMU/KVM disk images. That’s a bit disappointing because copy-on-write snapshots and file clones of virtual machine disk images would be quite awesome, especially once deduplication hits btrfs.

How I Configured my Subvolumes

The first thing I did was store my / in its own subvolume. This makes changing your default root subvolume easier if you later decide you don’t have a need for the original again (if something like an apt-get dist-upgrade goes awry). It also lets you keep the real default btrfs subvolume unmounted and out of the way.

I ended up with five subvolumes:

  • / – The operating system and config files
  • /home – All my local user home directories; there is only one user
  • ~/wip – My “work in progress” directory. Most anything I am working on. I broke this one out because it is the volume I am most likely to manually snapshot
  • ~/tmp – Junk. Garbage. Mostly I untar and compile things here. This one gets its own subvolume because it is likely to fill up with junk that I won’t need. If I run low on space I can clobber old snapshots of this without even giving it much though.
  • ~/Downloads – My default web browser download folder. Almost exactly like the ~/tmp directory.

This layout has mostly been working pretty well. I like that I can snapshot /home without accidentally storing copies of useless data in ~/tmp and ~/Downloads. I bet I have saved a few gigabytes by not snapshotting any Linux kernel compiles sitting in ~/tmp.

Unfortunately, I realized I would always like a snapshot of ~/wip with every snapshot of /home. It isn’t a big deal in practice because it is simple enough to script.

The Verdict

I’m very happy with btrfs. The performance is great for me in all but one use case. I’ve been wanting proper read/write copy on write snapshots on my workstation ever since the first time I read about zfs a few years ago. I’m so happy to finally have them!

I haven’t yet noticed any corruption (I hope!). However, I am running backups way more often than I ever did. I lost data to a file system corruption once (reiserfs on my dual Intel Celeron 366). While running ext3 and ext4 I was really only worried about hardware failure. Now I am worried about hardware and software failure, which makes me quite a bit more nervous.

Quick, Easy, Cheap, and Ugly Fix for a Finicky Logitech MX900 Dock

There aren’t very many good Bluetooth mice on the market. One of my favorites is the Logitech V270. It is big enough to use but still small enough to be portable. It also sips on batteries and lasts for months on a pair of AA batteries. Unfortunately, it is absolutely useless for playing FPS games. It goes to sleep after a very short time period. It wakes up fast enough that you won’t notice it when you’re just clicking around on your desktop, but if you duck behind a corner to wait for an unsuspecting victim you will certainly notice the time it takes for the V270 to wake up…

Choosing a Mouse

There wasn’t a big selection of Bluetooth mice 3-4 years ago, and I don’t want to carry a dongle when my laptop already has Bluetooth. I ended up buying a used and discontinued Logitech MX900 on [eBay][15]. It is a fine mouse even if it is a little on the heavy side. Unfortunately it drains a pair of AA batteries in two or three days and lacks a power switch.

This wasn’t a big deal until I stopped using the laptop display and switched to a pair of external monitors. I used to just use the touchpad, now I have to use a mouse…

Why Do I Need the Dock?

The Bluetooth module in my current HP Pavillion dv8t laptop is rather underpowered. The signal is so bad that my mouse is very jittery when the laptop is it its hiding spot behind my desk (my old Dell Inspiron 6400 didn’t have this problem at all). The poor signal and the need for a battery charger were two good reasons to dig out the dock that came with the MX900.

I’m convinced that Logitech has absolutely no idea how to make a decent charging cradle. I was going through all sorts of contortions and dances trying to get the mouse to actually start charging when I placed (or slammed) the mouse into the cradle. I’m also lucky if it continues charging after I walk away. We have the same sort of problem with our older Logitech Harmony remote control; I might have to try this on him as well.

How Did I Fix It?

My fix was quick, easy, cheap, and quite ugly… I made two short cylinders out of aluminum foil that matched the diameter of the little charging contacts on the cradle. Then I just put them over the contacts and mashed them down in there. They may not look pretty, but they are small enough that they aren’t very noticeable. The mouse charges properly every single time I place it in the cradle now.

Extreme, blurry close up Aluminum foil saves the day

Cocktail Arcade Cabinet Build: Part 1 - Planning and Testing

I have wanted to build an arcade cabinet for a very long time. I finally decided to stop thinking about doing it and actually do it!

Some of the Inspiration

I decided that we are going to build a four player cocktail cabinet. We like the design of the Crazy Canadian’s Custom Cocktail Cabinet. We might use nice-looking stain grade wood, but I really like the look of The NEON MAME cabinet with light blue t-molding on a black cabinet.
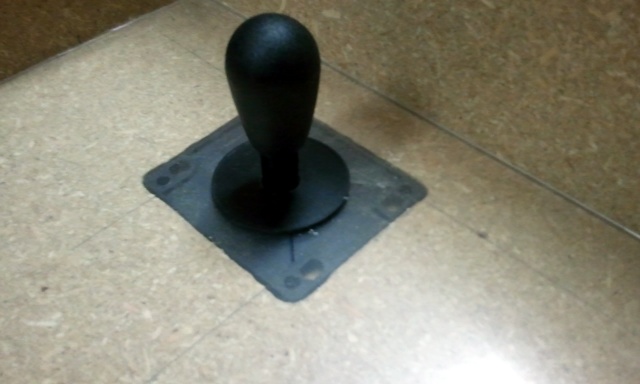
Some of our Constraints

I think a cocktail cabinet will be more useful than an upright cabinet, since it can also double as a table. I want this build to be more like a table instead of just a standard cocktail cabinet. I don’t want to have a box underneath, I want you to be able to pull a chair up to it and put your legs underneath. I also don’t want the control panels to stick out past the glass tabletop. I am also trying to keep the tabletop at about the usual height of a desk or table.
It turns out that this isn’t going to be as easy as I thought at first. The joysticks are fairly deep and you need enough room between the control panel and the glass so that you can comfortably use the controls. Our joysticks drop about 3 inches below the top of the control panel and we think we need about 6 inches of clearance between the panel and the glass. Fudging in one inch for the glass tabletop and the covering under the panel that will put the bottom of the controls 10 inches below the tabletop.

My desk is about 30 inches high. 10 inches below that would have the controls just about sitting on my chair. We’ve been figuring the tabletop height will end up having to be somewhere around 34 inches (maybe 33 if we’re lucky!). It is a little on the high side but shouldn’t be ridiculously tall.

Our life size whiteboard diagrams have the tabletop dimensions at about 37 by 29 inches using a 24 inch LCD panel. We’ve seen some deals on 36 inch square tabletop glass (for some reason square is significantly less expensive than a rectangle).

Control Panel Layout

We will definitely be using a 4-player layout. We thought about putting two players on one of the long sides of the cabinet. That would let me put the table up against a wall and it would be great for fighting games. We think it might be a little too crowded, though, so we will probably go with one player to a side.
What Games Do I Want to Support

The most important game this cabinet needs to support is Mortal Kombat II. I was in high school when Mortal Kombat and Mortal Kombat II were released and we used to play quite a bit.

The four-player game I have in mind is Gauntlet), though I’m sure there will be others. There is no reason to limit the cabinet to arcade games. I was thinking Liquid War would be a good fit.

The Parts We Have So Far

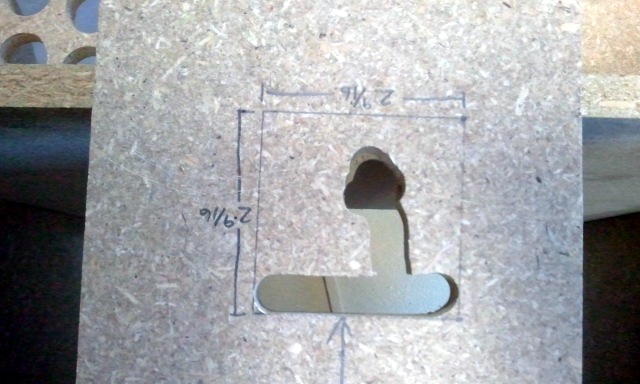
I ordered joysticks, buttons, and connectors from Groovy Game Gear. I was hoping to use their GP-Wiz40. It looks like a good product and a good value (and an even better value if you don’t mind soldering). Unfortunately, we need 44 inputs, and that is four too many.

I ended up going with an I-PAC 4 from Ultimarc. It has more than enough inputs and didn’t cost much more than a pair of GP-Wiz40 controllers.

I went with the HAPP™ Super Arcade Joystick. I am surprised how happy I am with them. They work very well as an 8-way joystick and they seem to make it pretty easy to perform circular-style moves in Mortal Kombat.

I also got buttons for players one through four and six HAPP Black Horizontal Pushbuttons for each player.

The Mock-Up Test Controller

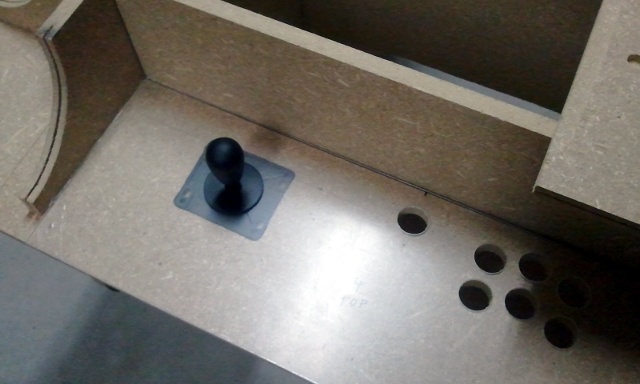
We put some holes in a piece of wood and put together a test controller. It works great. The buttons feel right and the joystick feels great. We will definitely be going with the two-rows-of-three-buttons layout, but I am unsure what sort of spacing and staggering they will have. Yes, we indeed forgot to leave room for the Player 1 button…

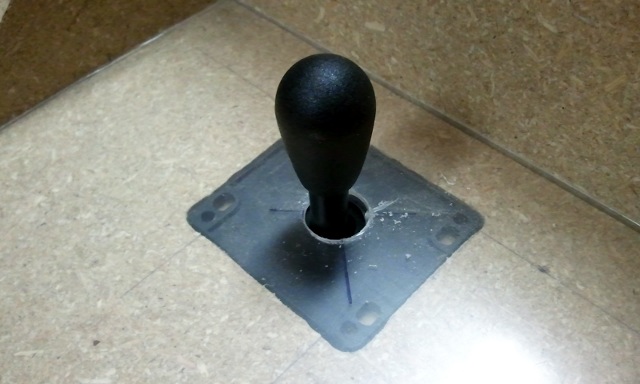
The test controller has very arcade-like wide button spacing: 2.0 inches between button centers on the vertical, 1.625 inches on the horizontal. It seems a little too wide; I will probably tighten that up for the final product.

Plopping the control panel down on my desk isn’t ideal. Getting the half-circle moves to go off is a little hit or miss because the controller slides around. I don’t think it will be a problem on the real controls that are bolted to the table.

Mocked up controller to test IPAC-4 Mock up control panel with holes Playing some Mortal Kombat 2 at my desk

How Long is this Build Going to Take?

Hopefully not too long! We’ve been talking about this and drawing on the whiteboard for probably two months so far. Now that I have actually had a controller in my hands I am getting very excited.

Automatically Configuring Multiple Heads with x.org

I just upgraded to a (way too) shiny HP Pavilion dv8t laptop and a pair of inexpensive Sceptre 1080p LCD panels. The laptop seems to work pretty well with Linux. I'm running Ubuntu 9.10 with a 2.6.34-rc1 kernel, before the laptop got here I read that the latest kernels have better support for Turbo Boost. I don't know for sure if the kernel is helping me, but nearly every piece of hardware is working fine without any tweaking. So far I am unable to control bass/treble (the sub woofer makes it pretty loud this way), it does not report how fast the battery is being drained, and I'm unable to connect to my 802.11a access point.

These Sceptre LCD panels are WAY too red. I read warnings in the comments on Newegg before I bought them but I figured they couldn't be that bad. They are. Reds and oranges are quite bright. I've tried to tone them down and I'm not very happy with any of my results. I got exactly what I paid for.

What is All This Really About?

Enough about the new hardware! My goal was to be able to plug the laptop into the monitors and have everything just work without any manual intervention. If the two Sceptres are plugged in, I want the desktop to automatically expand across them and shut off the laptop display. When they're unplugged I want it to revert to the laptop display.

Using Two Monitors with an Nvidia Card

I started with the open source driver and xrandr. Using the VGA port was not a problem. For some reason, the open source driver was unable to detect when a device was plugged into the HDMI port. The proprietary Nvidia drivers did not have this problem. My hardware is able to drive any two out of the three displays. Unfortunately, it is not even able to use the third as a mirror of one of the other two.

Controlling the Outputs from the Command Line

I found an application called disper that makes it very easy to control the active outputs from the command line. First I used the nvidia-settings application to set up the two external displays the way I wanted them. Then I exported the settings with disper:

1
disper --export > ~/.disper-sceptre

Then I used nvidia-settings to set up the single laptop display and ran:

1
disper --export > ~/.disper-single

disper can list the displays that are connected:

1
2
3
4
5
6
7
wonko@zaphod:~$ disper --list
display DFP-0: CMO
 resolutions: 320x175, 320x200, 360x200, 320x240, 400x300, 416x312, 512x384, 640x350, 576x432, 640x400, 680x384, 720x400, 640x480, 720x450, 640x512, 700x525, 800x512, 840x525, 800x600, 960x540, 832x624, 960x600, 896x672, 928x696, 960x720, 1024x768, 1152x864, 1360x768, 1280x960, 1440x900, 1280x1024, 1400x1050, 1600x1024, 1680x1050, 1920x1080
display CRT-0: Sceptre X226W-1920
 resolutions: 320x240, 400x300, 512x384, 680x384, 640x480, 720x450, 700x525, 840x525, 800x600, 960x540, 832x624, 960x600, 1024x768, 1152x864, 1360x768, 1280x960, 1440x900, 1280x1024, 1400x1050, 1680x1050, 1920x1080
display DFP-1: Sceptre X226W-1920
 resolutions: 320x175, 320x200, 360x200, 320x240, 400x300, 416x312, 512x384, 640x350, 576x432, 640x400, 680x384, 720x400, 640x480, 720x450, 640x512, 700x525, 800x512, 840x525, 800x600, 960x540, 832x624, 960x600, 896x672, 928x696, 960x720, 1024x768, 1152x864, 1360x768, 1280x960, 1440x900, 1280x1024, 1400x1050, 1600x1024, 1680x1050, 1920x1080

I wrote a short daemon-style shell script that periodically checks the connected displays and passes the correct settings to disper:

1
2
3
4
5
6
7
8
9
10
11
12
13
#! /bin/bash
sleep 8  # The script crashes my X server if it ran too early

while [ 1 ]; do
  if [ `disper -l | grep -c X226W-1920` == 2 ]; then
    disper -i < ~/.disper-sceptre-dual
  else
    disper -i < ~/.disper-single
    sleep 2;
    xset dpms force on  # laptop display won't wake up without this
  fi
  sleep 10
done

I needed to add the xset dpms force on line or else my display would never wake up on its own. I don't know how specific that is to my hardware.

Xinerama and Xrandr

I don’t see any reason why this couldn't be adapted to work with Xinerama and xrandr. xrandr can easily be used to detect and configure the displays. I know xrandr sometimes caused the screens to briefly go blank on my old laptop when it was detecting displays. That would be a bit problematic…