I bought my 8” Prusa i3 printer almost a year ago. I had been interested in the idea of owning my own 3D printer ever since the first time I saw a video of the old MakerBot Cupcake in action. I thought it would be neat to be able to download designs from the Internet and print them in my own home, but I didn’t think that would be a good enough reason to own my own printer.
Since it has been almost a year, I thought it might be fun to talk about where I started, and just how far this journey has taken me. My goal was to be able to design and print my own objects, and I’ve definitely exceeded my expectations. It took roughly ten months to go from printing objects downloaded from Thingiverse to designing and printing my own parametric, articulated objects using OpenSCAD.
The first week of 3D printer ownership
The printer I bought was used, and it was already assembled when I picked it up. I was able to print things that I downloaded from Thingiverse on the first day. This was very exciting, but the print quality was quite low. I didn’t care! It was exciting just to see anything come out of the printer on my first day!
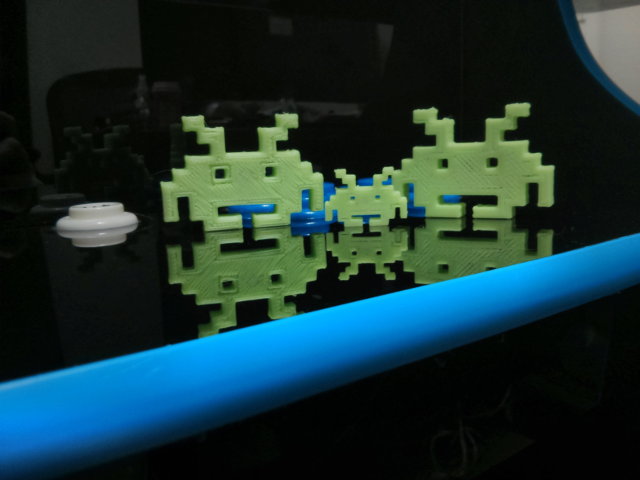
The gentleman that assembled my Makerfarm Prusa i3 didn’t do a very good job. The belts were loose, and the bed eventually fell off during a print. The cabling job is also a complete mess. I corrected the first two problems early on, and my printing results improved dramatically, but the cabling is still a mess. Thankfully, the rat’s nest of cables is all off to one side, and it doesn’t cause any problems. I doubt that I’ll bother trying to clean that up until it starts causing trouble.
My printer was running almost nonstop during that first week. I was printing all sorts of random parts from Thingiverse, and I was printing lots of calibration objects in an attempt to improve my slicing settings.
The start of the second week – designing my first part with Blender
I’m very proud of the progress I made early on. I had my first custom part designed and ready to go within the first week, and I had the first prototype printed on my eighth day. That first part may have only been a platform on top of a simple cylinder, but I was ridiculously excited about it.
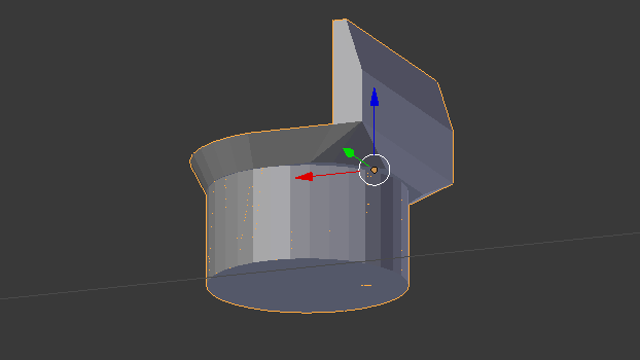
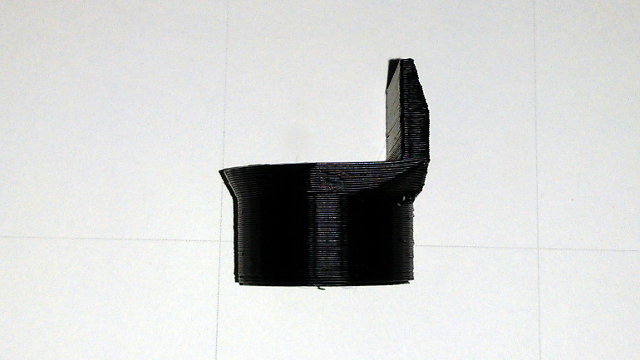
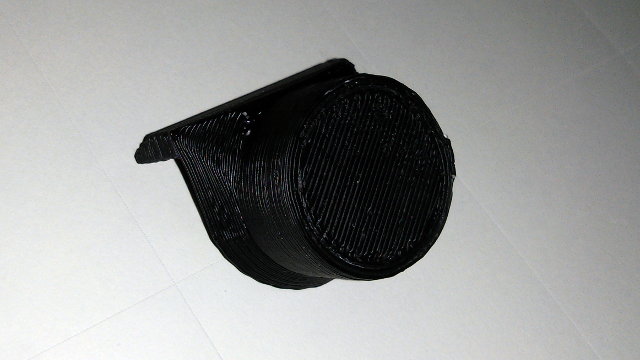
This was the first time ever that I created something on a computer, and a real-life object slowly appeared next to me. And even more exciting to me, that object fit perfectly and snugly inside another real-world object that I already had in my possession.
This was the moment when I truly realized how revolutionary 3D printing is. With my extremely limited abilities, I was able to create a very precise object in the real world, and this was only the beginning!
The next eight months – More complex objects
I designed and printed quite a few objects over the next eight or nine months. All but one of those objects were designed using OpenSCAD. I’ve already written about most of these designs, so I’m only going to mention some of the highlights here.
The parts I designed range from small, simple parts like the keychain flash drive connector for my friend’s Keysmart keychain, to more complicated objects like the mount for my FiiO Andes USB DAC, to larger pieces like the cable cover for my monitor stand.
In the early days, it took many hours to design and perfect my tablet keyboard stand. These days, I can bang out a design for a simple camera mount in fifteen or twenty minutes. I’m very excited about how far I’ve come!
- Upgrading my Keychain at Brian’s Blog
- A 3D Printed Cable Cover For My Monitor Stand
- Creating a 3D Printed Desk Mount For My FiiO E07K USB DAC using OpenSCAD
- 3D-Printed Tablet Stand For an Inexpensive Bluetooth Keyboard
- Mounting Bracket With Swivel for Logitech C270 Camera at Thingiverse
Ten months – Multipart articulated objects
During the first ten months or so, all of the objects that I designed were single, solid pieces. During that span of time, my friend Brian and I talked a lot about the possibility of designing car mounts for cell phones. He’s been using the excellent mounts from ProClip, and when Brian upgraded from the Nexus 5 to the Nexus 6, he needed a new mount.
He only needed to replace the piece of the mount that actually holds the cell phone, and I didn’t think it would be difficult to design it. I can’t recall exactly why, but we didn’t get around to printing one before he ordered one.
Then, not too long ago, I was toying with the idea of mounting one of my old Android phones on my 3D printer to broadcast live print jobs. There were some technical limitations preventing me from doing this, but I knew I’d need some sort of mechanism to aim the phone’s camera at the print.
Brian’s ProClip mounts have a neat little ball joint between the mount and the phone that allow it to tilt and swivel. I knew that I could manage to create something with similar flexibility, but I didn’t think it would be possible to print anything like that ball joint. The ProClip’s injection molded ball joint is quite small, very sturdy, and it moves smoothly.
Since I didn’t think the ball joint would be possible, I figured that the only option would be a simple swivel base attached to a single U joint.
- Ultimate Car Dock for Android Phones: Part One at Brian’s Blog
The Tilt/Swivel Ball Joint
I decided to have a go at designing the ball joint, even though I didn’t think it would work. I was very wrong. It was simple to design, and works better than I ever imagined! The joint is made from three pieces of plastic connected together with a single M3 screw. The more torque you put on the screw, the harder it is to move the joint.
I had the first prototype designed in about 20 minutes, and I printed it the next day. It worked really well, but it was just the joint. It didn’t have any mounting points on the edges, and it didn’t have much extra room so that you could get your fingers on it to move it around, but it worked!
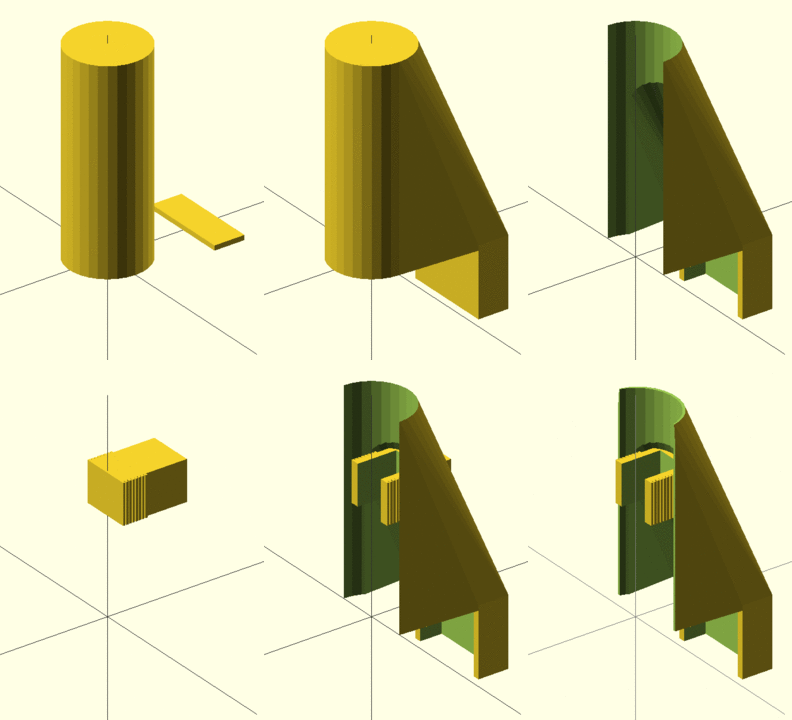
I went straight to work modifying the design. I made the “top” piece of the joint slightly taller, and I wrote some code to generate four mounting points. It was just another 20 minutes of work, and my new joint complete with mounting brackets was printing!
It isn’t as smooth as ProClip’s joint. Due to the nature of FDM 3D printing, there are small ridges circling around the parts of the joint. This means that it takes less force to swivel the joint than it does to tilt. It felt a bit crunchy at first, but a few seconds of sand-papering made it feel infinitely better.
- Parametric Ball Joint Bracket at Thingiverse
Was the 3D printer worth the money and effort?
The Prusa i3 3D printer was worth every penny. I’ve had a lot of fun during the past twelve months, and I have learned a lot. I haven’t printed $600 worth of useful objects yet, and I don’t feel that I have to in order to justify the expense of owning the printer. I would enjoy someday reaching that point, because it would be fun to brag about, but I’m not in a hurry to get there.
I’d be very surprised if there is a faster way to get from thought to reality than owning a 3D printer. I recently came across the old hack of attaching a USB webcam to an inexpensive, articulated lamp from IKEA. I thought it was a great idea, but I wanted to improve on it. I wanted to attach the arm to the top of my monitor stand.
We stopped by the local IKEA before dinner, and we picked up a couple of IKEA’s TERTIAL lamps. We came home after dinner, and I unpacked the lamps and took a couple of quick measurements. It only took about 20 minutes of work in OpenSCAD to put together a usable mounting bracket for the arm. I fired up the printer the next morning, and I had a working part in my hand in about two hours.
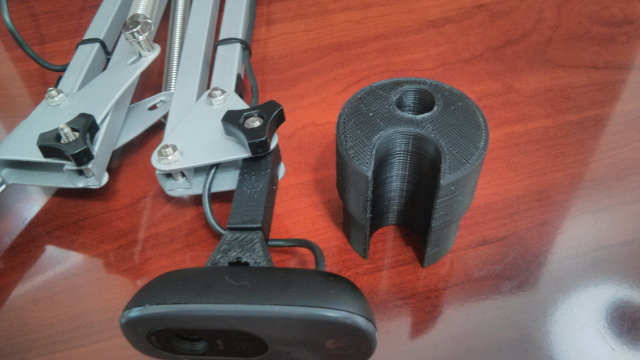
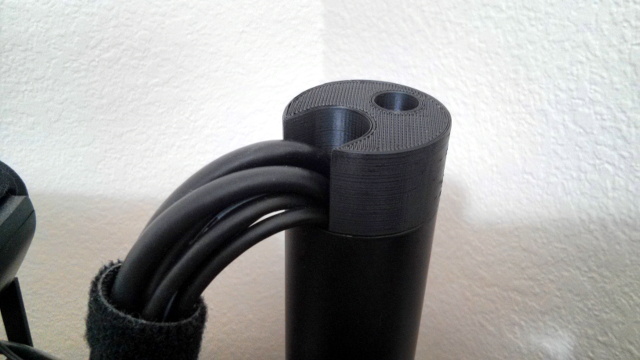
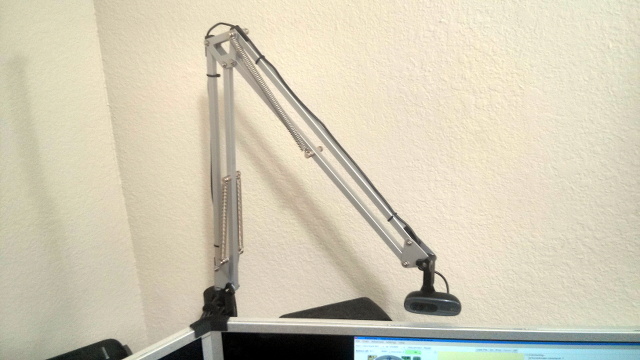
The adapter that connects the monitor stand to the IKEA lamp is very simple. I probably could have made something that would do the same job by taking a drill and a saw to a large diameter dowel from Lowes, but I couldn’t have produced anything this clean by hand in the 20 minutes it took me to model the part I used. Maybe I could have made something decent by hand in the two hours my part took to print, but that would be cheating. I was working on other things while the printer was running!
- Adapter to Mount an IKEA Arm Lamp to a Monitor Stand at Thingiverse
- Mounting Bracket With Swivel for Logitech C270/C310 Camera at Thingiverse
- IKEA TERTIAL Work Lamp at Amazon
Do you own a 3D printer? What do you use it for? Do you mostly print your own models, or do most of your prints come from a site like Thingiverse?