UPDATE: I have a Shapeoko CNC machine now. You should check out what I’ve been cutting with it!
When they asked me to run the 3D-printing department over at TheLab.ms makerspace, I knew right away that we had to use OctoPrint. I’ve been using OctoPrint to run my MakerFarm Prusa i3 printer at home, and I have been very pleased with it. OctoPrint presents itself as a web interface, which is a fantastic fit for an open community space like TheLab.ms.

OctoPrint’s web interface is handy enough around the house—keeping an eye on my 3D printer from the living room is nice. It is even more useful at TheLab.ms, where you can keep an eye on your print job from Marinara Pizza!
- 3D Printing at TheLab.ms
- DIY Kossel XL at electronhacks.com
- Eight Hours With My New Prusa MK3S 3D Printer
- How Fast Can I 3D Print With My Prusa MK3S?
Do I really need a Raspberry Pi for each printer?
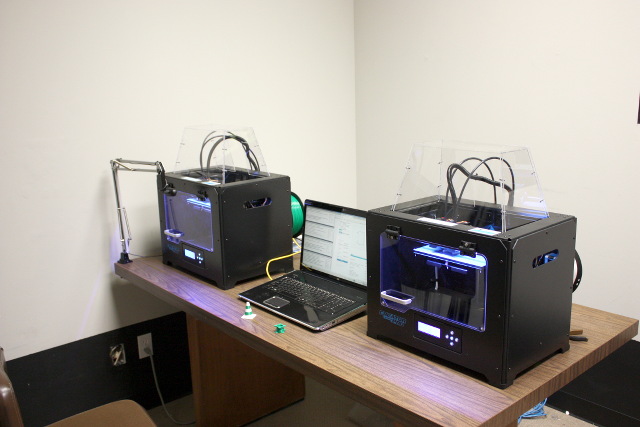
So far, we have two 3D printers at the TheLab.ms—a pair of FlashForge Creator Pro 3D Printers. There is an OctoPrint distribution for the Raspberry Pi called OctoPi. OctoPi is awesome. Just about everything you need to get started is configured out of the box—even the webcam!
Raspberry Pis are cheap, and so are MicroSD cards. It wouldn’t be a big deal to buy two of them. I’m looking into the future, though. I don’t want to have to buy a new Raspberry Pi each time we buy a 3D printer. I also don’t want to have to configure another Raspberry Pi, or add another network drop. I’ve spent most of my career building and maintaining servers. I’d much rather maintain one Raspberry Pi.

OctoPrint isn’t very resource intensive, but it isn’t built to control multiple printers. However, it wasn’t difficult to run multiple instances of OctoPrint on different ports on the same Raspberry Pi. This isn’t surprising, because all it needs to do is send gcode over a serial port.
What have Pat and Brian been up to lately? To find out you can check out the latest episodes of The Butter, What?! Show
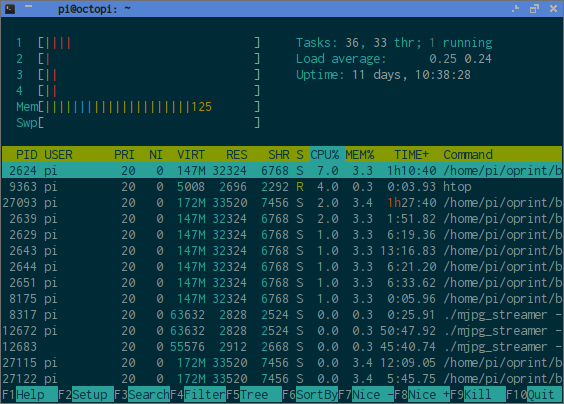
Running a 3D print simultaneously on both printers while OctoPrint broadcasts a pair of 480p video feeds doesn’t even use 20% of the CPU power of our Raspberry Pi 2.
Configuring additional OctoPrint instances
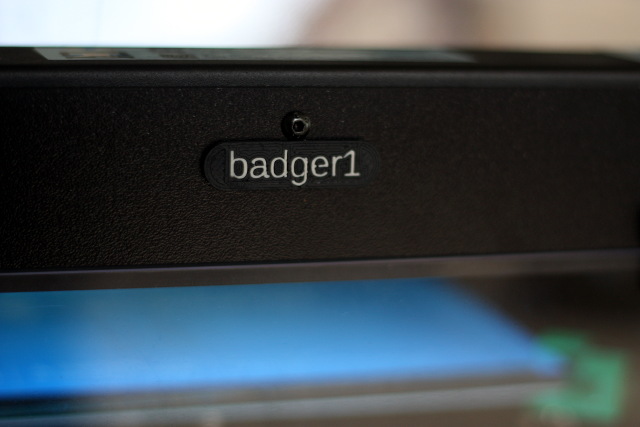
You need to run a separate instance of OctoPrint for each 3D printer. OctoPrint defaults to running on port 5000, so I just incremented the port for the second instance and told it to use a different directory to store its configuration. At TheLab.ms, we call our printers badger1 and badger2, so we set up those hostnames in DNS. Since the OctoPi distribution hides OctoPrint and mjpeg-streamer behind HAProxy, all I had to do was add those hostnames to the HAProxy configuration and point them to the correct ports.

You can share some of the directories that live inside each OctoPrint instance’s configuration using symlinks. Since our printers are identical, sharing the uploads directory makes a lot of sense—it’s nice to be able to come back a couple days later and print another copy on the other printer. We’re also sharing the timelapse directory.

There’s nothing preventing either instance of OctoPrint from connecting to either printer’s serial port. I’ve gotten around this by creating some udev rules to assign unique names to the printers based on their serial numbers. Badger1 is set to use /dev/ttyBadger1, and badger2 is set to use /dev/ttyBadger2. This prevents people at TheLab.ms from accidentally connecting to the wrong printer.
1
| |
Configuring additional mjpeg-streamer instances
I don’t know much about mjpeg-streamer. It looks like you should be able to stream multiple cameras from a single mjpeg-streamer process, but I wasn’t able to make it work. Instead, I ran a second copy of mjpeg-streamer on the Raspberry Pi—just like I did with OctoPrint.
1 2 3 4 5 | |
I need to tweak udev to assign each camera a unique device name, but I haven’t gotten around to that yet.
What’s next?
I thought about writing this blog post as a step-by-step guide, but I’d like to eventually automate the creation of new OctoPrint instances on our OctoPi server. I want to be able to run a single command to set up a new instance of OctoPrint and mjpeg-streamer, set up HAProxy to point at those new instances, and configure OctoPrint to point at the new camera.
I’m planning to work on this next month, but we’ll see. At the very least, I better have it working before TheLab.ms needs to purchase a third 3D printer!
