We decided it was time to buy some 3D printers at TheLab.ms makerspace in Plano. They asked me which printer to order, and I ended up recommending the FlashForge Creator Pro. I’m still a huge fan of the MakerFarm Prusa i3 I have at home, but an open 3D printer with exposed electronics just isn’t a good choice for a community printer at a makerspace.
I’m quite pleased with our pair of FlashForge Creator Pros so far. We had the first one unboxed and printing in less than half an hour, and our initial prints were quite nice. Much nicer than anything I managed to print with my MakerFarm printer in my first few weeks.
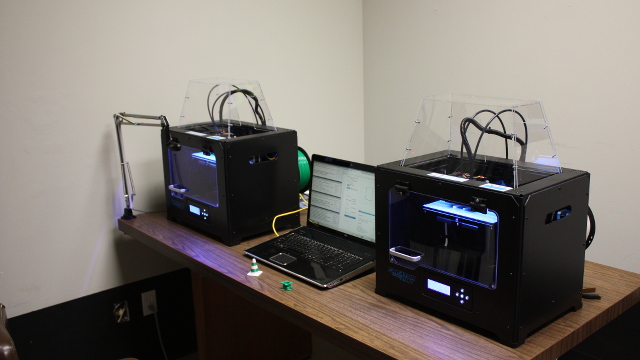
It didn’t take long to get OctoPrint up and running on a Raspberry Pi, and it wasn’t too difficult firing up a second instance of OctoPrint on the same Pi to control the other printer. OctoPrint doesn’t use up all that much CPU on the Raspberry Pi, even when broadcasting a live video feed and saving images to create a timelapse. I bet we can run at least six or eight 3D printers using a single Raspberry Pi!
Printing on glass is the way to go
The FlashForge Creator Pro comes with a BuildTak printing surface, and we used that for a couple of weeks. It works fairly well, but neither spool of white ABS filament that shipped with our printers would adhere to it very well. Also, I’ve read that the BuildTak is only good for 50 to 100 hours of 3D printing. That would be a lot of sticker changing at TheLab.ms!
I’ve been printing on glass at home for years, so I eventually broke down and had half a dozen 9” x 6” sheets of 2.5mm glass cut at our local Lowe’s. All our ABS filament sticks to glass and hairspray quite nicely, and the glass has improved the efficiency of our 3D-printing workflow at TheLab.ms. With the BuildTak, we had to wait for our prints to cool and remove them from the printer before the next person in line could start their print. Now we just pull the glass out as soon as our print is done, and the next person in line can jump right in and get started.
My favorite part about 3D printing with ABS on glass is how easy it is to remove your print. We just pop the glass in the freezer, and most parts pop right off in about two minutes.
I’m not the only one using the 3D printers at TheLab.ms!
Our new friend j5mc stopped at our makerspace on his journey. He’s traveling around the country visiting as many makerspaces as he can. He is blogging about his journey, and he plans on compiling his data into a makerspace guidebook.
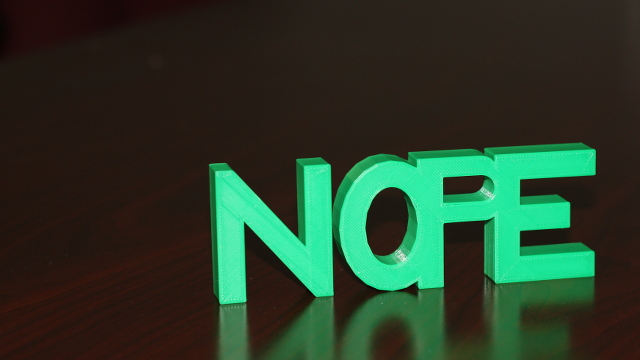
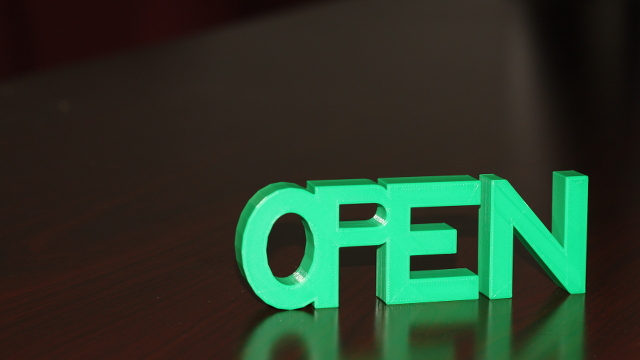
It was a lot of fun having him at TheLab.ms, and he was kind enough to leave something behind for us. He designed and 3D printed an “Open / Nope” sign for us, and we display it proudly on our window. I affectionately refer to it as our “Nopen” sign.
You should go read about j5mc’s makerspace travels on his blog!
- Open / Nope Sign at Thingiverse
- j5mc’s Blog
- j5mc’s Patreon
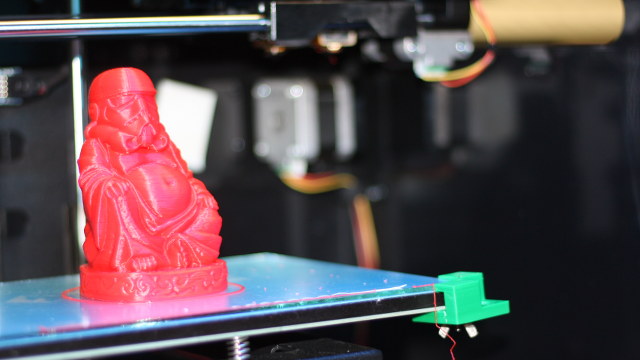
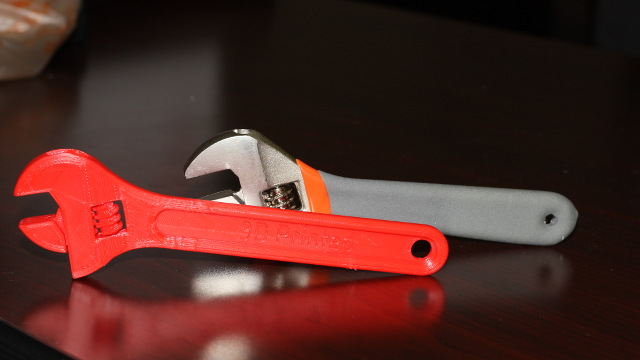
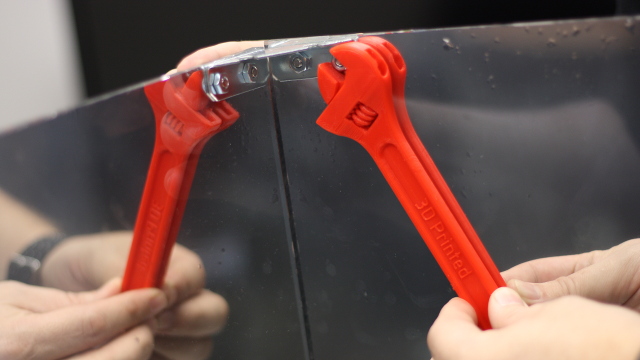
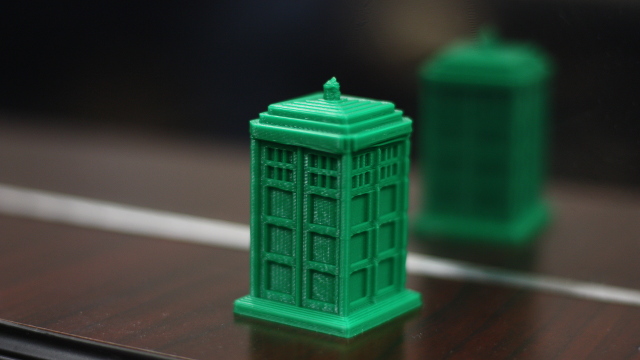
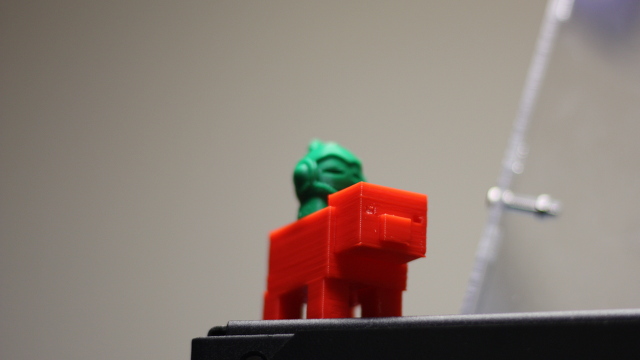
William has been 3D printing almost nonstop since I showed him how to operate the machines. He’s printed a working crescent wrench, a tiny green TARDIS, and a really cool Storm Trooper Buddha. I can’t wait to see what he prints next, and I hope he prints another Buddha now that we’ve got the 0.1mm settings tuned in on the FlashForge printers!
- Fully assembled 3D printable wrench at Thingiverse
- TARDIS – Flat Bottom at Thingiverse
- Thinking Buddha at Thingiverse
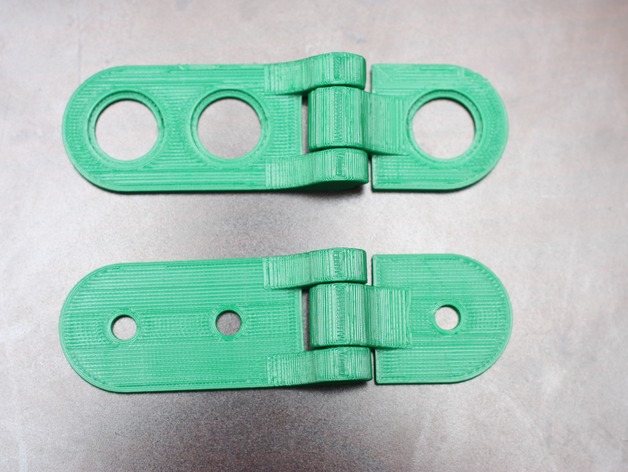
Andy has been making good use of the printers as well. He’s been working hard to modify an existing Makedo hinge from Thingiverse to be more compatible with existing Makedo pieces. The hinge is neat because it prints as a single piece, but it can still pivot at the joint.
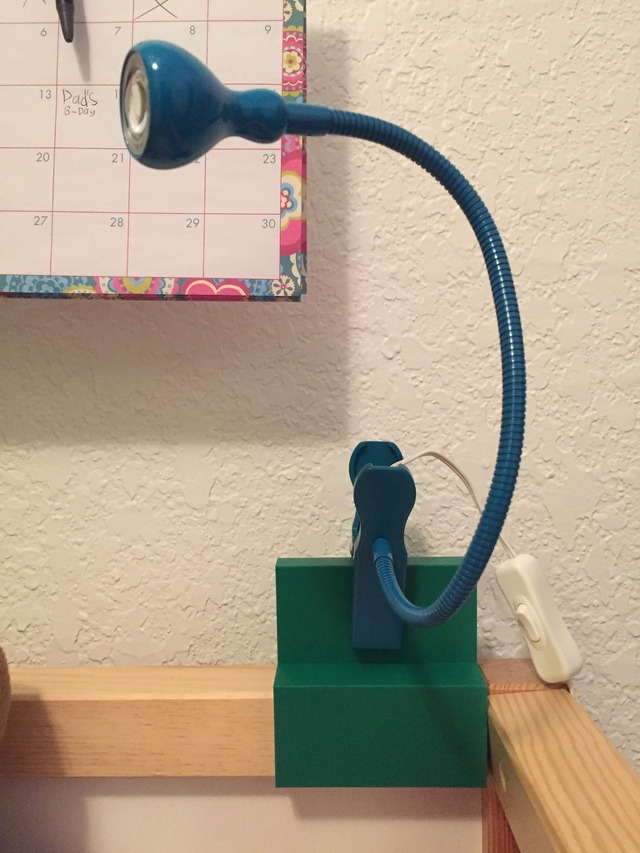
Andy also designed a bracket to help attach an IKEA lamp to an IKEA bed using OpenSCAD. His bracket is one of our tallest 3D prints at TheLab.ms so far!
- Backward-compatible Makedo Hinge at Thingiverse
- Makedo Toys at Amazon
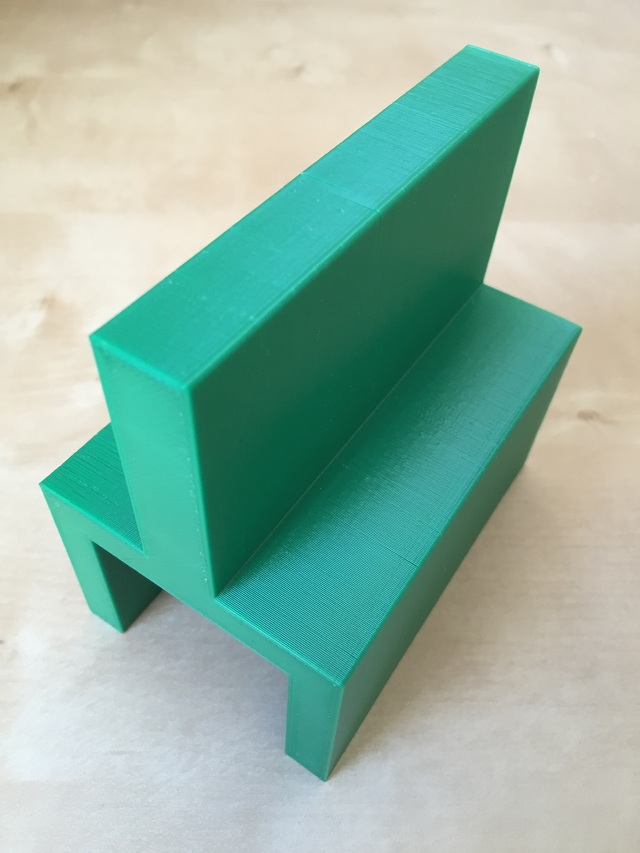
Shortly after the 3D printers arrived at TheLab.ms, I began looking for something quick, easy, and useful we could print to give away to visitors. The best thing I found was the KeyStand at Thingiverse. Unfortunately, the KeyStand wasn’t capable of holding up my 6” clown phone.
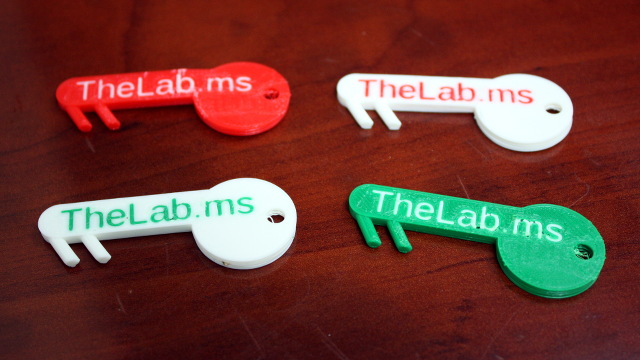
I recreated the design using OpenSCAD. I changed some of the angles to move the kickstand behind the phone, and I added “TheLab.ms” to the side of the key. This is the first part we managed to print using both extruders.
- TheLab.ms KeyStand at Thingiverse
I am teaching classes on operating the 3D printers at TheLab.ms
I’ve been giving some one-on-one instruction here and there, but I just completed our first semi-official 3D printing class at TheLab.ms last night. I gave very little notice that the class was going to happen—less than 24 hours’ notice. I figured that would keep the attendance down, and give me an opportunity to figure out exactly what people need to know.
Even on such short notice, nine people attended the class. We managed to take four or five people from the point of zero 3D-printing experience to successfully printing their first object. In my humble opinion, I’d say the first class was a huge success.
I’ll definitely be scheduling these classes at regular intervals, and I’d like to teach some classes on using OpenSCAD, too.
If you’re a member of TheLab.ms makerspace in Plano, and you’d like to learn how to use our 3D printers, please stop by one of the classes! If you’re not a member, but you’d like to learn how to operate a 3D printer, you’re still welcome to attend one of our classes! We’d be happy to show you around the space and tell you all about the projects we’re working on.