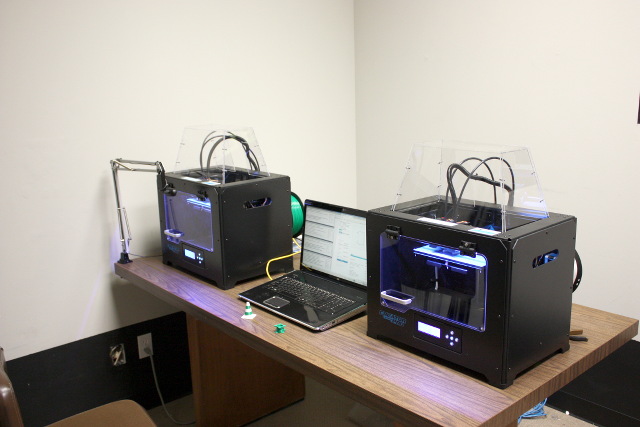
When I bought my own 3D printer, some of the first things I printed were small 3D-printer upgrades. I find the idea of using a machine to create parts to upgrade itself fascinating. When we bought a pair of FlashForge Creator Pro 3D printers at TheLab.ms, I knew it wouldn’t be long before we’d find a need for some simple and necessary upgrades.
Filament alignment bracket
A better filament guide was definitely a requirement for one of our printers. No matter what adjustments we made, the left extruder’s filament would loop behind the spool and get caught up on the spool holder. This was less of a problem on the second printer, but it did happen at least once there. Fortunately, it was easy to fix.
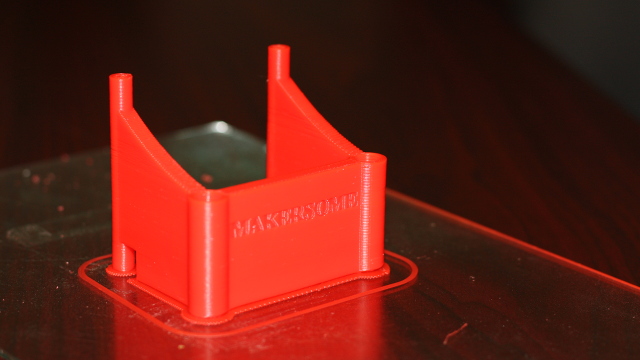
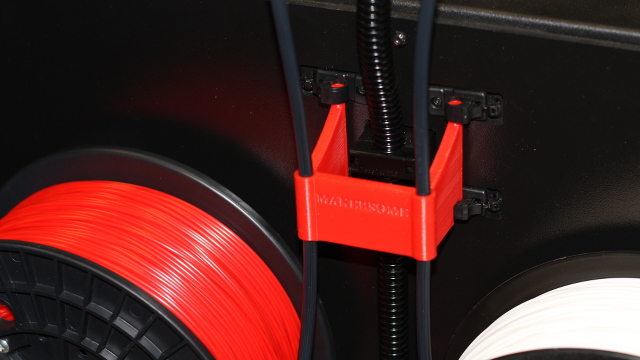
There are quite a few filament-guide parts on Thingiverse, but most of them require support material. I do my best to avoid support material.
Makersome’s filament guide does a great job, and it prints without any supports. In fact, it prints very well without supports. On our printers, the filament-guide tubes are fit loosely in the Makersome filament guide, and they end up moving around during the print. This was easily fixed with some small zip ties.
- Makersome Filament Alignment Bracket at Thingiverse
Filament spool holders
The spool holders that ship with the FlashForge Creator Pro are designed to precisely fit the huge diameter holes in the spools of the filament sold by FlashForge. My favorite spool holder on Thingiverse so far is the Shaxon Spool Holder. Just like the awesome spool holders for my own 3D printer, these print on their sides and require no supports.
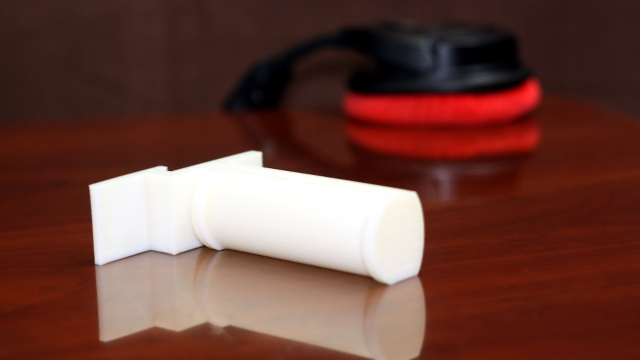
Totally by coincidence, the first spool of filament we bought from Fry’s was Shaxon brand filament, and it did fit the holder perfectly. This spool holder is small enough to fit all but one of our spools. That spool is from Hatchbox, and it very nearly fits.
The spool holders I use at home are ridiculously thin compared to the models available to fit the FlashForge, but they are sturdy enough to hold two spools without any trouble. One of these days, I’ll design an even more universal spool holder for our FlashForge printers.
- Shaxon Spool Holder at Thingiverse
A glass print surface and printable glass clips
The FlashForge Creator Pro ships with a BuildTak sheet installed. When it works, it works surprisingly well. BuildTak seems to work better at higher temperatures, but those high bed temperatures would make our 0.1mm prints warp around the edges.
Try as we might, we just couldn’t get any of our white ABS filament to stick to the BuildTak. It was just too problematic.
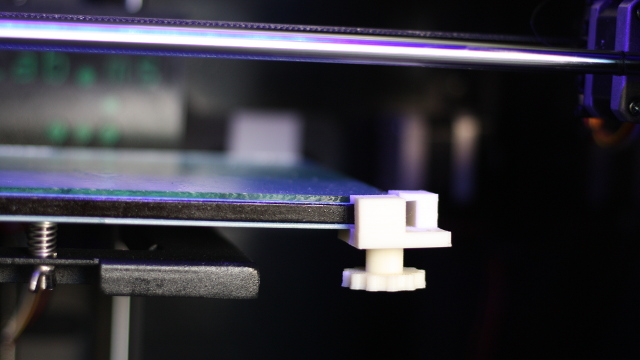
I’ve been printing on glass at home for two years, so I figured we should give it a try over at TheLab.ms. I stopped by the Lowes in Plano, TX, and I had them cut some cheap 2mm glass into 9” by 6” sheets for me. I was able to get six of those and a pair of fresh 8” x 8” sheets for my printer at home for about $15.
ABS sticks beautifully to glass with a bit of hairspray, and the hairspray wipes off quickly after soaking it in water. We don’t actually clean the glass very often—usually only if you need a perfectly smooth finish on the bottom of your print. Most of the glass plates have been in use for two months now, and most of them have never been cleaned.
Next time, I am going to spend a little more on the glass. We have to be careful of the rough, sharp edges. The prints pop right off the glass after a few minutes in the freezer, but at least one member at TheLab.ms has gotten impatient. They pried a large print off while it was still warm and pulled a chunk right out of the middle of the glass.
With the BuildTak, we had to wait for things to cool down before removing a print. With the glass, you can take your print out of the printer immediately. That means the next person in line doesn’t have to wait as long to start their print!
- FlashForge Creator Corner Glass Clips at Thingiverse
- Knobs for Glass Clips at Thingiverse
- 12mm M3 Brass Standoffs at Amazon
A webcam mount
This one is definitely not a necessity. My own printer’s Logitech C270 camera has been at TheLab.ms ever since we unboxed the first FlashForge Creator Pro back in December. I certainly haven’t missed it, but cameras are much more useful at a public space.
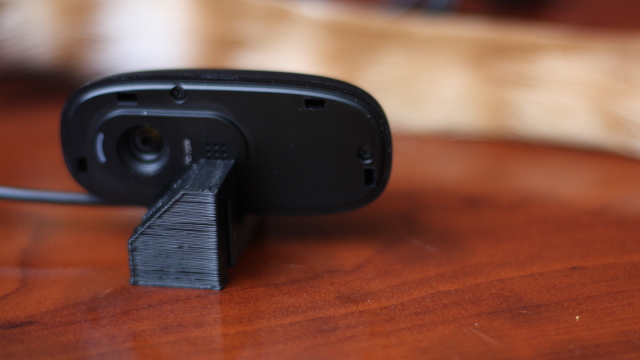
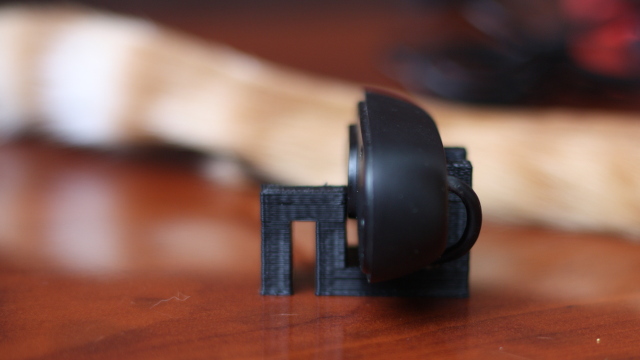
The camera brackets I designed aren’t perfect, but they’re a big upgrades over the IKEA arm mount we were using up until now. The arm mount is awesome—I use two at home, but they’re not well suited to the setup we have at TheLab.ms. They take up a lot of room, and they’re too easy to bump out of alignment. They also see a lot of glare if you point them through the acrylic covers on the printers.
The new camera mount corrects most of these problems, but the angle isn’t perfect yet. They aim at the print jobs, and they’re almost parallel to the glass print surface, so they pick up a lot of glare from the glass print surface during the first few inches of your print job. This isn’t ideal.
I think mounting the cameras on the printer’s handles is a good idea, but I think I can improve the execution quite a bit. Stay tuned for updates!
- Logitech C270 Bracket at Thingiverse
- Logitech C270 Webcam at Amazon