Official CyanogenMod Release for the Nook Color Has Working Video Playback

| Comments

CyanogenMod 7-RC4 dropped just a few days ago and it is a very exciting release as far as the Nook Color is concerned. As of release candidate four, CyanogenMod is officially supporting the Nook Color, and hardware acceleration of video and OpenGL is now working.

CyanogenMod 7-RC4 is the first firmware I burned to the internal flash memory. Everything went pretty smoothly. I only made one mistake that slowed me down; I tried to use Clockwork Recover 3.0.0.6. You have to use 3.0.1.0 to install CyanogenMod.

It is probably one of the safest Android devices that we have. It always attempts to boot off of the microSD card first. If there is no boot loader there, it will attempt to boot off of the internal flash.

The tablet seems to run a bit smoother now. I’m not entirely certain if this is because the internal flash is more efficient than my microSD card or if it is due to improvements to the firmware.

Video playback capabilities of the Nook Color

It looks like the PowerVR 530 in the Nook Color can accelerate H.264 baseline profile video with a resolution up to 848x480. It would have been nice to be able to play back some pixel-perfect 1024x600 video, but this isn’t bad at all.

I’ve encoded a few videos with HandBrake. I started with the “Apple Universal” HandBrake preset and tweaked up the settings a bit to get better looking video with smaller file sizes. I exported my Nook Color presets just in case anyone wants to download them. I’m pretty happy with the results with the RF set to around 20 or 21.

My Galaxy S phone has no trouble playing back 720p H.264 high profile video files, not that it has that much resolution anyway. I’ll probably just encode all my portable videos for the Nook Color, since most of my devices can play those just fine.

Nook Color HandBrake Presets File

Knitted Case for Our Nook Color

| Comments

With the tablet inside With the tablet sticking out With the tablet removed

Chris knitted this awesome little case for “her” Nook Color, so that she can carry it in her purse without worrying about scratching the display. It fits great. She sized it so that it is just a bit narrower than the tablet, so it stretches just a bit. That way it won’t slide off.

When I start carrying my own tablet I want her to knit me one to loosely match the pattern of the Doctor Who scarf.

Converting the Nook Color to a Full Blown Android Tablet is Stupid Easy

| Comments

I’ve been wanting a better Android tablet for quite a while now. I’ve had the Eken M001 for quite a while now, but it isn’t a very usable tablet (especially after I bricked it). The battery doesn’t last long, the resistive touch screen absolutely horrible, and it is quite slow.

I’ve been hoping to see a tablet with a good capacitive touch screen for under $300. I saw a tweet the other day mentioning that the Nook Color’s Bluetooth hardware is now functional when running Cyanogenmod 7. I did some quick research and decided I just had to buy one.

I apologize in advance for the horribly shaky video footage.

The Hardware

The hardware isn’t that far behind the Samsung Galaxy Tab. The Nook Color is about the same size as the Tab, has a similar 1024x600 IPS LCD display, and they both have 512 MB of RAM. The Nook Color ships with the CPU clocked at 800 MHz, 200 MHz slower than the Galaxy Tab. I’ve been running mine overclocked to 1 GHz without any problems so far, so this isn’t a problem.

The Nook Color has a PowerVR 530 GPU, the Galaxy Tab has a PowerVR 540 GPU. I’m not sure how much of a difference there is between the two chips, but I do know that I don’t have any software on my Galaxy S phone that can push its PowerVR 540 to its limits.

The biggest problem with the Nook Color is the lack of hardware buttons… There are workarounds for the lack of menu and back buttons but I find myself always reaching for the missing hardware buttons.

The Nook Color is also missing a few other features that most of the other tablets have. It has no cameras and it has no video output capabilities. It also lacks GPS, but this seems normal for most of the Wi-Fi only tablets.

The Stock Firmware

The Android firmware that ships loaded on the device is very limited. It has a book reader, web browser, and a few games. That’s about all that is there. It sounds like there are ways to load third party software, but I didn’t investigate those.

Running Third Party Firmware

Hacking the Nook Color is surprisingly simple; it will boot directly off of a properly partitioned and formatted microSD card. All you have to do is correctly write one of the many available bootable SD card images to a microSD card, stick it in the tablet, and power it up.

For the last few days I’ve been running an SD card bootable image of Cyanogenmod 7 that I found on the xda forums. It has been running quite well so far.

There are a few Problems

Video playback performance is poor. I’m hoping this will improve, but I’m not going to bet on it.

Update 2011-03-21: I played back a few standard definition videos using the stock firmware. They played perfectly without any frame dropping.

Update 2011-03-24: It sounds like the PowerVR 530 GPU in the Nook Color can accelerate video with a resolution of up to 848x480.

Update 2011-03-31: CyanogenMod 7 RC4 now has working hardware accelerated video playback! Youtube, Flash, and mpeg4 files all play back perfectly.

Some apps that try to use GPS crash. Weatherbug and Speedtest.net are the two apps that crashed on me. Google Maps runs without any trouble, though.

The touch screen isn’t perfect. It seems to have problems picking up button presses around the edges, especially up in the top right-hand corner. I haven’t tried booting up the stock firmware to see if the problem exists there as well.

Update 2011-04-05: I’ve been running the CM7 tablet tweaks build for a few days now. Moving the status bar to the bottom makes the problems I had with the touch screen a non-issue. It sounds like this work will be rolled up into the CM7 core before too long.

Is it worth the price?

I think the Nook Color is a very good deal. It is half the price of the most comparable tablets and I feel that it provides way more than half the value.

This one is actually for my girlfriend to use. I’m already thinking about buying another one for myself…

btrfs - Six Months Later

| Comments

I’ve been running btrfs on my laptop for a little over six months now. I’m very happy with the current state of the file system and I am finally starting to trust my data to it a little more. I am still running daily backups just to be on the safe side.

Last month, I split up my laptop’s second hard drive, a 320 GB spinning platter drive. It is now about one third ext4 and two thirds btrfs. I used the ext4 partition to store backups and KVM disk images.

I believe that when I started using btrfs, I was running Ubuntu’s 2.6.35 kernel. I’ve been compiling my own vanilla kernels since then and I am currently running 2.6.38-rc6-git6. There are a few issues I’ve had with btrfs, and they haven’t improved during any of these kernel upgrades. These issues have been easy to work around, though.

Problem Removing Snapshots

I have cron jobs that snapshot my root and home volumes on an hourly, daily, and weekly basis. I was also taking a snapshot every five minutes, but this caused me too many problems. Creating and removing one snapshot every five minutes was causing the snapshot process to hang up. When this happened, the laptop would need to be rebooted to get snapshotting to start working again.

I was able to improve the situation, but I couldn’t completely eliminate the problem. It was just easier to turn off the five-minute snapshots.

KVM/QEMU Disk Access Speed

There is a huge I/O amplification when KVM accesses disk images stored on btrfs. KVM will show a few hundred kilobytes per second of I/O while at the same time htop will show tens of megabytes per second.

This can be improved a bit by setting cache=none for the KVM disk image, but even with that setting the I/O is amplified by over a ten-to-one ratio.

I’m really looking forward to the day that I can store virtual machine disk images on btrfs. Snapshots and bcp copies of images will save me both disk space and disk I/O.

Some Good Features Just Ahead

There is a lot of good work being done recently. There was a bit of a taste of deduplication work done a few months ago. I am definitely looking forward to being able to deduplicate my virtual machine disk images.

The first patches are in to add online scrubbing to btrfs. The scrubbing will compare the blocks stored on disk with the previously recorded checksums. This will help identify silent corruption of data.

It also sounds like we’ll have a working btrfsck tool in the near future as well.

I’d like to thank everyone working on btrfs for the great job they have been doing. Keep up the good work, and happy PI Day!

Inexpensive Dry Erase Markers with Magnets on their Caps

| Comments

Dry erase markers with magnetic caps

I have a set of the bigger chisel-tipped Expo dry erase markers, but I’m not a big fan of large pointed markers. I’ve been using a random set of cheap skinny dry erase markers that I picked up at some sort of dollar store. I liked these cheap markers much better than the chisel tip markers, and the two black markers that came in the set lasted over six months.

Since the cheap black marker died I’ve been using the big chisel tips again. I finally remembered to actually look for replacement markers while I was shopping a few weeks ago. I ended up finding some very good markers at Wal-Mart.

The brand name on the package is “@ the OFFICE” and a six-pack of markers was about three dollars. They have very fine point tip but they don’t write as dark as most markers. They do have one feature that I am very excited about, though…

They have magnets in the caps!

I am constantly misplacing markers, so this seems like a very good idea. The magnets are very cheap and very weak. I ended up hiding a few strategically placed washers behind the trim of my white boards, the markers stick to those just fine.

I have a stack of tiny 4mm disc-shaped rare earth magnets sitting here. I taped one to a large Expo marker. The little rare earth magnet has no trouble holding the Expo marker up on one of the nails that holds my whiteboards to the wall. The cheap, flexible magnet on the Wal-Mart markers can’t even come close to sticking to those nails.

My Backup Strategy for My Laptop

| Comments

A good backup strategy is very important. Most people only own a single hard drive at any given time and they will never think about backups unless they are unlucky enough to have that hard drive die on them. I probably have over a dozen hard drives here at home. With this many drives it, is inevitable that one or more will fail unexpectedly.

Automated btrfs Snapshots

I’ve been running btrfs for quite a while now. This has been both a blessing and a curse.

btrfs gives me the ability to instantly create snapshots of my file systems. This is my first line of defense against stupid mistakes. At any given time, my snapshots give me access to most of the files that existed on my laptop over the past four weeks. This is the only backup I am likely to need to rely on for anything short of a hard drive failure.

I’m scared of btrfs. I haven’t lost any data to it so far, but I am still quite paranoid.

Automated rdiff-backup Backups to My Laptop’s Second Hard Drive

The boot drive in my laptop is an 80GB SSD, and the second drive is a 320GB spinning drive. I run rdiff-backup daily, using cron, to back up the majority of /home and /etc to the second drive.

rdiff-backup is one of my favorite pieces of software. I currently have 176 daily backups of my home directory stored on my laptop’s second hard drive. In my case, the total space required for that is about twice the size of my home directory.

Automated Off Site Backups of Important Data

I would like to be able to automatically back up all of my data off site every day, but it just isn’t feasible for my data. My home directory is actually quite small, only around 10 to 15GB. The problem is that I often have large files that are only present for a few days at a time. Much of my home directory is pretty unorganized, except for the data I really care about.

If it is worth my time to create a file, then I figure it is also worth my time to put it in revision control. Everything worthwhile that I’ve created in the past 10 years is sitting in a repository in my ~/Projects directory.

I run a daily backup of my ~/Projects directory (and a few other similar directories) to a staging area on my spinning drive using Duplicity. I need to do this because it would be difficult to install Duplicity on my Android phone.

It is very easy to run rsync on Android, though. I have another cron job that runs every few hours. It uses rsync to synchronize my local Duplicity backup with both my web server and with the micro-SD card on my Android phone. I have to run this script every few hours just in case my phone isn’t on the network when the backup job runs.

My Manual Full Backups

I also run an rdiff-backup of my home directory to an encrypted external USB drive. This backup is very manual. I try to do it as often as I can. I don’t think of it that often, though. I always run a backup to this drive before I travel, though. This drive only has 43 backups, covering almost twice the timespan of the 176 backups on the laptop.

This is one of my favorite backups, though. Even if this backup of my home directory were two months old, it would still be good enough to get me up and running and happy, as long as I can restore my smaller off-site backup over the top of it. I am happy to know that this backup will be here waiting for me in the unlikely event that someone drives a car over my laptop.

Files That Rarely Change

Some files just don’t change much. I have over 10 years of digital photos that just never change. There’s no need to back those up every single day. I have a copy of all my old photos stored on my laptop. If I know the photos are backed up in multiple places, then I store them accordingly. New photos go in one directory; old photos go in another. As the new photos become old photos, they end up being backed up in multiple locations on different kinds of media.

Native Linux Games for an Arcade Cabinet: rRootage, Noiz2sa, Torus Trooper, and More

| Comments

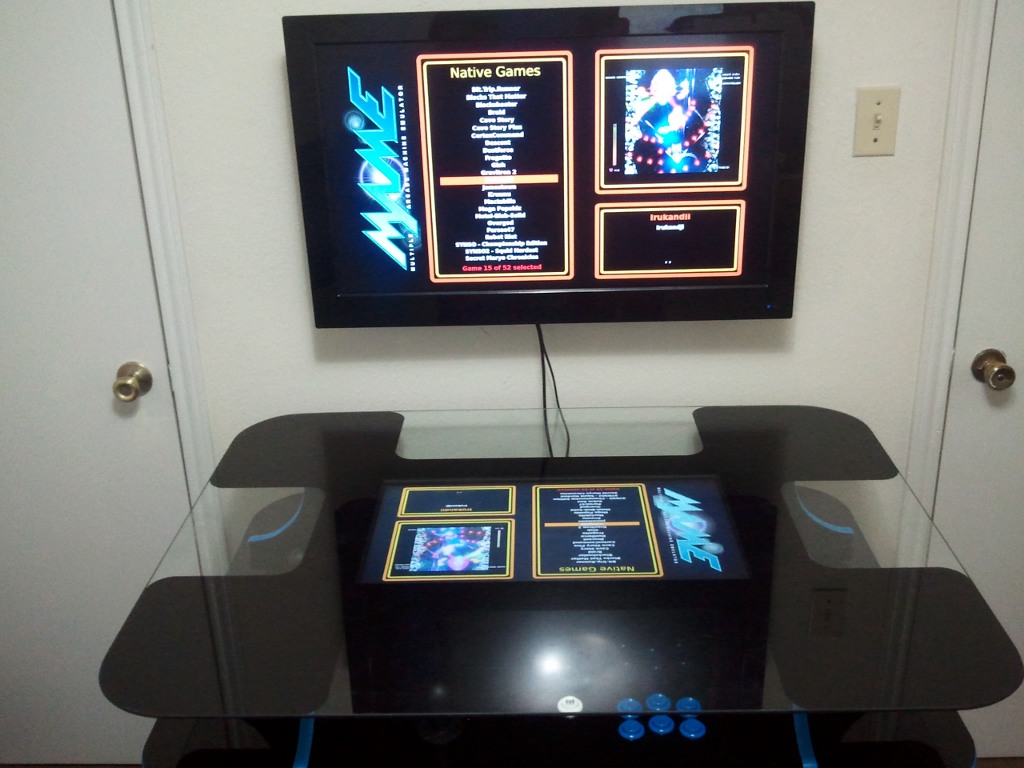
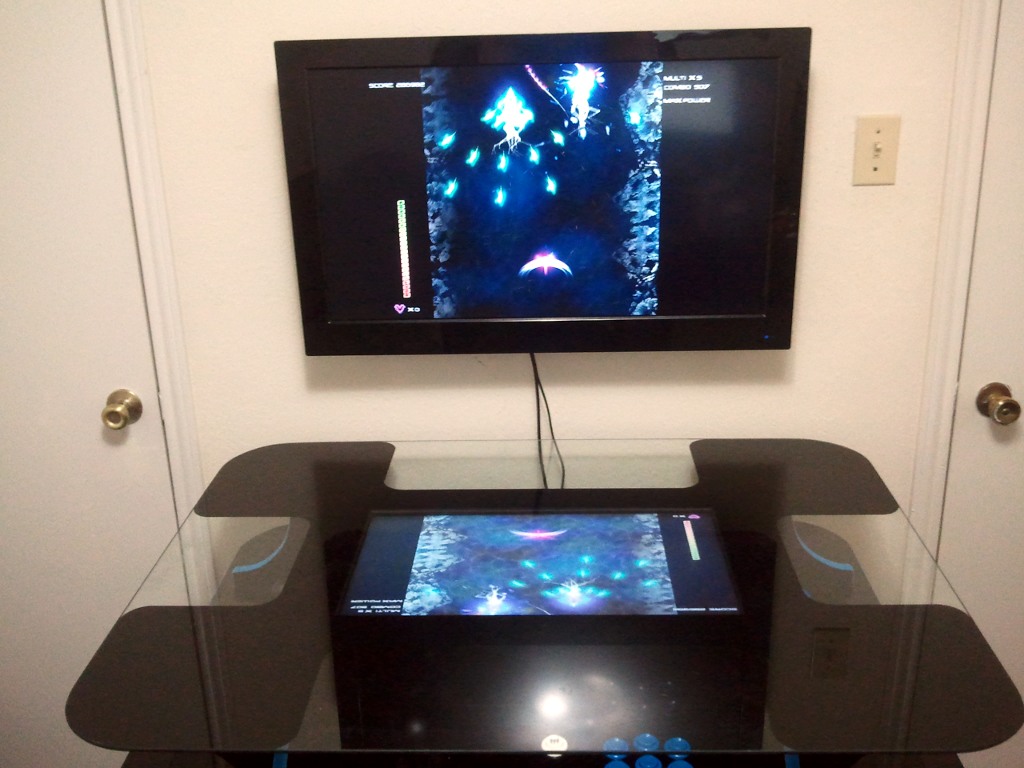
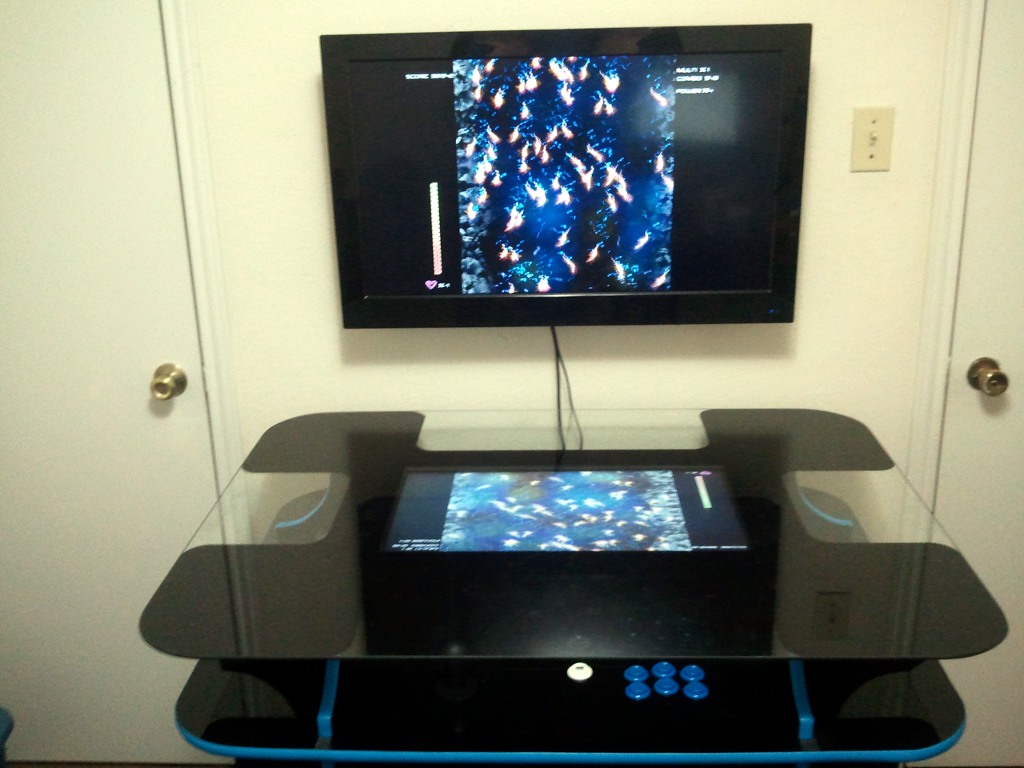
I’ve spent quite a bit of time looking for native Linux games that fit the restricted controls of an arcade cabinet. Almost every game from ABA Games seems like it was made to be played on in an arcade. All of their games have awesome retro, almost vector-style graphics. Nearly all of his games can be played with a digital joystick and just a few buttons.

I’ve loaded nearly every game from ABA Games on my cabinet. They were all available in Ubuntu’s repositories. A few of his games require a mouse for aiming, but the majority do not.

I’ve played all of them once or twice, but there are a few I keep coming back to over and over again.

rRootage

screenshot of rRootage

I’ve been a fan of scrolling shoot ‘em up games for as long as I can remember. I cut my teeth playing Parsec on my TI 99/4a. I remember spending a huge amount of time playing games like Lifeforce), Gradius, and Zanac on my NES.

rRootage is a “bullet hell” style shoot ‘em up game consisted entirely of boss battles. The term “bullet hell” is new to me and I didn’t think I would enjoy this style of game. “Bullet hell” shoot ‘em ups have huge numbers of projectiles on screen moving in complicated and intricate patterns. These games require you to maneuver your ship in complex patterns between the various overlapping patterns of bullets.

The closest previous experience I have with a “bullet hell”-style game would be Zanac.

Noiz2sa

Screenshot of Noiz2sa

Noiz2sa is another “bullet hell” style shoot ‘em up. The graphics are quite simple. Your funny little ship mostly shoots at different-colored squares. You earn points by collecting the little squares that are constantly dropped by the enemies you shoot at.

If I understand the modern shoot ‘em up terminology correctly, then rRootage and Noiz2sa are both score attack games. Each level is just a few minutes long and the goal is to score as high as possible. After completing each level you are dropped back to the level selection screen.

Parsec47

Screenshot of Parsev47

Parsec47 is a much more traditional style shooter that feels a bit like a combination of rRootage and Noiz2sa. Like Noiz2sa, you have to collect all the little green boxes the enemies drop to earn points. There are also bosses, or at least boss-like enemies in this game as well.

Torus Trooper

Screenshot of Torus Trooper

Torus Trooper has the same vector-style graphics as the other games except this time you are traveling down a three-dimensional tunnel. It vaguely reminds me of Stun Runner, but with a much faster pace.

I don’t actually enjoy this game very much myself. I feel like I have no idea how to play any better than mashing the shoot button and hoping not to run into anything. Our six-year-old nephew seems to have a lot of fun playing this one, though!

All The Rest

I haven’t played the rest of these much. They all fit well on an arcade cabinet but I can only play shoot ‘em up games so much.

  • a7xpg – I’m not sure how to describe this one. I didn’t enjoy it at all.
  • Tumiki Fighters – I’m terrible at this one. You collect fallen enemies ti beef up your ship, Katamari Damacy style.
  • Titanion – Reminds me of Galaga. You collect enemies to use like “options.”
  • Val and Rick – The only non-abstract game of the bunch. Looks like most old shoot ‘em ups.

autojump - The Lazy Way to Change Directories

| Comments

Update: I ended up switching from autojump to fasd, since fasd does everything autojump does and more. If you’re not already using autojump, then I would suggest skipping straight to fasd.

I’ve been using autojump for a little over a year now and I have no idea how I managed to survive without it. It is a simple idea that works amazingly well. Autojump keeps track of how often you cd into each directory so that it can give you easy access to the directories you use most often.

I keep projects I am currently editing in ~/wip/. I used to constantly type commands like cd ~/wip/personal-project or cd wip/boring-work-related-project. With autojump, I only have to type something short like j boring and I end up exactly where I expect to be.

Here is an excellent video showing off exactly how autojump works.

Autojump works equally well in bash and zsh.

Why I Finally Stuck With zsh

| Comments

I have been a bash user for about 15 years now. I have probably installed zsh at least a half dozen times over the years with the intention of giving it a proper try. Nine months ago I finally put in the effort to properly switch over to zsh and I am glad I finally did it.

Using zsh isn’t much different from using bash. Almost everything that works on the command line in bash works in zsh, except that most things work just a bit better. Almost all the aliases and functions that I’ve accumulated in my .bashrc over the years ported over with little to no changes. All my little helper scripts in my ~/bin directory still work—they still run under bash or sh.

I decided to use oh-my-zsh as a starting point. I think this was a good idea. It sets up a lot of sane defaults, and its configuration is nice and modular. My laptop is the only machine I am currently running zsh on, so I am constantly being me aware of the features missing in my old bash setup.

complete_in_word

This is the feature I am most likely to miss when I am using bash. You can type things like /u/l/b<tab> and zsh will complete it to /usr/local/bin/. I use this constantly and it works really well when completing remote filenames in an scp.

scp Completion Works Better

I always seem to run into weird quoting issues when I use bash’s tab completion with scp. Sometimes it works great, other times it gets confused. I don’t remember having any weird completion behavior with zsh so far.

Recursive Globbing

Recursive globbing means that I don’t have to reach for find quite as often. You can run handy commands like wc -l **/*.p[lm] instead of more convoluted commands like find . -name '*.p[lm]' -print0 | xargs -0 wc -l {} \;.